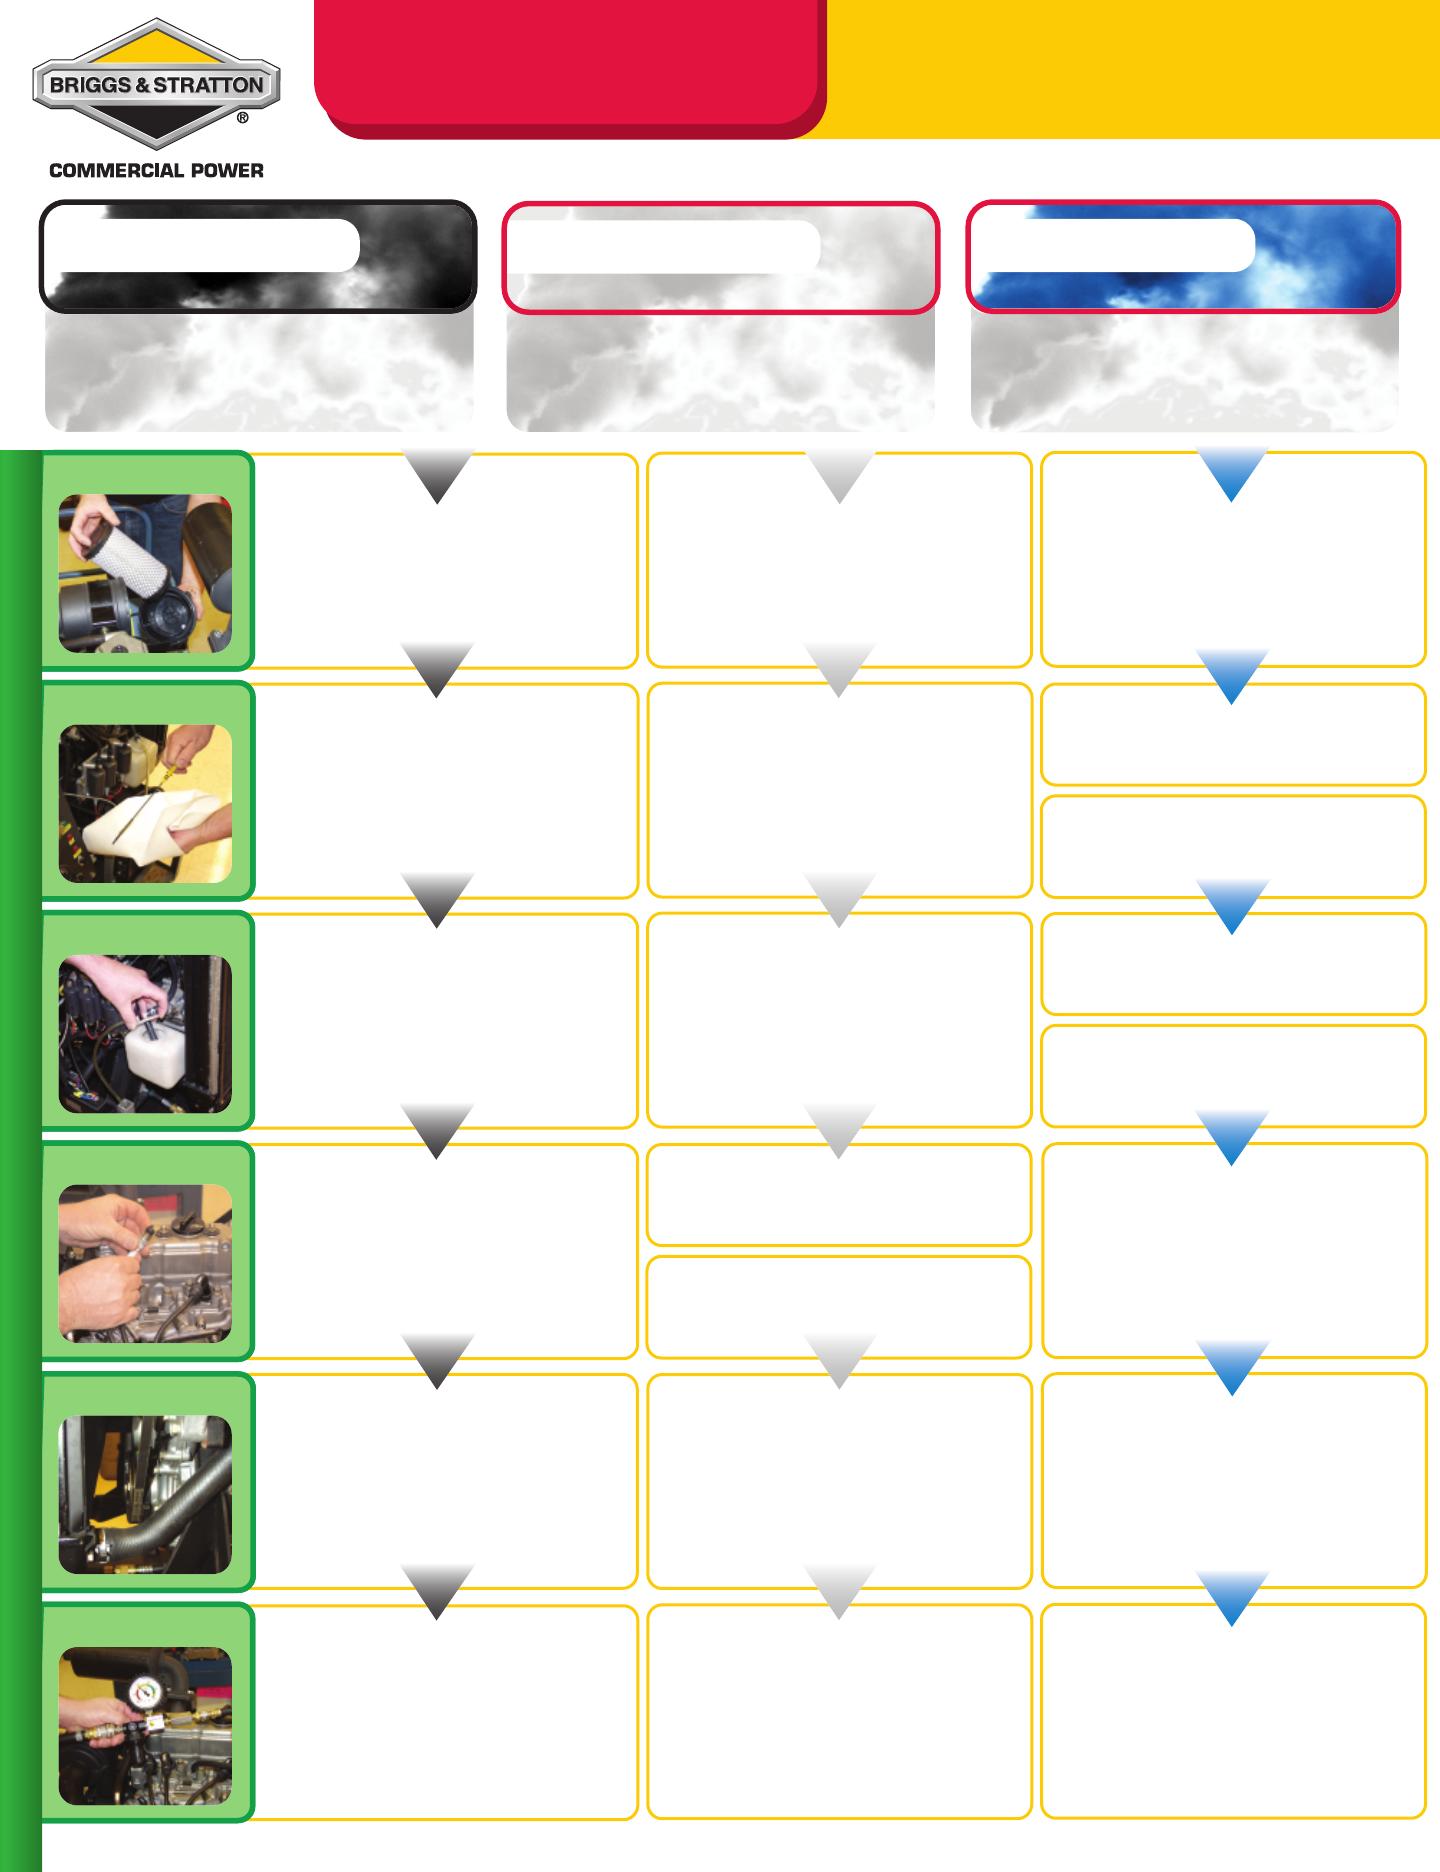
Look for or check
SMOKING
LIQUID-COOLED ENGINE TROUBLESHOOTING WARNING SIGNS
AIRFILTER
OIL LEVEL
COOLANT LEVEL
FUEL SYSTEM
ENGINE TIMING
COMPRESSION
BLACK SMOKE BLUE SMOKE
WHITE SMOKE
GAS: Check condition of air
filter, replace if in question.
Restricted air filter can cause
a rich running condition.
Check condition of air filter,
replace if in question.
DIESEL: Check condition of air filter,
replace if in question. Restricted air fil-
ter can cause a high intake vacuum and
potentially pull oil from air breather.
Check and maintain proper
oil level. Refer to engine
owner manual for proper
grade and type.
Check and maintain proper oil level.
Refer to engine owner manual for proper
grade and type.
Check for signs of coolant in engine oil.
Additionally do compression and leak-
down test on engine.
DIESEL: White smoke may be
an indication of low combus-
tion temperature. Check and
reset valve cleanances as
required. Perform compression
test on engine.
DIESEL: Replace fuel filter, clogged
fuel filter, air in fuel lines or restricted
flow can cause white smoke.
GAS: Check for proper choke
operation. Inspect spark
plugs firing end condition to
aid in diagnosis
DIESEL: Black smoke can be
caused by advanced timing
DIESEL: White smoke may be
an indication of retarded
engine timing.
Perform compression and
leakdown testing of engine
as outlined in repair manual
Pressure test cooling system,
follow procedure and values
found in repair manual
G
AS Overview: Rich running engine
DIESEL Overview: Timing advanced/
overloaded engine, dirty nozzle or
faulty turbocharger.
G
AS Overview: Burning coolant
DIESEL Overview: Low combustion temp.,
lack of fuel, improper fuel, defective nozzle,
retarded timing, burning coolant.
G
AS Overview: Burning oil
DIESEL Overview: Burning oil
Check and maintain proper
oil level. Refer to engine
owner manual for proper
grade and type.
Maintain a 50/50 mix of water and
antifreeze. Keep coolant level full.
Look for signs of oil in coolant if found
do compression test and
pressure test of cooling system.
The best way to resolve a
problem is to identify it by
testing. A compression test,
leakdown or pressure test is
required prior to any engine
disassembly.
D
I
ESEL: If fuel primer is getting pulled
down during operation, look for blockage
in tank, fuel line, shut off valve or filter.
Maintain a 50/50 mix of water
and antifreeze. Keep coolant
level full.
Perform compression and
leakdown testing of engine as
outlined in repair manual
Ensure fuel is of proper grade
minimum of 40 cetane
Always consult engine owners manual and repair manual for specific values and procedures. www
.briggsandstratton.com or www
.briggsnetwork.com
LIQUID-COOLED ENGINE TROUBLESHOOTING WARNING SIGNS
COOLANT TEMPERATURE
GAUGE READS ABOVE
220˚ F (105˚ C)
NORMAL RANGE
175˚- 220˚ F
(80˚-104˚ C)
TEMPATURE
LIGHT
COMES ON
COOLANT
OVERFLOW
AT WATER
RESERVOIR
RADIATOR
FAN BELT
COOLANT LEVEL
THERMOSTAT
RADIATOR CAP
SPECIAL NOTES
AND WARNINGS
!
Look for or check
OVERHEATING
Inspect debris guards.
Note there may be more
than one.
See owners manual for
engine/equipment
Clean debris from
debris guard radiator fins.
Check radiator condition,
look for leaks or any visible
damage or kinked /bulged
hoses. Pressure test cooling
system if in question.
Check thermostat
condition. Replace if
engine has overheated.
Check radiator cap for signs
of leakage.
WARNING: The cooling
system is pressurized.
DO NOT remove the
radiator cap while the
engine is hot.
Inspect belt condition.
Look for signs of wear
or glazing.
Replace if in doubt.
Inspect belt tension / adjust.
Loose belt may not allow
the water pump to operate
properly.
Some applications use
electric or hydraulic fans.
Consult equipment
owners manual.
Check coolant level in
radiator and in reservoir.
If low, check for signs
of leakage.
Inspect coolant condition.
Make sure coolant mix
is 50/50%.
Check for oil in coolant or
coolant in crankcase.
Inspect rubber seal under
cap for rips and tears.
Replace if damaged.
Pressure test radiator cap.
Consult Repair Manual
Refer to Section 13 Cooling
System of the Briggs &
Stratton liquid-cooled engine
repair manual for specifica-
tions and detailed procedures.
IF THE ABOVE STEPS ARE
BEYOND YOUR ABILITY,
PLEASE CONSULT YOUR
LOCAL SERVICE DEALER.
Do a compression and
leakdown test if oil is
found in coolant or coolant
is found in oil.
This requires some engine
disassembly and draining
the cooling system.
Consult Repair Manual
Thermostat should open
between 178˚-183˚ F
(8- 84˚ C). Replace ther-
mostat P/N 825064.
Cap should hold 11-15 PSI.
Replacement cap
P/N 820258.
Always consult engine owners manual and repair manual for specific values and procedures. www
.briggsandstratton.com or www
.briggsnetwork.com
Vanguard 3/LC Engine Compression
Engine Model Nominal Valve Minimum Valve
700G 192 psi at 400rpm 142 psi at 400 rpm
950G 200 psi at 400 rpm 150 psi at 400 rpm
954G 215 psi at 400 rpm 155 psi at 400 rpm
700D 498 psi at 300 rpm 384 psi at 300 rpm
850D 512 psi at 300 rpm 384 psi at 300 rpm
950D 526 psi at 300 rpm 384 psi at 300 rpm
950DT/954DT 526 psi at 300 rpm 384 psi at 300 rpm
Checking Compression Pressure on Vanguard 3/LC Diesel Engines:
Cylinder compression testing is a valuable tool that can reveal a great deal about the
internal condition of the engine. If components such as pistons, rings, valves, and
head gaskets are doing their job, compression readings will be up to specification and
consistent across all cylinders. A cylinder that is not within the specified compression
reading indicates a problem. If it is decided that the engine must be removed for
overhaul or major repair work contact your local Briggs and Stratton Distributor for
authorization.
1. Engine oil level, air cleaner, starting motor, and battery must be well
conditioned.
2. Clean the area around the glow plugs before you remove them (compressed air
should be used). The idea is to prevent dirt from getting into the cylinders as
the compression check is being done.
3. Thoroughly warm up the engine (coolant temperature of 176-194F).
4. Disconnect fuel solenoid wire harness before starting test.
5. Remove all glow plugs. Install (#19443) glow plug gauge adapter
firmly into
cylinder number one glow plug hole.
6. Attach diesel compression gauge (#19555 Diesel compression tester) to glow
plug adapter.
7. Crank engine until a stable reading is obtained on compression gauge. Record
the highest gauge reading obtained.
8. Repeat the procedure for the remaining cylinders, document these readings on
the Troubleshooting Worksheet and compare to the specifications listed.
Always consult engine operating & maintenance instructions manual and engine repair manual
for specific values and procedures.
www.briggsandstratton.com
www.briggsnetwork.com
3/LC ENGINE TROUBLESHOOTING WORKSHEET
Equipment Manufacturer: W
arranty Claim No.
Date of Purchase: Control No.
Customer Name: Hours Used:
Engine Model: Dealer Name:
Engine Type: Dealer Phone:
Engine Code S/N: Dealer Fax:
FUEL YES/GOOD NO/BAD FINDINGS
Sufficient fuel in tank Fill tank
Fuel shut off valve
Open fuel valve
Vent plugged Open vent cap or unplug vent hole
Faulty fuel pump/gas Check pressure & delivery output
Improper fuel/stale fuel Drain, flush tank & refill
Contaminated fuel/water dirt Drain, flush tank & refill
Kinked or clogged fuel line
Check fuel flow
Fuel solenoid not operational Clean or replace solenoid, check wire
Gas connections, gasket ground
Check valve clearance
Adjust
Check compression pressure. Compression test Cyl.#1 Cyl.#2 Cyl.#3
FINDINGS >
Leakdown test FINDINGS > Cyl.#1 Cyl.#2 Cyl.#3
COMBUSTION YES/GOOD NO/BAD
LUBRICATION YES/GOOD NO/BAD FINDINGS
Engine oil level Adjust as required
Oil condition Check viscosity/color
Oil pressure Check oil pressure at 3000 RPM
Oil condition Check for coolant in oil
Check fuel flow Does fuel flow from return line
Injector
Check pop-off press. & spray pattern
Injection Pump
12 V
olts to solenoid
Glow plugs
Check voltage at glow plugs
Fuel filter
White smoke can be caused by clogged fuel filter
DIESEL YES/GOOD NO/BAD FINDINGS
Check spark plugs Replace bad plugs
Check plugs / inspect condition.
Record gaps, deposits found
Cyl.#1
Cyl.#2
Cyl.#3
and color.
FINDINGS >
Spark plug lead disconnected
Connect all plug leads
Check ignition wiring system Tighten, clean, repair, replace
Check all connectors Tighten, clean, repair, replace
Check ignition coils & leads Replace bad coil or lead
Check ignition module Replace bad module
Engine may not be warming up Replace thermostat
due to defective thermostat
Coolant level in surge tank
Overflow in surge tank could be
result of overheating
Check alternator belt deflection Is belt deflection with in spec.?
Check for leaks
Look for any leaks
Check level of antifreeze Radiator should be full
Pressure test radiator
Pressurize system to 11 psi
Check radiator cap condition Pressure test spec 11-15 psi
Check coolant condition 50/50 mix required
Check for oil in coolant May indicate blown head gasket
Do compression/leakdown test
Abnormal smell Check plugs inspect condition. Cyl.#1 Cyl.#2 Cyl.#3
Deposits found and color. FINDINGS >
Smoke blue/gray - oil: Compression & leak down test. Cyl.#1 Cyl.#2 Cyl.#3
Possible cause blown head gasket, damaged valve or valve seat,
damaged piston ring, worn cylinder, bent rod. FINDINGS >
Smoke black: Check plugs to confirm rich running condition,
inspect/replace air filter, timing
COOLANT YES/GOOD NO/BAD FINDINGS
EXHAUST GAS CONDITIONS YES/GOOD NO/BAD FINDINGS
ENGINE NOISE YES/GOOD NO/BAD FINDINGS
Check valve clearance Adjust
Isolate engine Remove all PTO drives
to isolate engine from equipment
IDLE TO HIGH/LOW YES NO Reset to
Idle speed screw
not set correct
Re-adjust idle speed screw
SPARK YES/GOOD NO/BAD FINDINGS
CARBURETOR YES/GOOD NO/BAD FINDINGS
Choke not operating properly Adjust or repair
Dirty air filter Replace
Fuel filter dirty Replace
Air intake leaks Check intake systems for any signs
of leaks, torque all fasteners
  • Page 1 1
  • Page 2 2
  • Page 3 3
  • Page 4 4
  • Page 5 5