Defrostinginstructions.(forManualDefrostmodels) www.GEAppliances.com
In inost clilnates, defl'osting will be
necessai_ on]_ about twice a _eai;
Tohave your freezer operate most efficiently,
do not permit mere than I/2" (13 mm) of
frost to accumulate on the shelves.
To remove fl'ost, scrape Mth a plastic or
wood Sl)_lttxl_l ox" scx';ipex i
Do not use an ice pick or sharp-edged
instrument as it may damageor scratch the
freeze_
Do not use any electrical device in
defrosting your freezer.
For Complete Defrosting
_] Turn tile tenq)ex'atux'e control to OFF
and mq_lug tile fl'eezei:
[_ Relnox e all food and place it ill
corrugated boxes, insulated bags,
picnic coolex_, etc. Lrse towels and
newsI_apex_ fl)x" insulation as needed.
_] XVith tile door/lid open, use pails of
hot water to speed loosening of fl'ost.
Relnove lalge pieces betore they inelt.
On models without a defl'ost dx'ain,
place rowels or ne_:spai)ex_ on the
freezer bottom to catch the fi'ost. The
fi'ost will loosen and tifll. Remove towels
axl(l/ox" xlel_:spapex_.
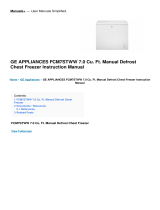
Z
DrainHose
]_]a. Some Upright xnodels have a hose
adapter and a dx'ain hose behixld the
base grille which carx)' the defrost
water out fl'oln the fl'eezer ]_.emove
the base grille; then remove the dx'ain
plug and let the defl'ost water dx'ain
into a pan.
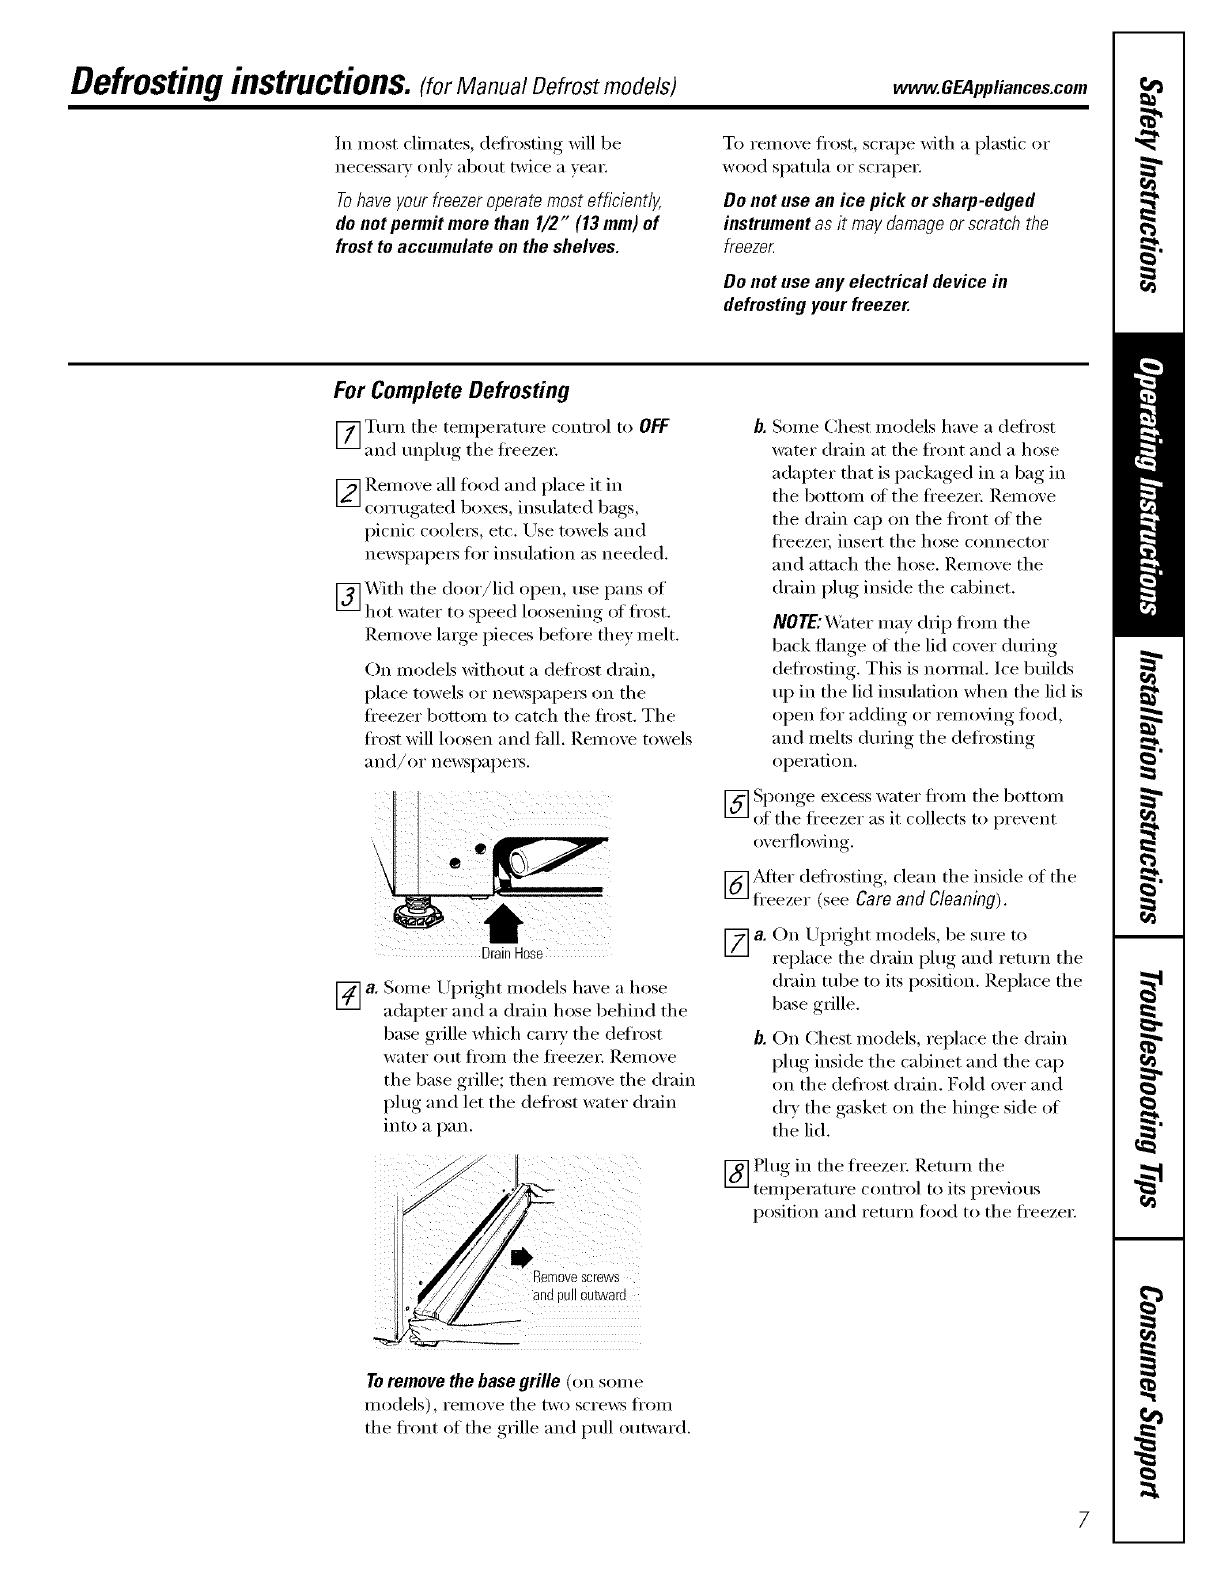
%movescrews
_r] BUllOutwaro
b. Some Chest models have a defl'ost
water dx'ain at tile fl'ont and a hose
adapter that is packaged in a bag in
tile bottoln of tile fl'eezei: Relnove
tile dx'ain cap on tile ti'ont of tile
ti'eezex; insert tile hose COXlXlectox"
and attach the hose. Remove the
drain phxg inside the cabinet.
NOTE:XV_ter may drip ti'oln tile
back flange (ff tile lid covey duxing
defl'osdng. This is nomml. Ice builds
up in the lid insulation when the lid is
open tor adding or removing food,
and Inelts during tile defl'osting
operatioxl.
S )onoe excess water J[i'OXll tile bottoxlx
[] o{ th;_'fl'eezer as it collects to pre',ent
overfl()wing.
@Mter defrosting, clean the inside of the
fl'eezer (see Care and Cleaning).
_a. Oil Uptight xnodels, be sure to
replace tile dx'ain i_lug and x'etux'n tile
dx'ain robe to its position. Replace the
base grille.
b. On Chest models, replace the drain
phxg inside tile cabinet and tile cap
oil tile deii'ost drain. Fold over and
dry the gasket on the hinge side of
the lid.
Phxo XXl tl_ •
_] g " _,,e H'eezex: I_.eturn tile
tenq_ex'atux'e control to its i)x'ex_ous
position and x'eturxl toed to tile fl'eezex:
To remove the base grille (on seine
inodels), relnoxe tile two screws ti'oln
tile fl'ont of tile ,.t,fille and pull outward.