Pull the textiles like trousers,knitted fabric,t-shirt and sweat shirt
inside out.
Wash your small clothes like socks and handkerchiefs in a washing
bag.
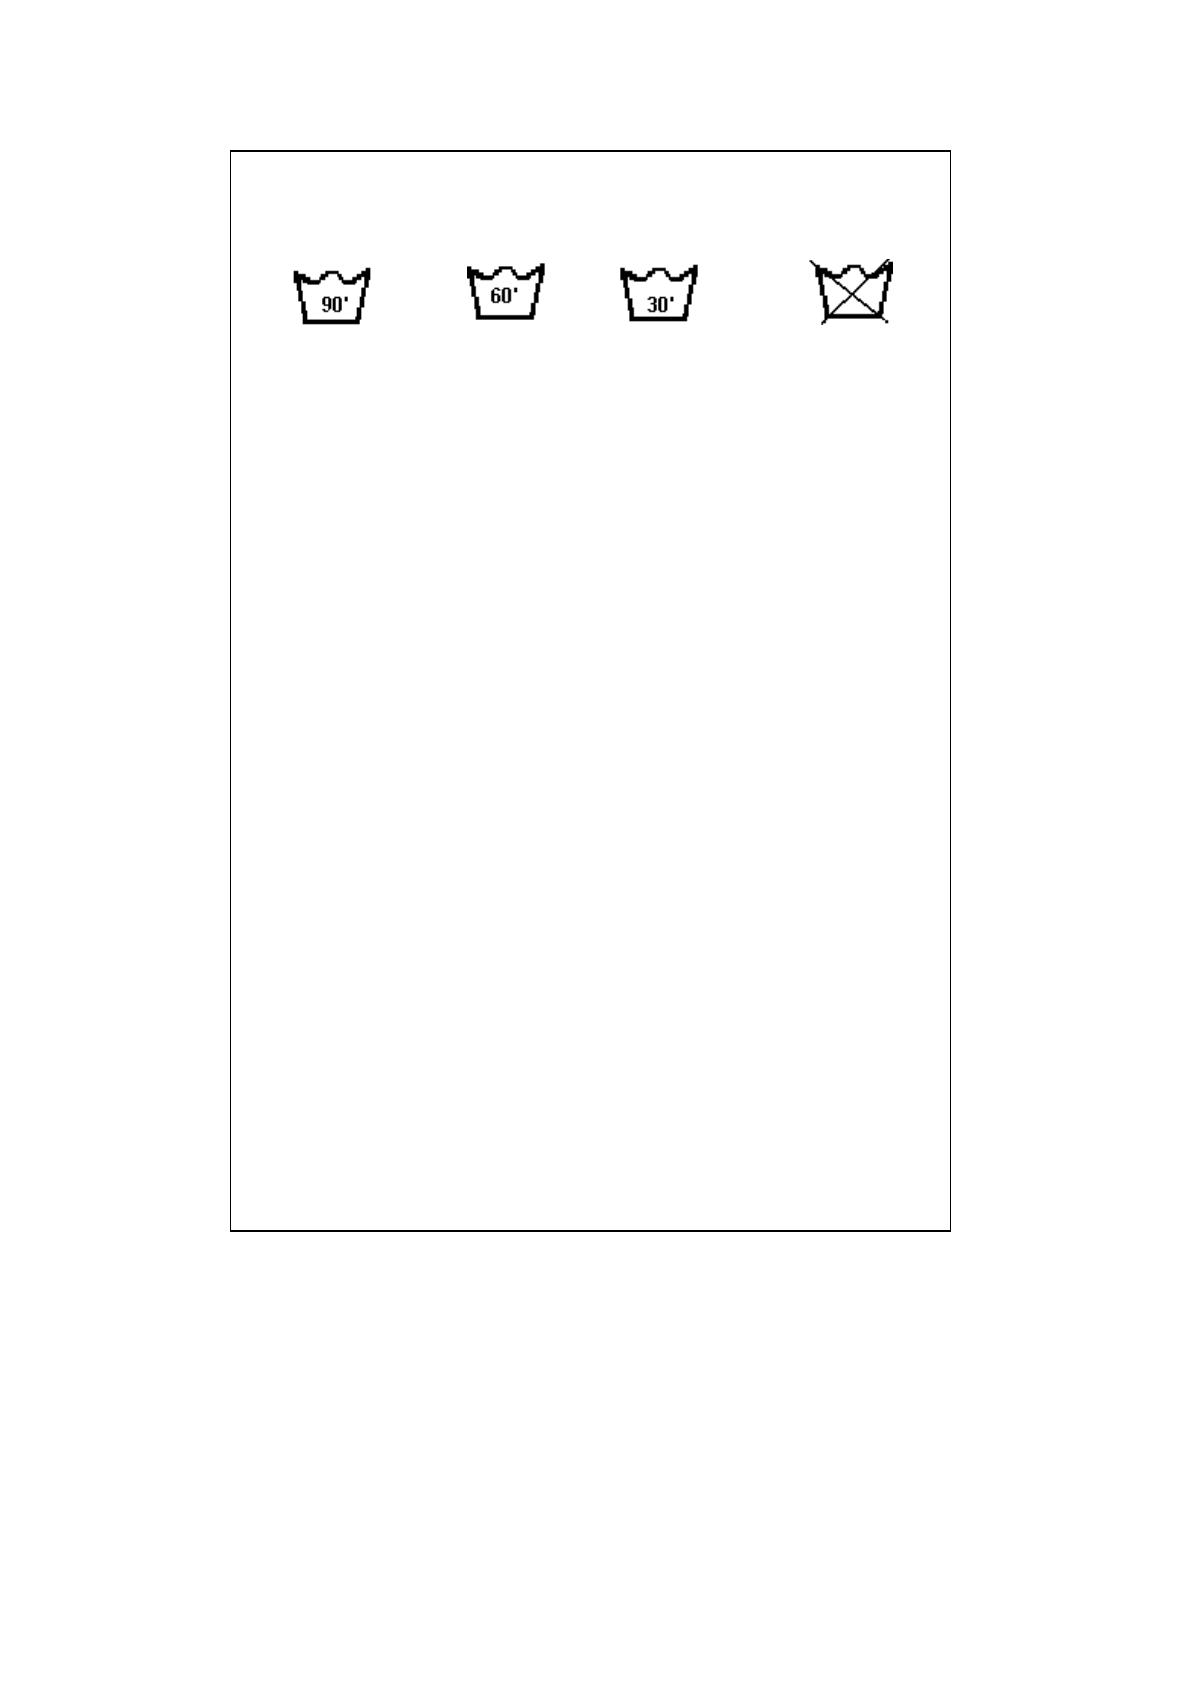
Wash up tol 90C Wash up to 60 C Wash up to 30 C Not washable in
washing machine
Placement of the clothes into the machine
Open the door of your machine.
Fill your clothes in your machine in a well-spread manner.
Place each cloth separately.
When you shut the door of your machine, be careful that no cloth is
jammed between the cover and the gasket.
Shut the door of your machine tightly otherwise your machine will not
start the washing process.
Filling detergent in the machine
The quantity of the detergent that you will fill in your machine depends on the
following criteria:
Your detergent consumption will change according to the dirtiness
level of your clothes. For your slightly dirty clothes, do not pre-wash
and put a small amount of detergent in the compartment no.2 of the
detergent drawer.
For your excessively dirty clothes, select a program with pre-
washing, fill ¼ portion of the detergent you will put in compartment
1 in the detergent drawer and the remaining portion in compartment
2.
In your machine,use the detergents developed especially for
automatic washing machines. The quantities that will be used for
your clothes are written on the packing of the detergents.
As the hardness of your water increases, the amount of the
detergent to be consumed will also increase.
As the amount of your clothes increases, the amount of the
detergent to be consumed will also increase.
Fill your softener in the softener compartment in your detergent
drawer. Do not exceed the MAX level. Otherwise, the softener will
diffuse in the washing water via the siphon.
The softeners with high density should be diluted with some water
before filling in the drawer. That is because the softener with high
density obstructs the siphon and prevents the flow of the softener.
12


