–1–
Thank you for purchasing a MITSUBISHI HEAVY INDUSTRIES, LTD. Air-Conditioner. To
get the best long-lasting performance, please read and follow this User’s Manual carefully
before using your air-conditioner. After reading, please store the Manual in a safe place
and refer to it for operational questions or in the event of any irregularities.
This air-conditioner is intended for domestic use.
Do not vent R410A into the atmosphere: R410A is a fluorinated greenhouse gas,
covered by the Kyoto Protocol with a Global Warming Potential (GWP) = 1975.
contents
ENGLISH
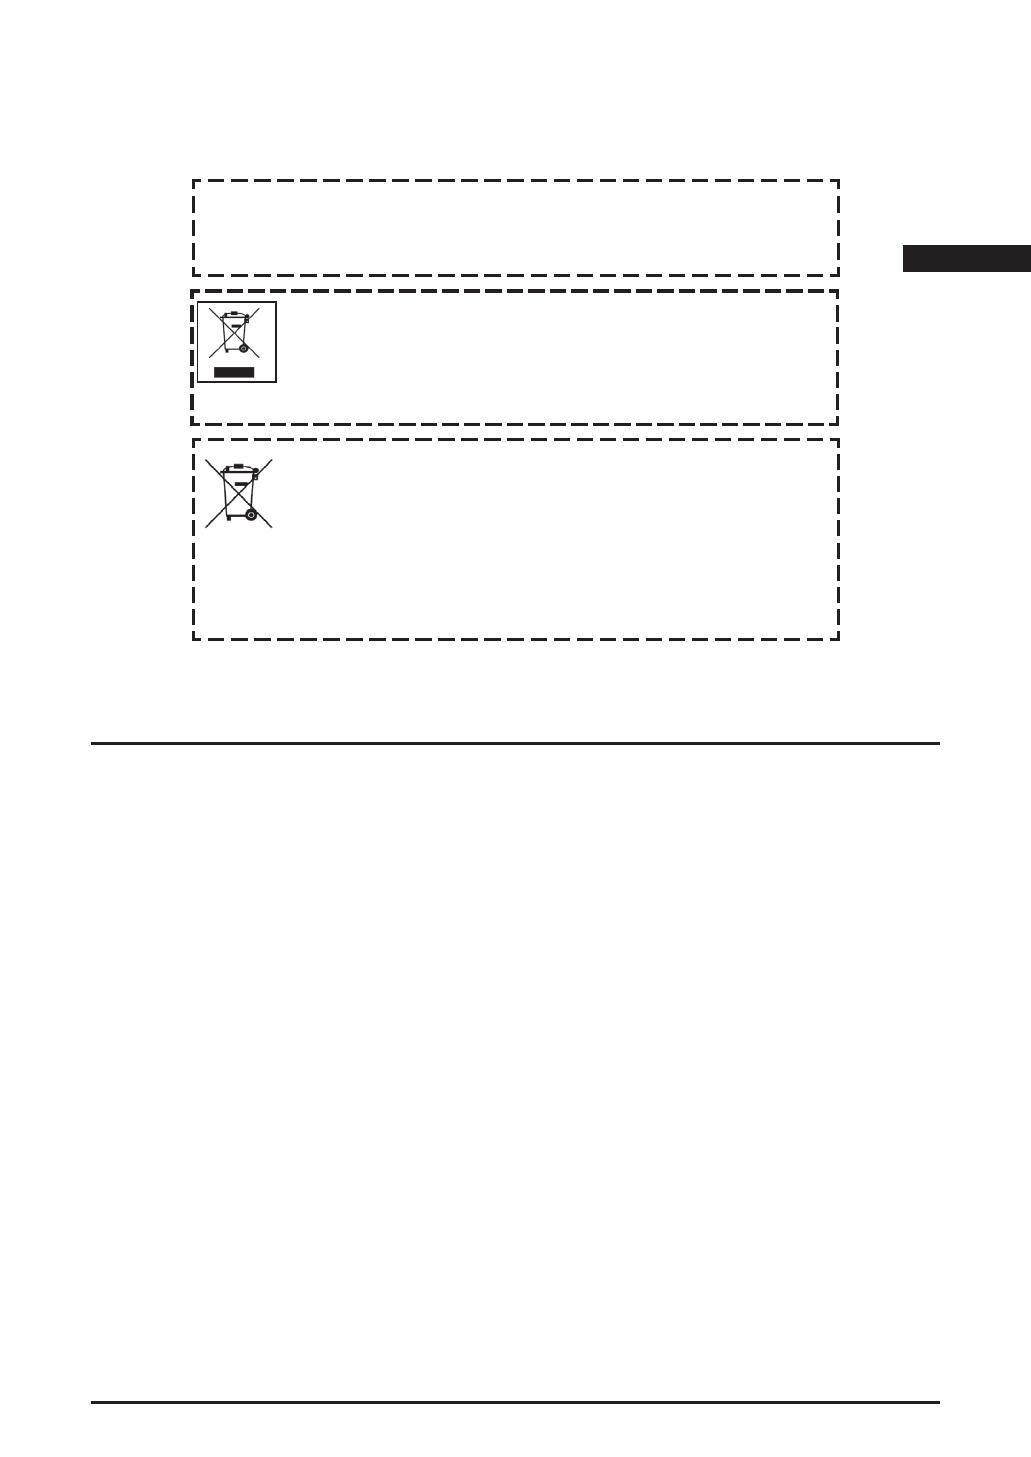
Your Air Conditioning product may be marked with this symbol. It means
that waste electrical and electronic equipment (WEEE as in directive 2012/
19/EU) should not be mixed with general household waste. Air conditioners
should be treated at an authorized treatment facility for re-use, recycling
and recovery and not be disposed of in the municipal waste stream. Please
contact the installer or local authority for more information.
This symbol printed in the batteries attached to your Air Conditioning
product is information for end-users according to the EU directive 2013/56/
EU article 20 annex II.
Batteries, at their end-of-life, should be disposed of separately from general
household waste. If a chemical symbol is printed beneath the symbol
shown above, this chemical symbol means that the batteries contain a
heavy metal at a certain concentration. This will be indicated as follows:
Hg:mercury(0.0005%) , Cd:cadmium(0.002%) , Pb:lead(0.004%)
Please, dispose of batteries correctly at your local community waste
collection or the recycling center.
Safety precautions ........................................ 2
Name of each part and its function ............... 6
Remote control handling ............................... 8
Operation failure with the remote control ...... 8
Temporary run operation .............................. 8
Installing two air conditioners in the same
room .............................................................. 9
Child Lock ..................................................... 9
Operation and display section for
remote control ............................................. 10
Current time setting..................................... 11
AUTO mode operation ................................ 11
Temperature adjustment during AUTO....... 12
FAN SPEED ................................................ 12
COOL/HEAT/DRY/FAN mode operation .... 13
Air-conditioner operable
temperature setting ..................................... 13
Characteristics of HEAT mode operation ... 13
Airflow direction adjustment ........................ 14
SLEEP TIMER operation ............................ 15
The emission sound pressure level from each Indoor and Outdoor unit is under 70 dB(A).
OFF-TIMER operation ................................ 15
ON-TIMER operation .................................. 16
SLEEP TIMER + ON-TIMER operation ...... 16
ON-TIMER + OFF-TIMER operation .......... 17
WEEKLY TIMER operation ......................... 18
HIGH POWER/ECONOMY operation ......... 22
NIGHT SETBACK operation ....................... 23
SILENT operation ....................................... 23
SELF CLEAN operation .............................. 24
Auto restart function .................................... 24
Tips for effective operation ......................... 24
Airoutlet selection........................................ 25
Maintenance ............................................... 26
Proper installation ....................................... 28
Troubleshooting .......................................... 28
Notice .......................................................... 29
Contact your dealer..................................... 30
About the Multiple Air-conditioner ............... 30
Self diagnosis function ................................ 31
RFB012A006C_EN_001-032_0409 7/22/14, 9:361
Thank you for purchasing a MITSUBISHI HEAVY INDUSTRIES THERMAL SYSTEMS,
LTD. Air-Conditioner. To get the best long-lasting performance, please read and follow
this User’s Manual carefully before using your air-conditioner. After reading, please store
the Manual in a safe place and refer to it for operational questions or in the event of any
irregularities.
This air-conditioner is intended for domestic use.
Do not vent R410A into the atmosphere: R410A is a uorinated greenhouse gas with
a Global Warming Potential (GWP) = 2088.
Refer to a label on outdoor unit for the weight of uorinated greenhouse gas and CO
2
equivalent.
contents
ENGLISH
Your Air Conditioning product may be marked with this symbol. It means that
waste electrical and electronic equipment (WEEE as in directive 2012/19/
EU) should not be mixed with general household waste. Air conditioners
should be treated at an authorized treatment facility for re-use, recycling
and recovery and not be disposed of in the municipal waste stream. Please
contact the installer or local authority for more information.
This symbol printed in the batteries attached to your Air Conditioning
product is information for end-users according to the EU directive 2006/66/
EC article 20 annex II.
Batteries, at their end-of-life, should be disposed of separately from general
household waste. If a chemical symbol is printed beneath the symbol
shown above, this chemical symbol means that the batteries contain a
heavy metal at a certain concentration. This will be indicated as follows:
Hg:mercury(0.0005%) , Cd:cadmium(0.002%) , Pb:lead(0.004%)
Please, dispose of batteries correctly at your local community waste
collection or the recycling center.
Safety precautions .......................................... 2
Name of each part and its function .................6
Remote control handling.................................8
Operation failure with the remote control........8
Temporary run operation ................................8
Operation and display section for remote
control ............................................................. 9
Current time setting .......................................9
AUTO mode operation ..................................10
Temperature adjustment during AUTO .........10
FAN SPEED .................................................10
COOL/HEAT/DRY/FAN mode operation ......11
Air-conditioner operable
temperature setting.......................................11
Characteristics of HEAT mode operation .....11
Air ow direction adjustment..........................12
SLEEP TIMER operation ..............................13
OFF-TIMER operation ..................................13
ON-TIMER operation .................................... 14
SLEEP TIMER + ON-TIMER operation ........14
PROGRAM TIMER operation ......................15
HIGH POWER/ECONOMY operation ..........16
SELF CLEAN operation................................17
Auto restart function .....................................17
Tips for effective operation ...........................17
Maintenance .................................................18
Proper installation ......................................... 19
Troubleshooting ...........................................20
Notice ...........................................................20
Contact your dealer ......................................21
About the Multiple Air-conditioner .................21
Self diagnosis function..................................22
The emission sound pressure level from each Indoor and Outdoor unit is under 70 dB(A).
RLC012A012_EN_001-022.indd 1 2016/07/14 18:19:17
– 1 –
Thank you for purchasing a MITSUBISHI HEAVY INDUSTRIES THERMAL SYSTEMS,
LTD. Air-Conditioner. To get the best long-lasting performance, please read and follow
this User’s Manual carefully before using your air-conditioner. After reading, please store
the Manual in a safe place and refer to it for operational questions or in the event of any
irregularities.
This air-conditioner is intended for domestic use.
Do not vent R410A into the atmosphere: R410A is a uorinated greenhouse gas with
a Global Warming Potential (GWP) = 2088.
Refer to a label on outdoor unit for the weight of uorinated greenhouse gas and CO
2
equivalent.
contents
ENGLISH
Your Air Conditioning product may be marked with this symbol. It means that
waste electrical and electronic equipment (WEEE as in directive 2012/19/
EU) should not be mixed with general household waste. Air conditioners
should be treated at an authorized treatment facility for re-use, recycling
and recovery and not be disposed of in the municipal waste stream. Please
contact the installer or local authority for more information.
This symbol printed in the batteries attached to your Air Conditioning
product is information for end-users according to the EU directive 2006/66/
EC article 20 annex II.
Batteries, at their end-of-life, should be disposed of separately from general
household waste. If a chemical symbol is printed beneath the symbol
shown above, this chemical symbol means that the batteries contain a
heavy metal at a certain concentration. This will be indicated as follows:
Hg:mercury(0.0005%) , Cd:cadmium(0.002%) , Pb:lead(0.004%)
Please, dispose of batteries correctly at your local community waste
collection or the recycling center.
Safety precautions .......................................... 2
Name of each part and its function .................6
Remote control handling.................................8
Operation failure with the remote control........8
Temporary run operation ................................8
Operation and display section for remote
control ............................................................. 9
Current time setting .......................................9
AUTO mode operation ..................................10
Temperature adjustment during AUTO .........10
FAN SPEED .................................................10
COOL/HEAT/DRY/FAN mode operation ......11
Air-conditioner operable
temperature setting.......................................11
Characteristics of HEAT mode operation .....11
Air ow direction adjustment..........................12
SLEEP TIMER operation ..............................13
OFF-TIMER operation ..................................13
ON-TIMER operation .................................... 14
SLEEP TIMER + ON-TIMER operation ........14
PROGRAM TIMER operation ......................15
HIGH POWER/ECONOMY operation ..........16
SELF CLEAN operation................................17
Auto restart function .....................................17
Tips for effective operation ...........................17
Maintenance .................................................18
Proper installation ......................................... 19
Troubleshooting ...........................................20
Notice ...........................................................20
Contact your dealer ......................................21
About the Multiple Air-conditioner .................21
Self diagnosis function..................................22
The emission sound pressure level from each Indoor and Outdoor unit is under 70 dB(A).
RLC012A012_EN_001-022.indd 1 2016/07/14 18:19:17
–1–
Thank you for purchasing a MITSUBISHI HEAVY INDUSTRIES, LTD. Air-Conditioner. To
get the best long-lasting performance, please read and follow this User’s Manual carefully
before using your air-conditioner. After reading, please store the Manual in a safe place
and refer to it for operational questions or in the event of any irregularities.
This air-conditioner is intended for domestic use.
Do not vent R410A into the atmosphere: R410A is a fluorinated greenhouse gas,
covered by the Kyoto Protocol with a Global Warming Potential (GWP) = 1975.
contents
ENGLISH
Your Air Conditioning product may be marked with this symbol. It means
that waste electrical and electronic equipment (WEEE as in directive 2012/
19/EU) should not be mixed with general household waste. Air conditioners
should be treated at an authorized treatment facility for re-use, recycling
and recovery and not be disposed of in the municipal waste stream. Please
contact the installer or local authority for more information.
This symbol printed in the batteries attached to your Air Conditioning
product is information for end-users according to the EU directive 2013/56/
EU article 20 annex II.
Batteries, at their end-of-life, should be disposed of separately from general
household waste. If a chemical symbol is printed beneath the symbol
shown above, this chemical symbol means that the batteries contain a
heavy metal at a certain concentration. This will be indicated as follows:
Hg:mercury(0.0005%) , Cd:cadmium(0.002%) , Pb:lead(0.004%)
Please, dispose of batteries correctly at your local community waste
collection or the recycling center.
Safety precautions ........................................ 2
Name of each part and its function ............... 6
Remote control handling ............................... 8
Operation failure with the remote control ...... 8
Temporary run operation .............................. 8
Installing two air conditioners in the same
room .............................................................. 9
Child Lock ..................................................... 9
Operation and display section for
remote control ............................................. 10
Current time setting..................................... 11
AUTO mode operation ................................ 11
Temperature adjustment during AUTO....... 12
FAN SPEED ................................................ 12
COOL/HEAT/DRY/FAN mode operation .... 13
Air-conditioner operable
temperature setting ..................................... 13
Characteristics of HEAT mode operation ... 13
Airflow direction adjustment ........................ 14
SLEEP TIMER operation ............................ 15
The emission sound pressure level from each Indoor and Outdoor unit is under 70 dB(A).
OFF-TIMER operation ................................ 15
ON-TIMER operation .................................. 16
SLEEP TIMER + ON-TIMER operation ...... 16
ON-TIMER + OFF-TIMER operation .......... 17
WEEKLY TIMER operation ......................... 18
HIGH POWER/ECONOMY operation ......... 22
NIGHT SETBACK operation ....................... 23
SILENT operation ....................................... 23
SELF CLEAN operation .............................. 24
Auto restart function .................................... 24
Tips for effective operation ......................... 24
Airoutlet selection........................................ 25
Maintenance ............................................... 26
Proper installation ....................................... 28
Troubleshooting .......................................... 28
Notice .......................................................... 29
Contact your dealer..................................... 30
About the Multiple Air-conditioner ............... 30
Self diagnosis function ................................ 31
RFB012A006C_EN_001-032_0409 7/22/14, 9:361
RFB012A009A_001-295.indd 1 2016/09/13 11:11:16


