2
USING THE UNIT SAFELY
WARNING
Make sure that the power cord is grounded
Connect mains plug of this model to a
mains socket outlet with a protective
earthing connection.
To completely turn o power to the unit, pull out
the plug from the outlet
Even with the power switch turned o, this
unit is not completely separated from its
main source of power. When the power
needs to be completely turned o, turn
o the power switch on the unit, then
pull out the plug from the outlet. For this reason, the
outlet into which you choose to connect the power
cord’s plug should be one that is within easy reach and
readily accessible.
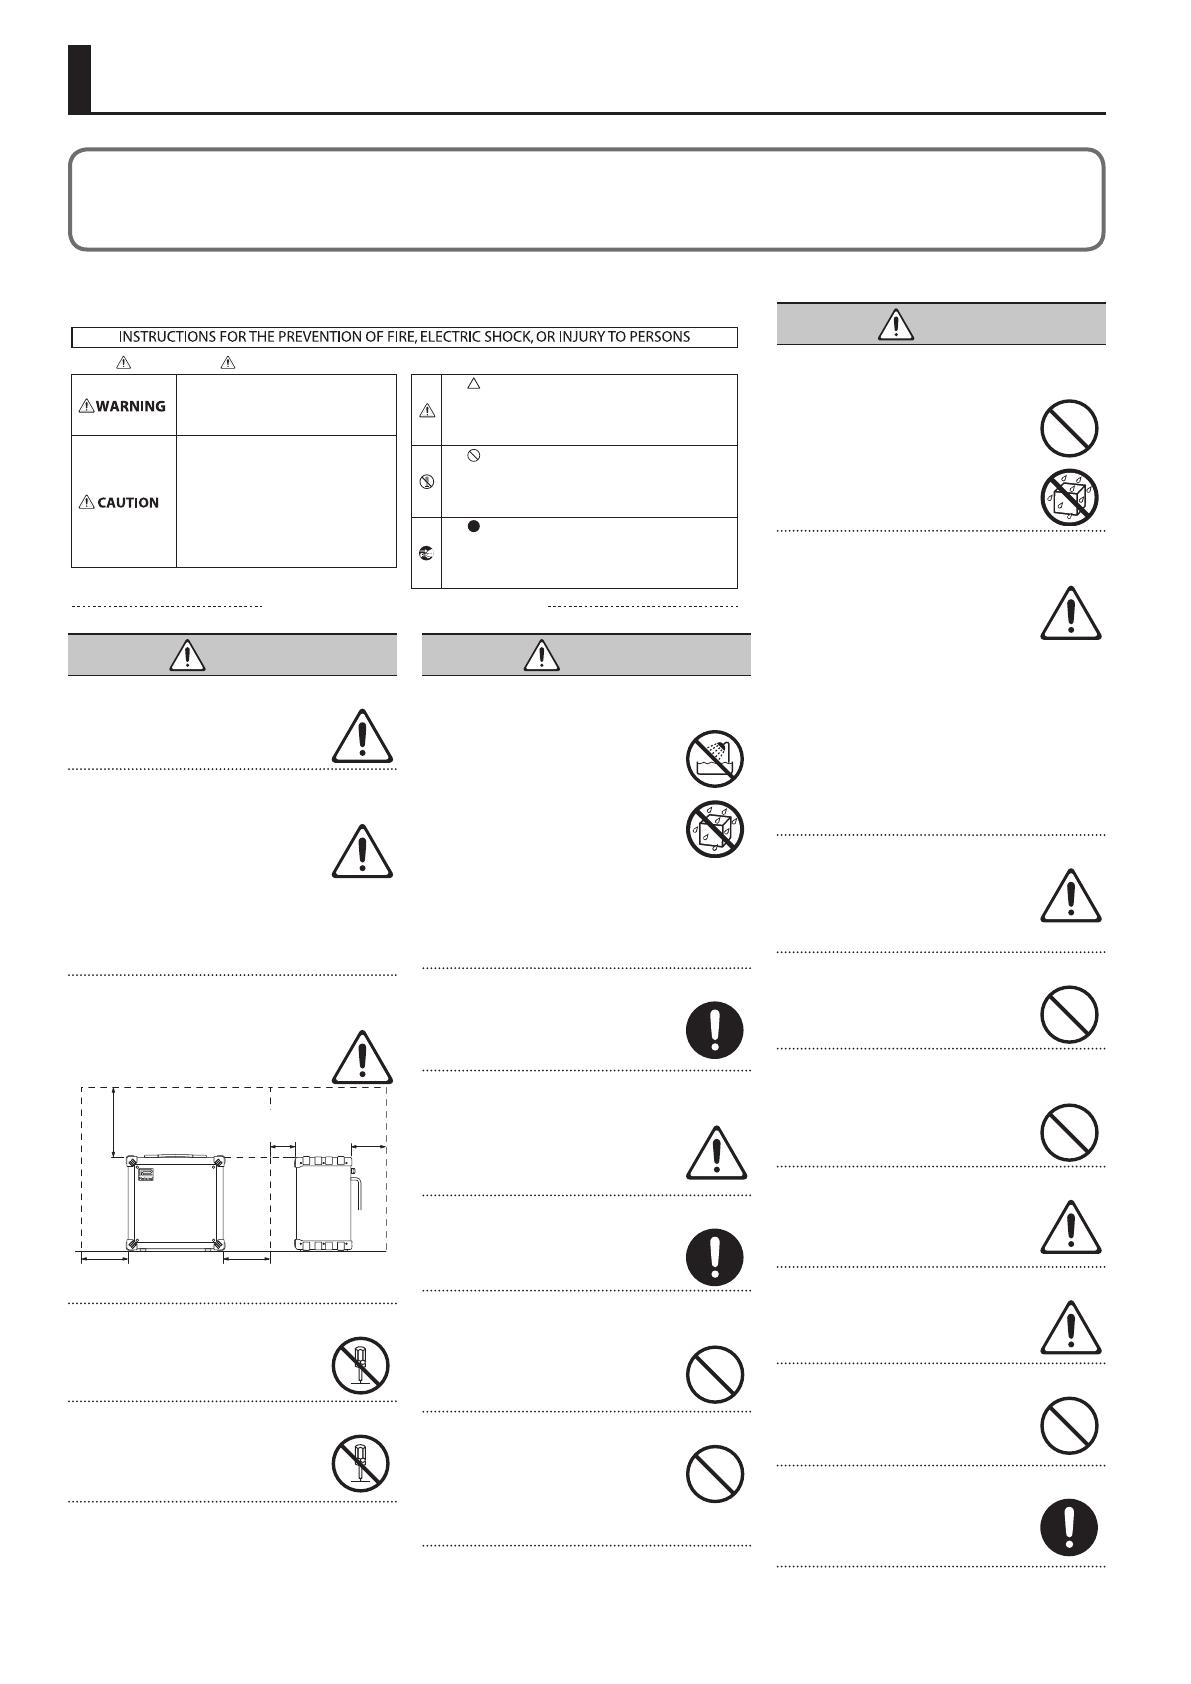
Secure a sucient amount of space at the setup
location
Since this unit normally emits a slight
amount of heat, make sure to secure
sucient space around it, as shown below.
Front Side
30 cm (12 in.)
or greater
5 cm (2 in.)
or greater
15 cm (6 in.)
or greater
20 cm (8 in.)
or greater
20 cm (8 in.)
or greater
Do not disassemble or modify by yourself
Do not carry out anything unless you are
instructed to do so in the owner’s manual.
Otherwise, you risk causing malfunction.
Do not repair or replace parts by yourself
Refer all servicing to your retailer, the
nearest Roland Service Center, or an
authorized Roland distributor, as listed on
the “Information.”
WARNING
Do not use or store in the following types of
locations
• Subject to temperature extremes (e.g.,
direct sunlight in an enclosed vehicle,
near a heating duct, on top of heat-
generating equipment); or are
• Damp (e.g., baths, washrooms, on wet
oors); or are
• Exposed to steam or smoke; or are
• Subject to salt exposure; or are
• Exposed to rain; or are
• Dusty or sandy; or are
• Subject to high levels of vibration and shakiness;
or are
• Placed in a poorly ventilated location.
Do not place in an unstable location
Otherwise, you risk injury as the result of
the unit toppling over or dropping down.
Connect the power cord to an outlet of the correct
voltage
The unit should be connected to a power
supply only of the type described as
marked on the rear side of unit.
Use only the supplied power cord
Use only the attached power cord. Also,
the supplied power cord must not be used
with any other device.
Do not bend the power cord or place heavy objects
on it
Otherwise, re or electric shock may result.
Avoid extended use at high volume
Use of the unit at high volume for
extended periods of time may cause
hearing loss. If you ever experience any
hearing loss or ringing in the ears, you
should immediately stop using the unit
and consult a specialized physician.
Before using this unit, carefully read “IMPORTANT SAFETY INSTRUCTIONS” (inside front cover), “USING THE UNIT SAFELY” (p. 2), and
“IMPORTANT NOTES” (p. 3). After reading, keep the document(s) where it will be available for immediate reference.
© 2018 Roland Corporation
Used for instructions intended to alert the
user to the risk of injury or material
damage should the unit be used
improperly.
* Material damage refers to damage or
other adverse effects caused with
respect to the home and all its
furnishings, as well to domestic animals
or pets.
Used for instructions intended to alert the
user to the risk of death or severe injury
should the unit be used improperly.
The symbol alerts the user to things that must be
carried out. The specific thing that must be done is
indicated by the design contained within the circle. In the
case of the symbol at left, it means that the power-cord
plug must be unplugged from the outlet.
The symbol alerts the user to important instructions or
warnings.The specific meaning of the symbol is
determined by the design contained within the triangle. In
the case of the symbol at left, it is used for general
cautions, warnings, or alerts to danger.
The symbol alerts the user to items that must never be
carried out (are forbidden). The specific thing that must
not be done is indicated by the design contained within
the circle. In the case of the symbol at left, it means that
the unit must never be disassembled.
About WARNING and CAUTION Notices
About the Symbols
ALWAYS OBSERVE THE FOLLOWING
WARNING
Do not allow foreign objects or liquids to enter
unit; never place containers with liquid on unit
Do not place containers containing liquid
(e.g., ower vases) on this product. Never
allow foreign objects (e.g., ammable
objects, coins, wires) or liquids (e.g., water
or juice) to enter this product. Doing so
may cause short circuits, faulty operation,
or other malfunctions.
Turn o the unit if an abnormality or malfunction
occurs
Immediately turn the unit o, remove the
power cord from the outlet, and request
servicing by your retailer, the nearest
Roland Service Center, or an authorized
Roland distributor, as listed on the
“Information” when:
• The power cord has been damaged; or
• If smoke or unusual odor occurs; or
• Objects have fallen into, or liquid has been spilled
onto the unit; or
• The unit has been exposed to rain (or otherwise has
become wet); or
• The unit does not appear to operate normally or
exhibits a marked change in performance.
Be cautious to protect children from injury
Always make sure that an adult is on hand
to provide supervision and guidance when
using the unit in places where children
are present, or when a child will be using
the unit.
Do not drop or subject to strong impact
Otherwise, you risk causing damage or
malfunction.
Do not share an outlet with an unreasonable
number of other devices
Otherwise, you risk overheating or re.
Do not use overseas
Before using the unit in overseas, consult
with your retailer, the nearest Roland
Service Center, or an authorized Roland
distributor, as listed on the “Information.”
Don’t block ventilation openings
Don’t allow the unit’s ventilation openings
to be blocked by a newspaper, tablecloth,
curtains, or similar objects.
Don’t place burning objects on the unit
Don’t place any burning object (such as a
candle) on the unit.
Be aware of weather conditions
Use the apparatus in moderate climates.


