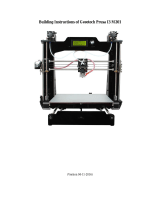
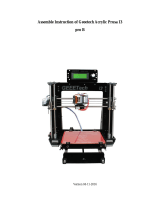
bq Prusa i3 Hephestos User manual
- Category
- 3D printers
- Type
- User manual
bq Prusa i3 Hephestos is an open-source 3D printer designed to make 3D printing technology accessible to everyone. With its user-friendly design and step-by-step assembly instructions, it's perfect for beginners and hobbyists looking to create their own 3D objects. With its large build volume and sturdy construction, the bq Prusa i3 Hephestos can handle a wide range of printing materials and projects, making it a versatile choice for various applications.
bq Prusa i3 Hephestos is an open-source 3D printer designed to make 3D printing technology accessible to everyone. With its user-friendly design and step-by-step assembly instructions, it's perfect for beginners and hobbyists looking to create their own 3D objects. With its large build volume and sturdy construction, the bq Prusa i3 Hephestos can handle a wide range of printing materials and projects, making it a versatile choice for various applications.


-
 1
1
-
 2
2
-
 3
3
-
 4
4
-
 5
5
-
 6
6
-
 7
7
-
 8
8
-
 9
9
-
 10
10
-
 11
11
-
 12
12


bq Prusa i3 Hephestos User manual
- Category
- 3D printers
- Type
- User manual
bq Prusa i3 Hephestos is an open-source 3D printer designed to make 3D printing technology accessible to everyone. With its user-friendly design and step-by-step assembly instructions, it's perfect for beginners and hobbyists looking to create their own 3D objects. With its large build volume and sturdy construction, the bq Prusa i3 Hephestos can handle a wide range of printing materials and projects, making it a versatile choice for various applications.
Ask a question and I''ll find the answer in the document
Finding information in a document is now easier with AI
Related papers
Other documents
-
Prusa3D MK2.5S User manual
-
-
-
-
 Geeetech Prusa I3 M201 Building Instructions
-
 Geeetech acrylic Prusa I3 Assembly Instructions Manual
-
-
-
 Prusa Original Prusa i3 MK3 User manual
-
 Tevo Tarantula Pro Assembly Manual


