Kohler 2358-1-0 Installation guide

Category
Sanitary ware
Type
Installation guide
Thank You For Choosing Kohler Company
We appreciate your commitment to Kohler quality. Please take a few
minutes to review this manual before you start installation. If you
encounter any installation or performance problems, please don’t
hesitate to contact us. Our phone numbers and website are listed on
the back cover. Thanks again for choosing Kohler Company.
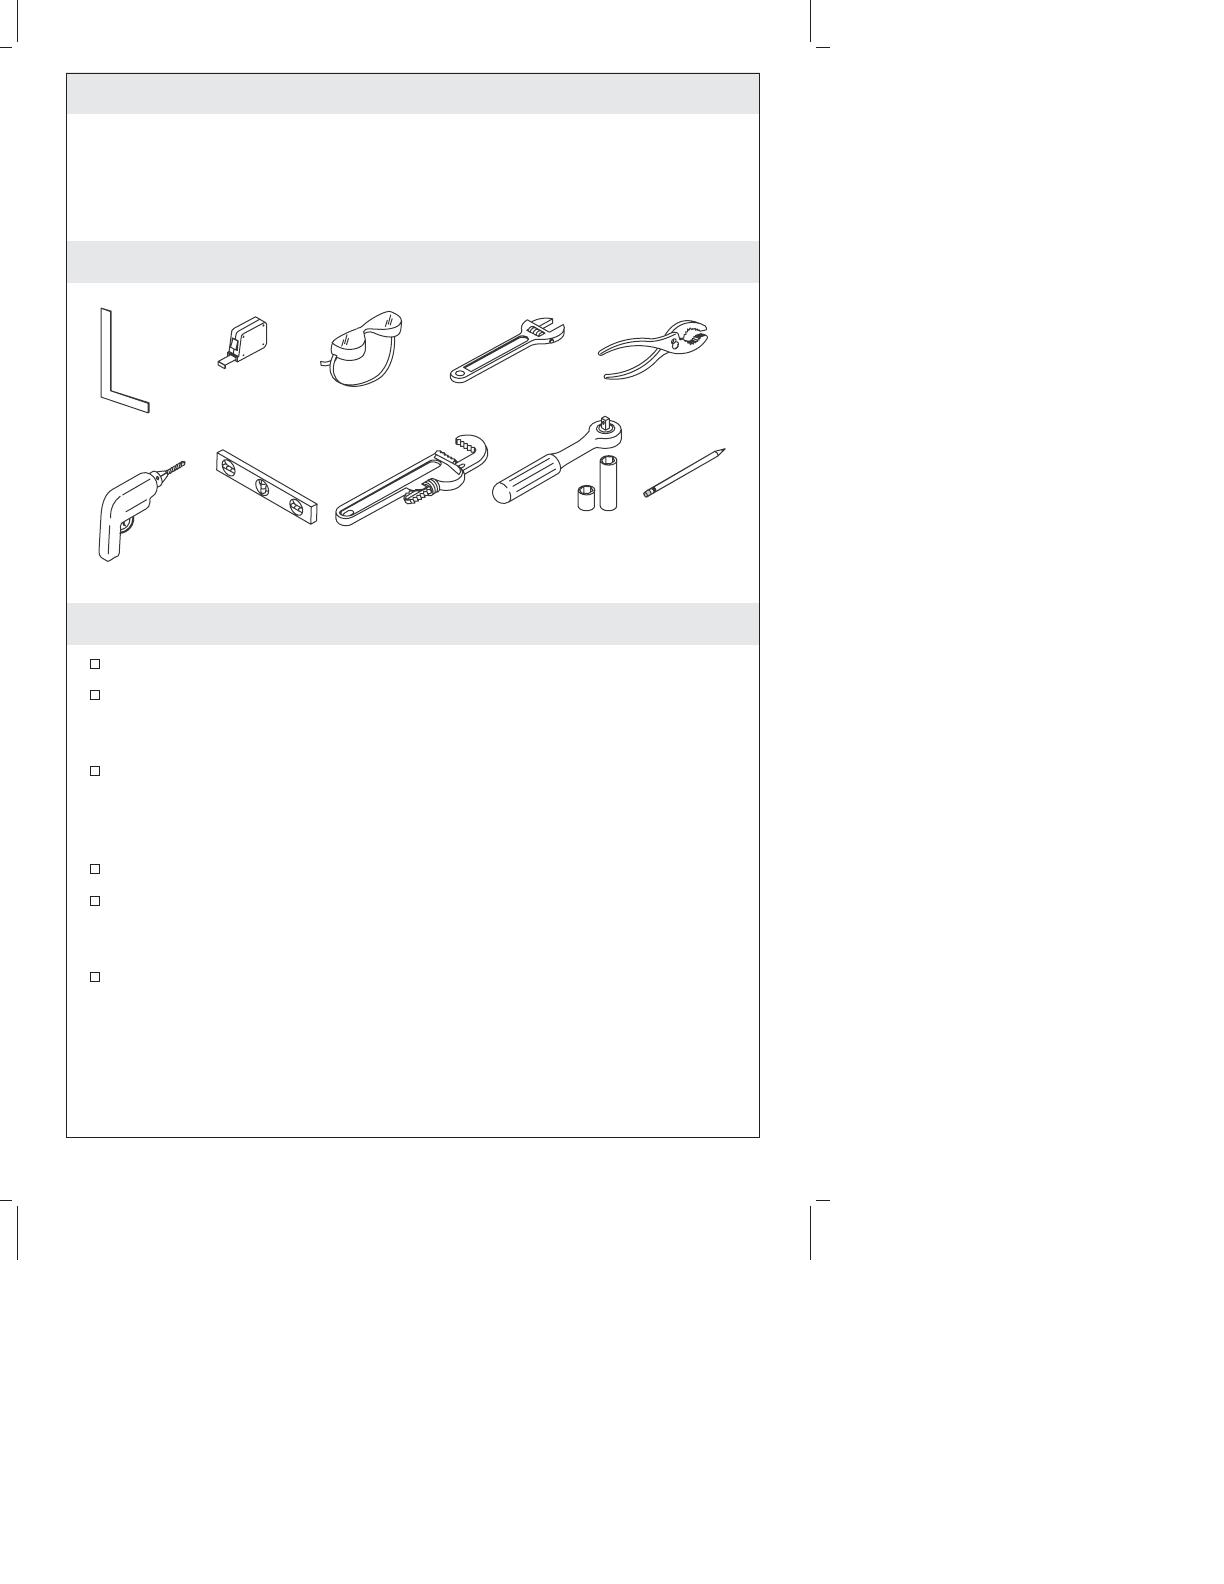
Tools and Materials
Before You Begin
Observe all local plumbing and building codes.
Prior to installation, unpack the new lavatory and inspect it for
damage. Return the lavatory to its protective carton until you are
ready to install it.
This installation guide provides installation steps for attaching the
lavatory to wood frame construction. For other installations,
supply suitable bracing and fastening devices of sufficient size
and strength.
The walls and the floor must be square, plumb, and level.
If installing this pedestal lavatory with the petite vanity (K-2449),
refer to the installation instructions packed with the vanity for
installation instructions.
Kohler Co. reserves the right to make revisions in the design of
products without notice, as specified in the Price Book.
Adjustable
Wrench
Tape
Measure
Safety
Glasses
Pipe
Wrench
Socket Wrench
With Sockets
Square
Drill
Pencil
Pliers
Level
1063452-2-B 2 Kohler Co.
1. Preparation
Install the water supplies and drain pipes according to the
roughing-in information. Install the supply stops so the handles
will not touch the pedestal when fully open.
Install sufficient backing behind the finished wall to provide a
secure material for the anchoring devices.
Mark the centerline on the floor with a pencil.
Position the pedestal on the floor centerline location at the
required distance from the finished wall. Refer to the roughing-in
information for the required distance.
Carefully lift the lavatory into place on the pedestal. If necessary,
slowly move the pedestal to ensure proper fit.
NOTE: The lavatory must be supported by the pedestal.
Level the lavatory. If necessary, add additional self-adhesive
gaskets to achieve level.
Locate the two lavatory anchoring holes. Mark these anchoring
hole locations on the finished wall and mark the floor through the
hole in the pedestal bottom.
23-15/16" (60.8 cm)
1/2" (1.3 cm) D.
Mounting hole in
pedestal
10-1/4"
(26 cm)
13-13/16"
(35.1 cm)
8" (20.3 cm)
11-1/8"
(28.3 cm)
2-5/8" (6.7 cm)
9-1/2" (24.1 cm)
35-1/4"
(89.5 cm)
7-1/2"
(19.1 cm)
Finished Floor
2-5/8"
(6.7 cm)
7-15/16"
(20.2 cm)
3/8" Cold
1-1/2"
(3.8 cm)
20-7/16"
(51.9 cm)
4" (10.2 cm)
K-2359-4
4" (10.2 cm)
1-1/4" OD
Finished
Wall
K-2359-8
3/8"
Hot
Kohler Co. 3 1063452-2-B
Preparation (cont.)
Carefully remove the lavatory from the pedestal. Set the lavatory
and pedestal aside.
1063452-2-B 4 Kohler Co.
2. Install the Lavatory
Drill 1/4 mounting holes at the marked locations on the finished
wall and the floor.
NOTE: Fastening devices other than hanger bolts may be used to
mount the lavatory. Ensure the fastening devices are of sufficient
size and strength.
Install the hanger bolts to the backing material so they extend 1
(2.5 cm) beyond the finished wall.
Install the faucet and drain to the lavatory according to the
manufacturer’s instructions.
Move the pedestal over the drilled hole in the floor. Secure the
pedestal to the floor with the wood screw and washer.
Carefully set the lavatory onto the pedestal so the hanger bolts
extend through the lavatory anchoring holes.
CAUTION: Risk of product damage. Do not overtighten the cap
nuts. Overtightening may damage the product.
Install the cap nuts and washers to the hanger bolts. Level the
lavatory, then carefully tighten the cap nuts until snug.
Washer
Pedestal
Install faucet
and drain.
Cap Nut
Apply
adhesive
gaskets.
Pedestal and Lavatory Placement
Finished Wall
Hanger
Bolts
Mark anchoring
holes.
10-1/2"
(26.7 cm)
9-1/2"
(24.1 cm)
Wood Screw
Washer
Kohler Co. 5 1063452-2-B
Install the Lavatory (cont.)
Connect and tighten the trap to the drain.
Complete the water supply connections to the faucet according to
the instructions packed with the faucet.
1063452-2-B 6 Kohler Co.
  • Page 1 1
  • Page 2 2
  • Page 3 3
  • Page 4 4
  • Page 5 5
  • Page 6 6
  • Page 7 7
  • Page 8 8
  • Page 9 9
  • Page 10 10
  • Page 11 11
  • Page 12 12
  • Page 13 13
  • Page 14 14
  • Page 15 15
  • Page 16 16
  • Page 17 17
  • Page 18 18
  • Page 19 19
  • Page 20 20

Kohler 2358-1-0 Installation guide

Category
Sanitary ware
Type
Installation guide

Ask a question and I''ll find the answer in the document

Finding information in a document is now easier with AI