2
Read this first
Before operating the unit, please read this
manual thoroughly, and retain it for future
reference.
WARNING
To prevent fire or shock hazard, do not
expose the unit to rain or moisture.
To avoid electrical shock, do not open
the cabinet. Refer servicing to qualified
personnel only.
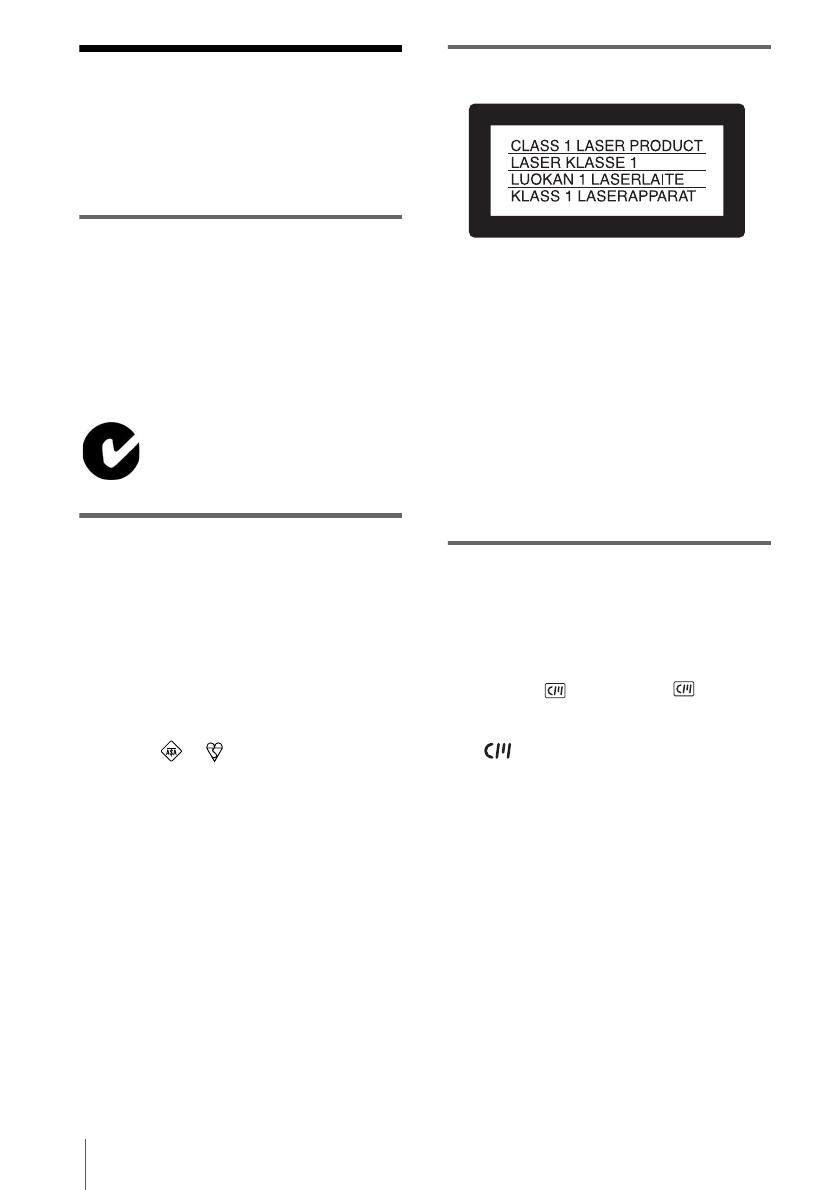
“Memory Stick”
FOR CUSTOMERS IN THE UNITED
KINGDOM
NOTICE ON THE SUPPLIED AC
ADAPTOR
A moulded plug complying with BS1363 is fitted to
this equipment for your safety and convenience.
Should the fuse in the plug supplied need to be
replaced, a fuse of the same rating as the supplied one
and approved by ASTA or BSI to BS1362 (i.e.,
marked with or mark) must be used.
If the plug supplied with this equipment has a
detachable fuse cover, be sure to attach the fuse cover
after you change the fuse. Never use the plug without
the fuse cover. If you should lose the fuse cover, please
contact your nearest Sony service station.
FOR CUSTOMERS IN EUROPE
ATTENTION
The electromagnetic fields at the specific frequencies
may influence the picture and sound of this camcorder.
This product has been tested and found compliant with
the limits set out in the EMC Directive for using
connection cables shorter than 3 meters (9.8 feet).
b
Note
If static electricity or electromagnetic interference
causes data transfer to discontinue midway (fail),
restart the application or disconnect and connect the
USB cable again.
Notes on use
Note on Cassette Memory
Your camcorder is based on the DV format. You can
use only mini DV cassettes in your camcorder. Use of
mini DV cassettes with Cassette Memory is
recommended as you can use Title search (p. 54), Date
search (p. 55), [ TITLE] (p. 74), [ TAPE
TITLE] (p. 76).
Cassettes with Cassette Memory are marked
with .
Notes on recording
• Before starting to record, test the recording function
to make sure the picture and sound are recorded
without any problems.
• Compensation for the contents of recordings cannot
be provided, even if recording or playback is not
possible due to a malfunction of the camcorder,
storage media, etc.
• TV color systems differ depending on the country/
regions. To view your recordings on a TV, you need
a PAL system-based TV.
• Television programs, films, video tapes, and other
materials may be copyrighted. Unauthorized
recording of such materials may be contrary to the
copyright laws.
N-50


