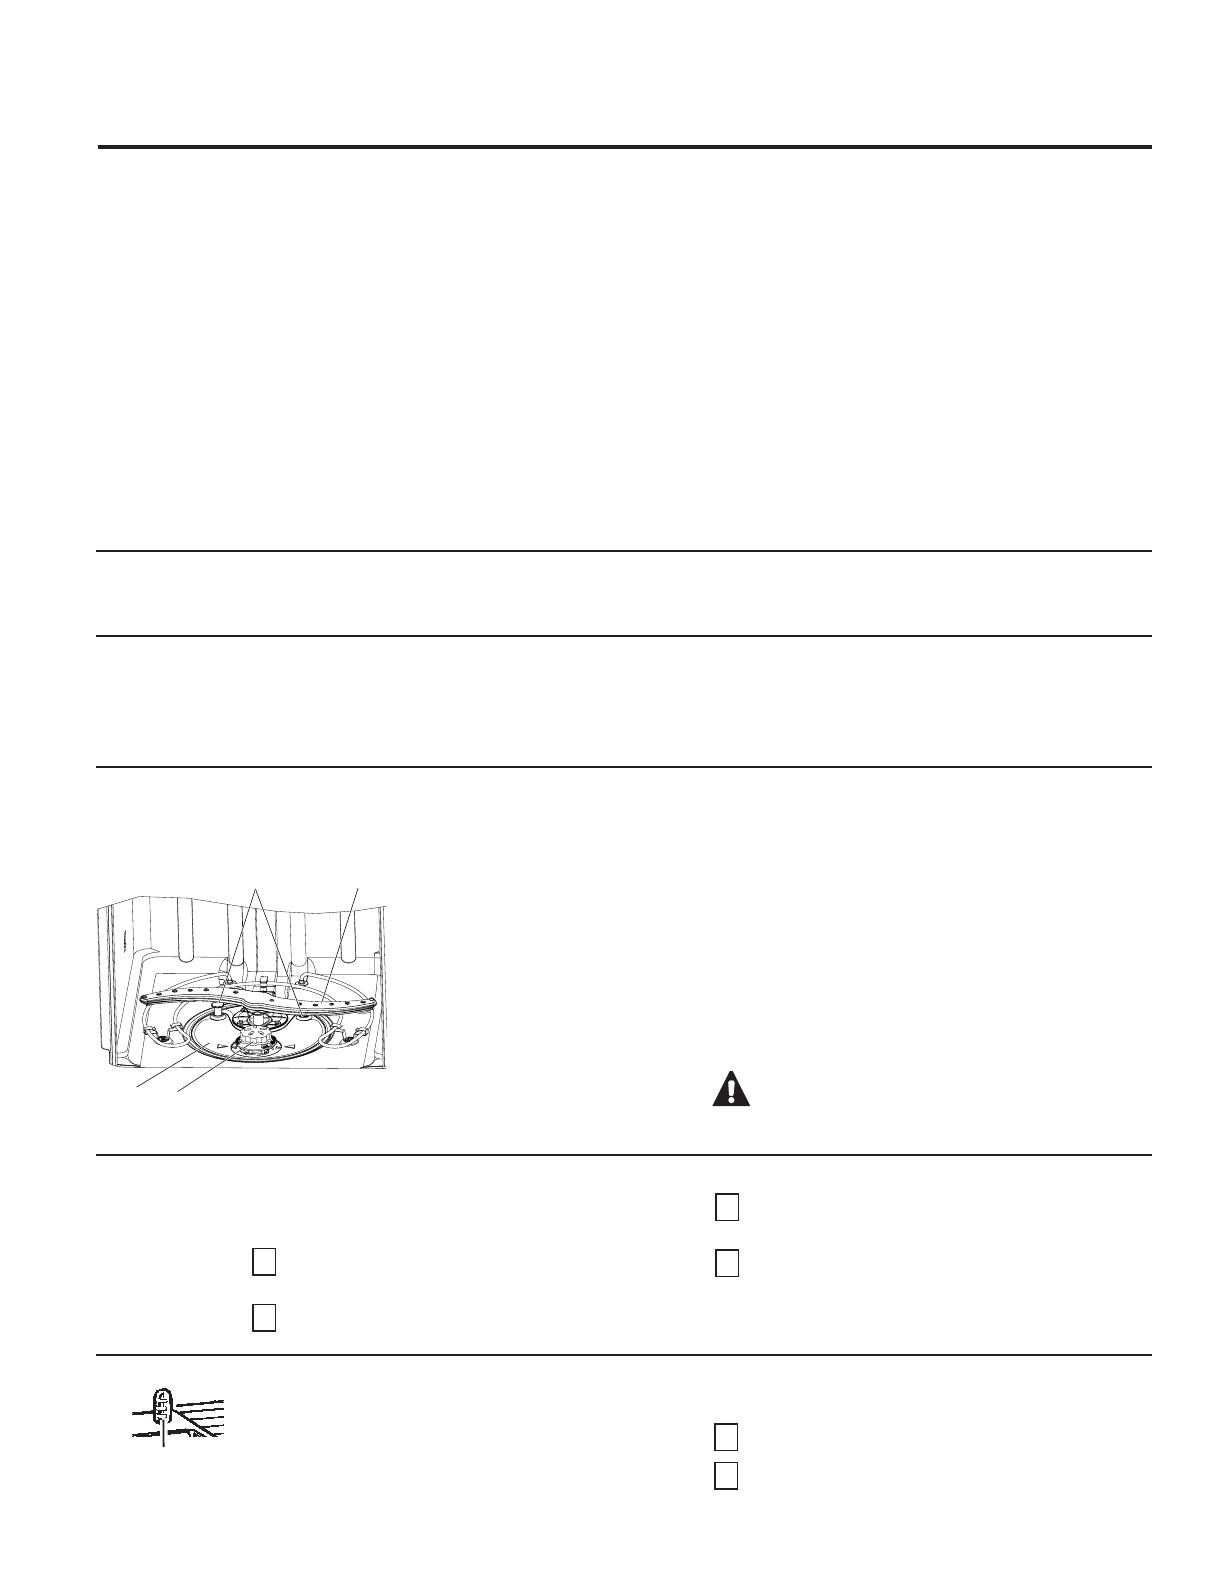
An air gap protects your dishwasher against water
backing up into it if a drain clogs. The air gap is not
a part of the dishwasher. It is not covered by your
warranty. Not all plumbing codes require air gaps,
so you may not have one.
The air gap is easy to clean.
1
Turn off the dishwasher and lift off the cover.
2
Remove the plastic cap and clean with
a toothpick.
11
Care and cleaning. GEAppliances.com
Cleaning the Control Panel
To clean the control panel, use a lightly dampened soft
cloth. Then dry thoroughly.
Does Your Dishwasher Have an Air Gap?
If your dishwasher is left in an unheated place during
the winter, ask a service technician to:
1
Cut off electrical power to the dishwasher.
Remove fuses or trip circuit breaker.
2
Turn off the water supply and disconnect the
water inlet line from the water valve.
3
Drain water from the water inlet line and water
valve. (Use a pan to catch the water.)
4
Reconnect the water inlet line to the water valve.
Protect Against Freezing
Cleaning the Exterior Door Panel
Before cleaning the front panel, make sure you know
what type of panel you have. Refer to the last two
letters of your model number. You can locate your
model number on the left-hand tub wall just inside
the door. If your model number ends with BB, CC,
WW, SA or ES then you have a painted door panel. If
your model number ends with SS, then you have a
Stainless Steel Door panel. If your model number ends
with II, then you have an Integrated door panel.
Follow the instructions below for cleaning the door
panel for your specific model.
Painted Door Panel (model numbers ending in BB–
black, CC–bisque, WW–white, SA-silver or ES-slate)
Use a clean, soft, lightly dampened cloth, then dry
thoroughly. You may also use a good appliance wax
or polish.
Stainless Steel Door Panel (model numbers ending in
SS)
The stainless steel panels can be cleaned with
Stainless Steel Magic or a similar product using a clean,
soft cloth. Do not use appliance wax, polish, bleach or
products containing chlorine on Stainless Steel doors.
You can order Stainless Steel Magic #WX10X29
through GE Parts by calling 877.959.8688. In Canada,
call 1-800-661-1616.
Integrated Door Panel (model numbers ending in II)
This is a custom installed door panel, and you
will need to refer to the cabinet manufacturers
recommendations for proper cleaning.
Do not use scouring pads or powered cleaners
because these products can scratch the finish.
Stainless Steel Inner Door
The stainless steel used to make the dishwasher tub
and inner door provides the highest reliability available
in a GE dishwasher.
If the dishwasher tub or inner door should be
scratched or dented during normal use, they will
not rust or corrode. These surface blemishes will
not affect their function or durability.
Check the air gap any
time your dishwasher
isn’t draining well.
Air gap
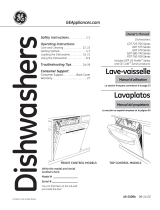
Ultra-Fine Filter
To clean the Ultra-Fine Filter,
remove the bottom rack. Twist and
remove the large round filter. Rinse
filter with warm soapy water and
use a sponge to carefully remove
any stubborn particles. Scrubbing
with scouring pads or brushes can
damage the filter. Once cleaned,
replace the Ultra-Fine Filter, and
twist to lock in place.
Fine Filter
To clean the Fine Filter (mesh plate), remove the
bottom rack. Remove the Ultra-Fine Filter. Twist
each of the two retaining posts located toward the
back bottom of the tub, and remove the Fine Filter.
Rinse filter with warm soapy water. Scouring pads
or brushes can damage the filter but a soft brush or
sponge may be needed to remove stubborn soils or
calcium deposits caused by hard water. Once cleaned,
replace the Fine Filter, the Ultra-Fine Filter, and twist
the two retaining posts into place.
WARNING! The retaining posts can
be a choke hazard for small children. Keep out of
reach of children.
Retaining
Posts
Spray
Arm
Inspect the filters periodically, every other month or so depending on usage, and clean if necessary. If there is a
decrease in wash performance or dishes feel gritty, this is also an indication the filters need to be cleaned.
Cleaning the Filters