KitchenAid KEWD105HBT1 Installation guide

Category
Warming drawers
Type
Installation guide
[] []
Questions regarding features, operation,
performance, parts or service? Call
1o800o461o5681or visit our web site at
www. kitchenaid.com/ca nada.
I(itchen_kid _
FORTHE WAY IT'S MADE
Call when you:
[] Have questions about warming oven
installation or operation.
[] Need to obtain the name and number
of an authorized service
company.
When you call, you will need:
[] The warming oven model number.
[] The warming oven serial number.
Both numbers are listed on the
model/serial rating plate, located on the
upper left front corner of the oven cavity.
www.kitchenaid.comlcanada 1-800.461-8681
Readandsa e these
IMPORTANT:
Installer: Leave installation
Instructions with the homeowner.
Homeowner: Keep Installation
Instructions for future reference.
Save Installation Instructions for local
electrical inspector's use.
Write down the model and serial numbers
before installing warming oven.
Both numbers are on the model/serial
rating plate, located on the upper left front
corner of the oven cavity.
Model #
Serial #
Part No. 8300561
Before youstart,,,
Your safety and the safety of
others are very important,
We have provided many important
safety messages in this manual and
on your appliance. Always read and
obey all safety messages.
This is the safety alert
symbol.
This symbol alerts you to
potential hazards that can kill or hurt
you and others.
All safety messages will follow the
safety alert symbol and either the
word "DANGER" or "WARNING".
These words mean:
You can be killed or seriousJy
injured if you don't immediately
follow instructions.
You can be killed or seriously
injured if you don't follow
instructions.
All safety messages will tell you
what the potential hazard is, tell you
how to reduce the chance of injury,
and tell you what can happen if the
instructions are not followed.
important: Observe aJJ governing
codes and ordinances,
Proper installation is your responsibility.
Have a qualified technician install this
oven,
Oven location should be away from
strong draft areas, such as windows,
doors and strong heating vents.
Cabinet opening dimensions that are
shown must be used. Given dimensions
provide minimum ciearance.
Recessed installation area must provide
complete enclosure around the recessed
portion of the oven.
Electrical ground is required. See
"Electrical requirements."
Electrical supply outlet should be
located in the rear wall on the lower right
side of the cutout or in an adjacent
cabinet. The outlet must be recessed. If
the electrical outlet is located in an
adjacent cabinet, provide a 1o3/8"dia.
minimum power supply cord plug
clearance hole in the back of the cutout or
support surface.
Oven support surface MUST be solid,
level and flush with bottom of cabinet
cutout.
There is no provision to level the oven
after it has been installed, If the
installation is not level, the door may
slide open or not seal tightly allowing
heat to escape resulting in poor oven
performance.
It is the customer's responsibility:
To contact a qualified electrical installer,
To assure that the electrical installation is
adequate and in conformance with
National Electrical Code, ANSI/NFPA 70
E latest edition*, or CSA Standards
022.1-94, Canadian Electrical Code, Part 1
and 622 No, 0-M91 E latest edition** and
all local codes and ordinances,
Copies of the standards listed may be obtained
from:
* NationaJ Fire Protection Association
One Batterymarch Park
Quincy, Massachusetts 02269
e* Canadian Electrical Association
178 Rexdale BouJevard
Etobicoke {Toronto), Ontario MSW 1R3
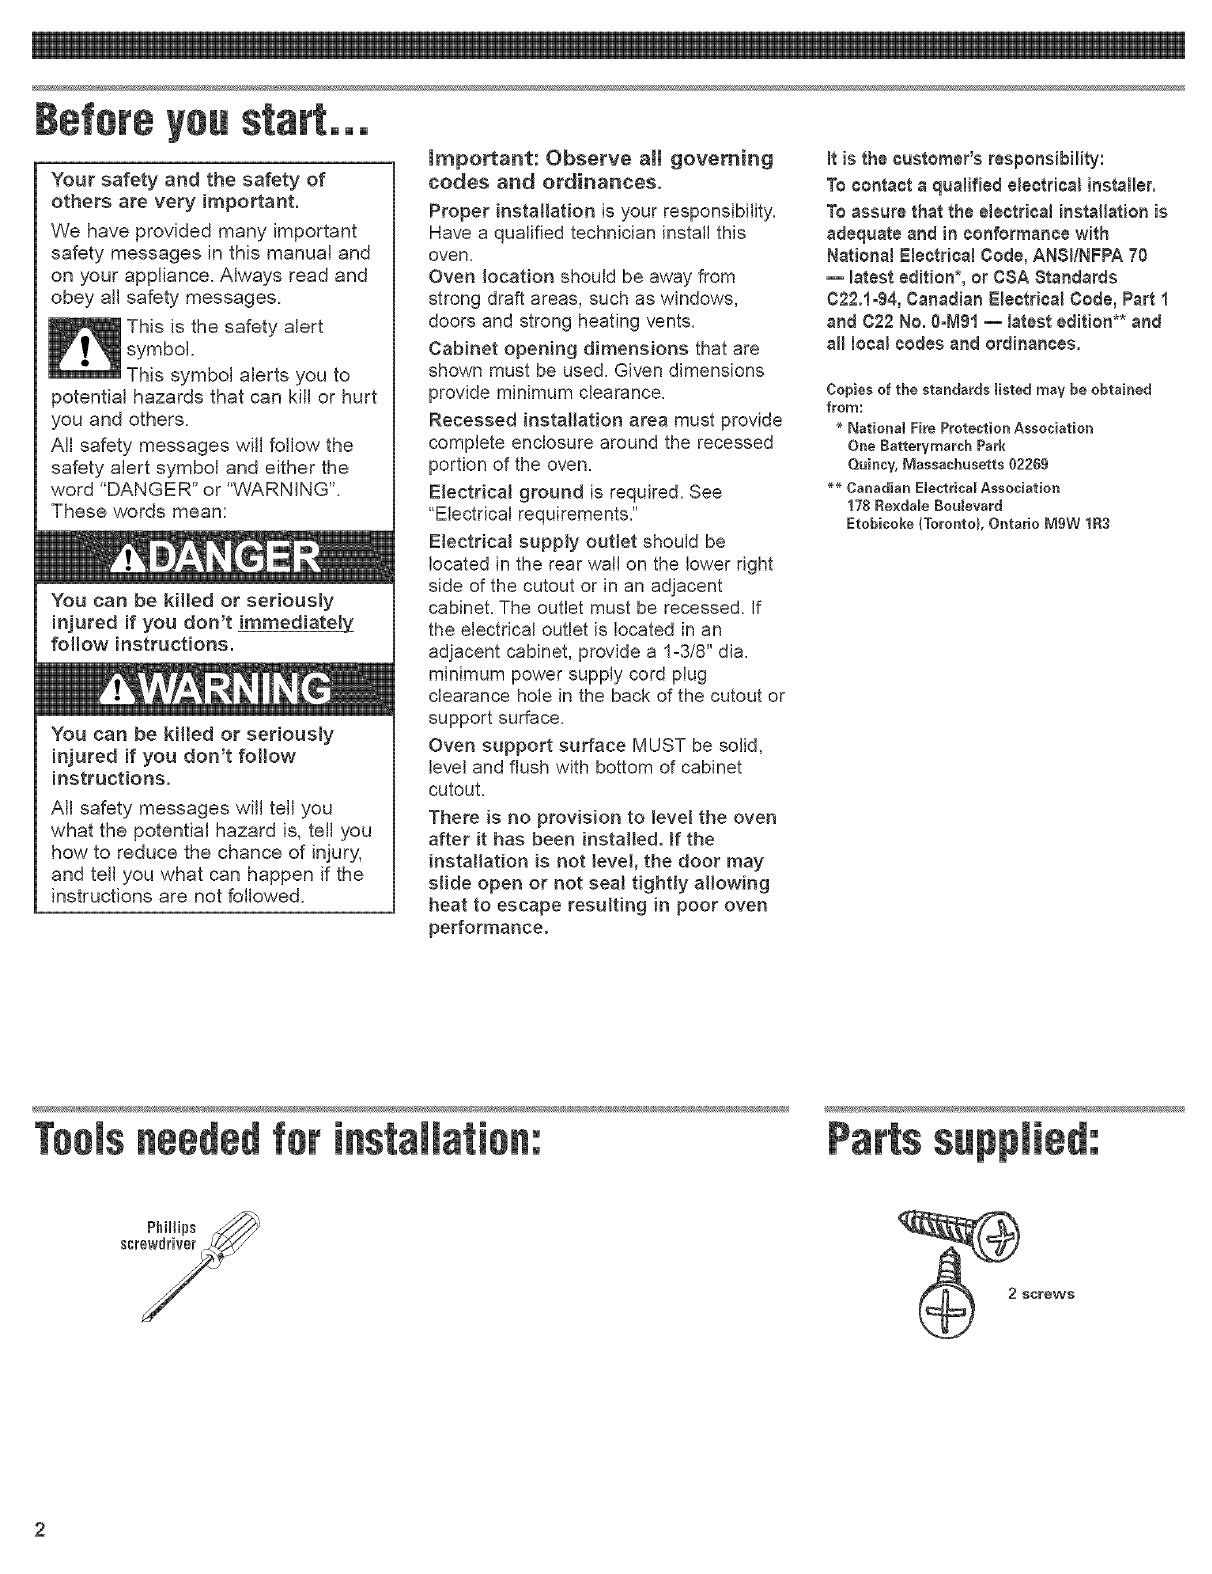
Toolsneededfor Partssupplied:
Phillips
screwdriver
/
10=1/4"
(26po)
overall
height
2_
Overall Recessed
Oven Size Width Width
27" 26=3/4" 25=1/4"
(68.6 cm) (67.9 cm) (64.1 cm)
30" 29=%4" 28=1/4"
(76.2 cm) (75.6 cm) (71.8 cm)
Cutoutgimensions
12g=volt
g
(or located in
adjacent cabinet)
Warming
Single oven
cutout
\
\
Warming --
oven front
22=3/4" L
57.8cm)
recessed
oven depth
24" (61 cm)
rain. cutout
depth
Support surface moat
be a01id,level, and
flush with bottom of
cabinet cutout.
Oven Size
27" 25=1/2" 27"
(68,6 cm) 64=8 cm) (68,6 cm)
30" 28-1/2" 30"
(76,2 cm) (72,4 cm) (76,2 cm)
Warming oven can be installed as a
single or double installation or
installed under a single oven, Two
warming ovens under a singJe oven
are shown.
Electrical 8hock Hazard
Plug into a grounded 3-prong outtet.
Do not remove ground prong.
Do not use an adapter,
Do not use an extension cord.
Failure to follow these instructions can
result in death, fire, or electrical shock.
Important: Observe all governing
codes and ordinances.
tt is the customer's responsibility:
To contact a qualified electrical
installer,
To assure that the electrical
installation is adequate and in
conformance with Nationat Electrical
Code, ANSflNFPA 70 -- latest edition*
or CSA Standards 022,1-94, Canadian
Electrical Coda, Part 1 and 022 No, 0°M91
E latest edition**, and at1 Iocat codes
and ordinances.
You must have:
[_ 120-volt, 60Hz, AC-only, 15- or 20-
amp., fused electrical supply.
[_ outlet located in the cabinet as close
as possible to the warming oven.
We recommend:
[_ a time-delay fuse or circuit breaker.
[_ a separate circuit serving this
appliance only.
tf codes permit and a separate ground
wire is used, it is recommended that a
qualified electrician determine that the
ground path is adequate.
Copies of the standards listed may be obtained
from:
* National Fire Protection Association
One Batterymarch Park
Quincy, Massachusetts 02269
*_ Canadian Electrical Association
178 Rexdate Boulevard
Etobicoke (Toronto}, Ontario MgW 1R3
3-prong
ground plug
ground prong
3=proeg
FigUr8 1 gr0oed4ype
outlet
For your personal safety, this appliance
must be grounded. This appliance is
equipped with a power supply cord
having 3-prong ground plug. To minimize
possible shock hazard, the cord must be
plugged into a mating 3-prong ground-
type outlet, grounded in accordance with
local codes and ordinances. See
Figure 1.if a mating outlet is not
available, it is the personal responsibility
and obligation of the customer to have a
properly grounded 3-prong outlet installed
by a qualified electrician.
Warning -- improper connection of the
equipment-grounding conductor can
result in a risk of electric shock. Check
with a qualified electrician or serviceman
if you are in doubt as to whether the
appliance is properly grounded. Do not
modify the plug provided with the
appliance - if it will not fit the outlet, have
a proper outlet installed by a qualified
electrician.
ExcessiveWeightHazard
Usetwoormorepeopleto move and
install oven,
Failure to do so can result in back or
other injury.
_mportant:Use both hands to removeoven
drawer,
DoNotusehandleordrawerslidesfor
lifting.
m Carefully support the oven in front
of the cutout. Make sure the power to the
outlet is turned off and that the warming
oven power switch is set to the "OFF"
position.
o Plug the power supply cord into the
grounded outlet.
o Slide the oven into the cutout.
o Carefully push against the seal area of
the oven front frame and slide the oven
completely into the cabinet until the
front frame is positioned flush against
the cabinet face.
Refer to the "Use and Care
Guide," turn the oven on and check the
oven's operation.
m Turn power supply off. Move oven
close to final position.
Remove and discard shipping materials,
tape and protective film from the oven.
o Remove and set aside racks and other
parts from inside oven.
Remove the drawer:
o Pull drawer to its full open position.
\'_ 2 sGrews_
Use two (2) screws provided to
secure the warming oven frame to the
cabinet.
o Press tab down on right and lift tab
upward on left, then slide drawer out
about 1 inch.
o Carefully remove the drawer from the
slides holding on to the sides, not the
drawer front.
Set drawer aside on protected surface.
m Replace the drawer:
o Align the drawer guides with the
receiving slides.
o Push drawer in completely. Gently open
and close drawer to ensure it is seated
properly on the slides.
If warmJn9oven If youneed
does not operate: serwce:
[_ Check that the circuit breaker is not
tripped or the house fuse blown.
[_ Check that the power supply cord is
plugged into the outlet.
If youneed
tf you have questions about operating,
cleaning or maintaining your oven:
[_ Refer to Use and Care Guide.
[_ Call the Consumer Assistance Center:
Check your Use and Care Guide for a
toll4ree number to call or call the
dealer from whom you purchased this
appliance. The dealer is listed in the
Yellow Pages of your phone directory
under "Appliances -- Household --
Major -- Service and Repair."
Maintain the quality built into your oven by
calling an authorized service company.
To obtain the name and number of an
authorized service company:
[_ Contact the dealer from whom you
purchased your ovenl or
[_ Look in the Yellow Pages of your
telephone directory under "Appliances
-- Household -- Major -- Service and
Repair" for an authorized service
companyl or
[_ Call the Consumer Assistance Center.
The toll4ree number is listed in your
Use and Care Guide.
When you call, you will need:
[_ The oven model number.
[_ The oven serial number.
Both numbers are listed on the
model/serial rating plate, located on the
upper left front of the oven cavity.
  • Page 1 1
  • Page 2 2
  • Page 3 3
  • Page 4 4
  • Page 5 5
  • Page 6 6

KitchenAid KEWD105HBT1 Installation guide

Category
Warming drawers
Type
Installation guide

Ask a question and I''ll find the answer in the document

Finding information in a document is now easier with AI