Page is loading ...
Take a moment to know all the features and convenience it was designed to
provide. Numbers match those in the illustration on page 1.
Ice Tray
Fill tray
3
/4
full to allow expansion of water during freezing. Place tray in
freezer chest. To release cubes, twist lid slightly.
Shelf
Both shelves can be removed by pulling forward. The shelf can be placed
in either of two (higher or lower) positions.
Vegetable Crisper
May be used for vegetable storage. Both the crisper and its cover are
removable for easy cleaning. Simply slide forward to remove.
Here are the features of your new refrigerator.
CAUTION: 1. Confirm your voltage before inserting the power supply
cord into the socket.
2. Contact the earthing conductor to this unit with an
attachment earthing screw.
3. Don’t make it spill to this unit.
4.
Don’t work with flammable spray, such as painting, near this unit.
5. Don’t put ignitable materials, such as either, benzine, L .P .
Gas, alcohol, etc., into this unit.
6.
Precaution to the leakage of any gas equiment near this unit.
7.
Precaution not to hold on to the door of this unit by children.
8. Precaution not to reinsert the power supply cord within 5
minutes after release it from socket. If not, a trouble may
be occured to compressor.
21
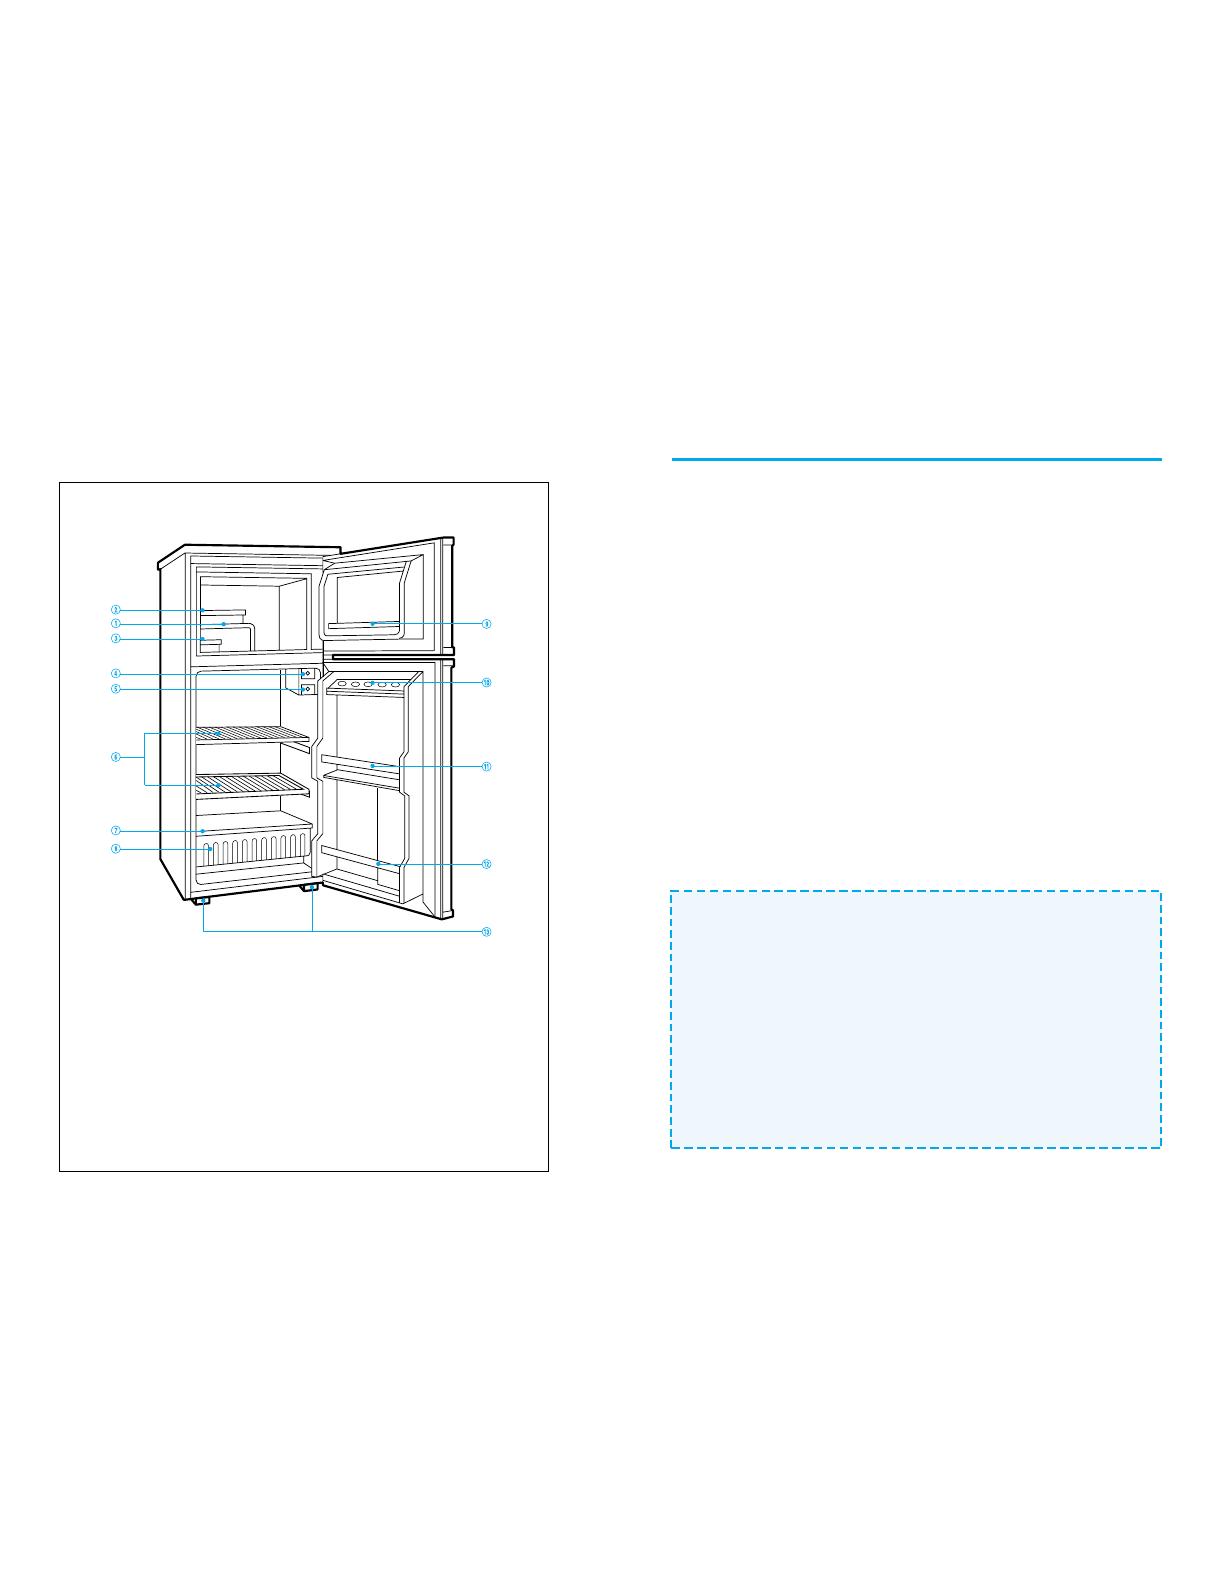
FEATURE CHART
! FREEZER SHELF
@ ICE BOX
# ICE TRAY
$ TEMP CONTROL DIAL
% LAMP SWITCH
^ SHELF
& CRISPER COVER B
* VEGETABLECRISPER
( FREEZER POCKET
) EGG POCKET
1 BOTTLE POCKET(S)
2 BOTTLE POCKET(L)
3 ADJUST FOOT

Temperature is controlled automatically. The TEMPERATURE CONTROL at
the front side of the refrigerator section determines the amount of cooling
your appliance receives.
OFF
MIN
MED
MAX
IN WINTER
PULL DOWN
4
HOW TO OPERATE
1. TEMPERATURE CONTROL
3
NOTE :
Make sure all packing material is removed. If the shipping tape has left a
residue on the door, touch the residue lightly with the adhesive side of
tape of with isopropyl alcohol (most rubbing alcohol is this type).
Do not use a solvent, such as lighter or cleaning fluid, nor an
abrasive cleanser.
HOW TO INSTALL
HOW TO CLEAN
Install refrigerator in a convenient location away from extreme heat and cold.
Allow sufficient clearance between the refrigerator and side wall so the door
will open for a fully usable interior. Refrigerator is not designed for recessed
installation.
Level refrigerator so it rests solidly on the floor, without rocking. There are two
leveling glides, one at each front corner. Turn to the left to raise a corner, to
the right to lower it. Use shims under rear corners, if necessary.
If you want, the refrigerator door to close when not held open, adjust glides
so that the front of the refrigerator is raised. However, front corners must
be level with each other, and rear corners with each other.
If you want the refrigerator door to remain motionless when open, adjust
the leveling glides so that all four corners are level with each other.
Cleaners: The cleaners noted below are available. Never use harsh,
abrasive cleaners, heavy-duty cleaners, or solvents on any
surface.
Exterior: Wipe with damp, suday cloth, rinse and dry. For stubborn stains
and for periodic waxing, use sillicon wax.
Exterior: When refrigerator needs defrosting, set TEMPERATURE
CONTROL at OFF Do not use sharp instruments.
Refrigeration Section:
Wash shelves, drawers and other removable parts in warm
sudsy water, rinse and dry. Wash interior with baking soda solution (3 table
spoons to one quart of water) or warm sudsy water.
Magnetic Door Seals: Wash with warm sudsy water.
The finishing touch: Replace all parts, and return TEMPERATURE
CONTROL to desired temperature.
Leveling
Location
Set TEMPERATURE CONTROL at MED.
To start refrigerator
Disconnect the power supply cord. Remove ice tray and food. Leave doors
ajar for air circulation and dehumidification of both sections.
To turn off refrigerator
Many factors influence the internal temperature of the refrigerator section
and freezer section.
The temperature and humidity of the home.
The frequency of door openings and the amount of warm food placed in
the refrigerator.
The combination of foods and containers stored in the refrigerator.
For these reasons, you may want to adjust the control to suit the season
and your needs. When adjusting the temperature:
Turn TEMPERATURE CONTROL toward PULL DOWN for colder
temperature in refrigerator and freezer sections, and toward MIN for
warmer temperature in both sections.
Allow approximately 12 hours or overnight for temperature to stabilize.
Then check to see if further adjustments are necessary.
To change temperature

PULL DOWN
Turn TEMPERATURE CONTROL toward
PULL DOWN, when you want to cool food
in high speed.
After you finish cooling food, turn
TEMPERATURE CONTROL toward MED.
PULL DOWN
5 10
WHAT TO DO...
When out of operating for a long time
Remove the power supply cord.
Dry your refrigerator, opening the door for 2-3 days.
When you get ready to move
Securely fasten removable interior parts (or move and package them separately).
Do not lay your refrigerator horizontally, or compressor may be damaged.
When you need service: Before you call for service make sure you
need it, check a few things noted below for yourself first.
If refrigerator is not operating:
Is the power supply cord unplugged?
Is home fuse blown or circuit breaker off?
If refrigerator is warmer than usual:
Has the door been open frequently or for a long period?
Is refrigerator overcrowded preventing good air circulation?
Is the hot thing stored without cooling?
Is the clearance between side and rear plate of the refrigerator and the
wall allowed sufficiently?
If these are unusual sounds:
Is refrigerator placed on the level?
Are foreign objects behind the refrigerator?
Are dishes on refrigerator shelves vibrating?
If so, rearrange the dishes.
If the supply cord is damaged, it must be replaced by the
manufacturer or its service agent or a simmilary qualified
person in order to avoid a hazard.
2. DEFROSTING THE REFRIGERATOR
It is defrosted automatically in the refrigerator section. You don’t need to
defrost the refrigerator section.
Refrigerator Section
IN WINTER
Turn TEMPERATURE CONTROL toward
IN WINTER for colder temperature in both
sections.
After you finish cooling food, turn
TEMPERATURE CONTROL toward MED.
The to defrost
Moisture from food within the refrigerator and in outside air that enters the
refrigerator when the door open, will condense against the cold
refrigerating plate and turn instantly to frost. As this builds up to a depth of
more than 1/4 inch, it acts as insulation and actually reduces the
refrigerating effect. In case of this time, defrost the freezer section.
How to defrost the freezer compartment
1) Please remove ice tray and freezer shelf, then empty freezer.
2)
Set the TEMPERATURE CONTROL at OFF with the freezer door opened.
In 30 to 40 minutes, the frost the freezer wall will begin to melt and can be
easily removed. Removed the frost wipe the freezer bottom. using a cloth,
Freezer section
NOTE :
Never use a knife and a sharp object to remove ice tray or frost
because this might damage the surface of the freezer
compartment, this is a danger of piercing through the thin
aluminum refrigerating plate and losing the hermetic charge.
IN WINTER
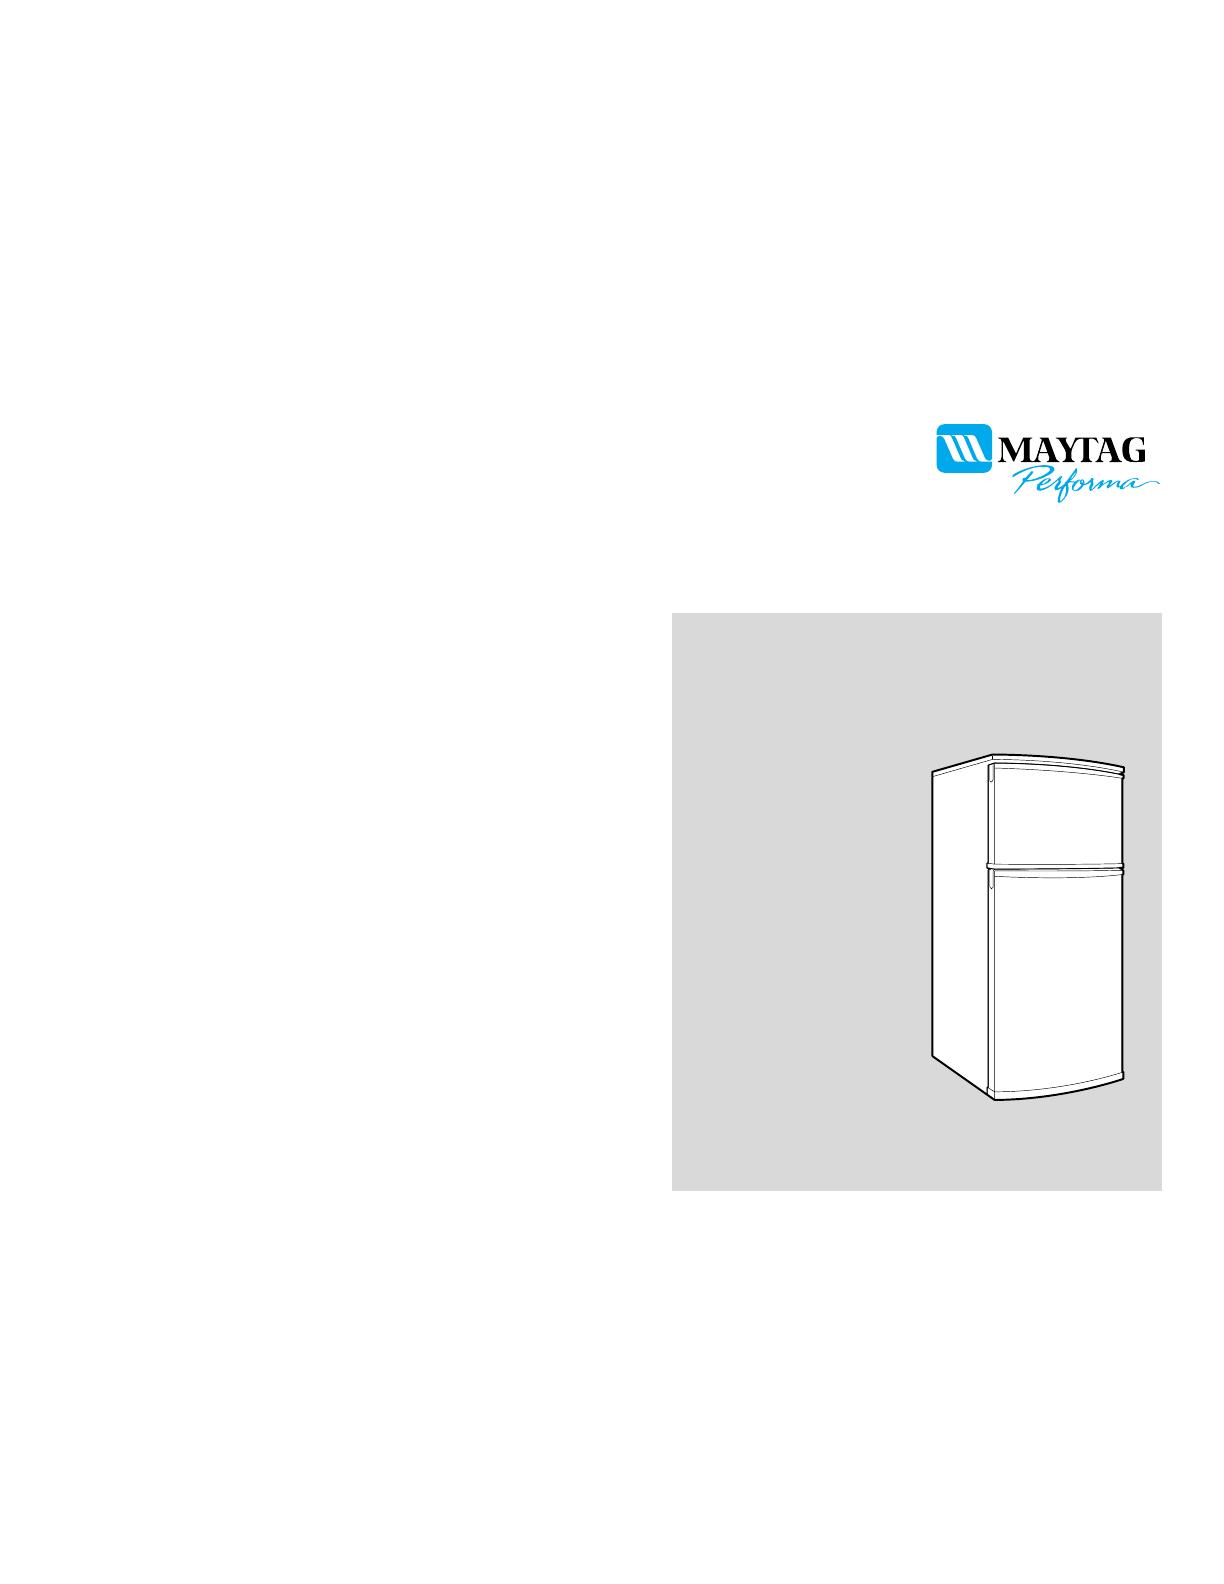
Model No:
AON-A71
REFRIGERATOR
INSTRUCTION MANUAL
Thank you for selecting this refrigerator.
Before using this refrigerator, please read this manual carefully.
/