Bresser F003216 is a studio flash device with a powerful 250Ws flash tube, ideal for professional photography. It features adjustable flash power in 6 steps from 1/32 to 1/1, a modeling lamp, and a built-in photo cell for precise triggering. You can use it for portrait, product, and event photography.
Bresser F003216 is a studio flash device with a powerful 250Ws flash tube, ideal for professional photography. It features adjustable flash power in 6 steps from 1/32 to 1/1, a modeling lamp, and a built-in photo cell for precise triggering. You can use it for portrait, product, and event photography.


-
 1
1
-
 2
2
-
 3
3
-
 4
4
-
 5
5
-
 6
6
-
 7
7
-
 8
8


Bresser F003216 Owner's manual
- Type
- Owner's manual
- This manual is also suitable for
Bresser F003216 is a studio flash device with a powerful 250Ws flash tube, ideal for professional photography. It features adjustable flash power in 6 steps from 1/32 to 1/1, a modeling lamp, and a built-in photo cell for precise triggering. You can use it for portrait, product, and event photography.
Ask a question and I''ll find the answer in the document
Finding information in a document is now easier with AI
Related papers
-
Bresser F000516 Owner's manual
-
Bresser BRM-300AM studio flash set 3x 300W Owner's manual
-
Bresser 7000007 Owner's manual
-
Bresser 7002570 Owner's manual
-
-
-
-
-
-
Bresser 7002531 Owner's manual
Other documents
-
Approx APPPB2200B User guide
-
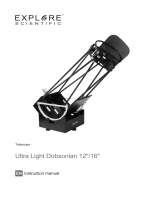
 Explore Scientific Ultra Light Dobsonian 254mm GENERATION II Owner's manual
-
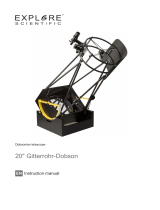 Explore Scientific Ultra Light 20'' Dobson 500mm f/3.6 GENERATION II Owner's manual
-
 Explore Scientific 0116940 Owner's manual
-
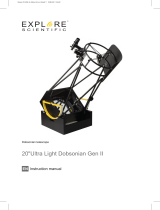 Explore Scientific 20 Ultra Light Dobsonian Gen II Owner's manual
-
Emerson MPXPEM-EHAEXT30 User manual
-
Liebert MPX User manual
-
-
eMachines E732Z User manual
-
State Industries GFK-0827 User manual


