Astralpool RAMSES User manual

Type
User manual

This manual is also suitable for

Astralpool RAMSES is an in-ground housing unit designed to provide efficient water filtration and circulation for swimming pools. The unit comprises a filter and a circulation pump, housed in a durable, reinforced polymer body with a fiberglass cover. With its easy installation and user-friendly controls, Astralpool RAMSES offers reliable performance and crystal-clear pool water.

Astralpool RAMSES is an in-ground housing unit designed to provide efficient water filtration and circulation for swimming pools. The unit comprises a filter and a circulation pump, housed in a durable, reinforced polymer body with a fiberglass cover. With its easy installation and user-friendly controls, Astralpool RAMSES offers reliable performance and crystal-clear pool water.

2
INSTRUCTION MANUAL
In-
Ground Housing
U
n
it
IMPORTANT:
The
instruction manual
that you are
holding in y
o
u
r
hands
contains important information
about the
safety measures
t
o
adopt
during installation,
start up and
maintenance.
Thus,
it
i
s
extremely important
that both the
installer
and the user read
t
h
e
instructions before beginning s
e
t
u
p
.
ATTENTION
!!
Anyone working
on the
installation
must have the
required qualifications
for
this
t
y
p
e
of
w
o
rk
.
Avoid contact with electrical
v
o
l
t
ag
e
.
The
normatives in
force for
accident prevention
must be
f
o
ll
o
w
e
d
.
IEC standards 3647702
must be
complied with: ELECTRICAL INSTALLATIONS
O
F
BUILDINGS. SPECIAL INSTALLATIONS. SWIMMING
P
OO
LS
.
Any
maintenance operation
or part
replacement
must be done
with
the
S
P
A
disconnected
from the
ma
i
n
s
.
Do not
handle
the
equipment with
wet
f
ee
t
.
This equipment CANNOT
BE
CONNECTED
TO A
REGULAR
PLUG.
This
e
qu
i
pm
e
n
t
REQUIRES PROPER ELECTRICAL INSTALLATION. This
must be done by a
s
p
e
c
i
a
li
s
t
,
following all
the
normatives
on
electrical safety in
force
in
each
coun
t
r
y
.
The
supply
to the
unit
must
ALWAYS
BE
PROTECTED
BY A
H
I
GH
L
Y
-
S
E
N
S
I
T
I
V
E
D
I
FF
E
R
E
N
T
I
AL
.
An
EARTHING CONNECTION is
r
e
qu
i
r
e
d
.
Use a
SECTION CABLE with
the
appropriate power
for the
unit
and for the
distance
t
o
the
control
pan
e
l
.
Use a
lock
or
padlock
so that
children
or
other unauthorised persons cannot access
t
h
e
interior
of the
un
i
t
.
ALWAYS
STOP THE
PUMP BEFORE CHANGING
THE
POSITION
OF THE
SELECTOR
V
AL
V
E
.
Do not open the cover of the spa
when it
may be
caught
by a
current
or gust of
w
i
nd
.
The manufacturer is exempt
from
all liability
due to
improper assembly,
i
n
s
t
a
ll
a
t
i
on
,
start
up or any
changes
or
incorporations
of any
non-authorised electrical
compon
e
n
t
s
.
For optimum performance of your in-ground housing unit, follow the instructions
below.
1.
GENERAL
C
H
A
R
A
C
T
E
R
I
S
T
I
C
S
3.
INSTALLATION
ON
C
O
N
C
R
E
T
E
3.1. Do the excavation in stages.
In-ground housing unit for a pool is made of injected-polymer reinforced with
fibreglass and a cover.
It houses a D550 Aster filter and a Sena 1CV circulation pump.
2
.
L
O
C
A
T
I
O
N
It is advisable to situate the equipment away from the pool, at least 3.5 m from
the edge. During installation, follow IEC international standard 60364-7-702 on
the Requirements for special installations or locations. Section 702: Swimming
pools and other basins.
3.2. Make a properly levelled concrete slab.
3.3. -Position the unit
3 4
56
3.4. Do the excavation to prepare for laying the intake and output tubes to the
pool and the electrical supply.
The intake and output tubes must rest on a bed of sand.
It is recommended that you make a drain in the back of the unit using the
knock-out to make the hole. This should be connected to the general tank with a
slight slope.
3.5.- Perforate the unit on the side where the electrical supply is to enter, with a
diameter that matches the cable to be installed. Determine the section of the
cable depending on power consumption and drops in voltage.
Install a cable gland of the appropriate size for the cable section at the entry.
4.
INSTALLATION
OF THE LEGS
IN
THE
C
O
N
C
R
E
T
E
4.1. - This makes for more accurate levelling. The unit should be put in place
when the concrete floor begins to set and levelled by the upper part. The legs
should be drilled to insert rods so the unit is fully anchored to the concrete,
without the possibility of moving when pressure is applied to the sides.
I
M
P
O
R
T
A
N
T
:
The installation must include a highly sensitive 2 pole differential on the general
panel (conforming to RBT ITC-BT-017). The differential is not supplied with the
spa.
To avoid flooding, fill with dirt, forming a slight incline.
I
M
P
O
R
T
A
N
T
ELECTRICAL CONNECTION (ONLY FOR MODELS WITH ELECTRICAL CONTROL
BOX)
For your safety, place terminals that are appropriate to the section of the cables
on the ends of the cables to be connected. Use cable H07RNF.
ATTENTION – VERY
I
M
P
O
RT
AN
T
This equipment cannot be connected to a regular plug.
This equipment requires proper electrical installation. This must be done by
specialist, following all the normatives on electrical safety in force in each
country.
The supply to the unit must always be protected by a highly-sensitive
differential
An earthing connection is required.
Use a section cable with the appropriate power for the unit and for the
distance to the control panel
5.
ELECTRICAL
C
O
NN
E
C
T
I
O
N
S
Instakes from the
pool
Skimmer
Drain input
Suction
Drain output
7 8
Return to
pool
G
R
O
W
N
PHASE
N
E
U
T
R
AL
7.
T
urn o
f
f
the pump.
910
4.
STARTING U
P
Position the selector valve to rinse and run the pump for about 15 seconds.
Stop the pump again and put the selector valve on filter.
8. Close the selector valve of the pool cleaner.
9. Connect the pump.
Note: Any changing of the position of the selector valve must be done with the
puma stopped. Otherwise, the filter or the installation could be damaged.
Replace the cover of the unit, affixing the rear part with the corresponding
screws.
1. Remove the cover of the unit to begin the start up. Unscrew the 6 screws that
affix the hinge to the cover- not those that affix the hinge to the unit- before
lifting it.
CONSULT
THE
MANUAL
FOR THE
F
I
L
T
E
R
2. Open the filter and fill it halfway with water. Protect the diffuser in the interior
of the filter so sand does not get into it.
3. Fill the filter with the appropriate quantity (indicated on the specifications
label, or up to 2/3 of the total filter height) of silex sand with a grain size of 0.4 -
0.8
4. Clean the remnants of silex from the mouth, cover and gasket housing, and
close the filter. For more information, please consult the manual for the filter.
If the unit is below the water level, you will only need to open the input and
output valves and the air vent until the filter and the pump are full of water.
5. Put the valves in the following positions:
-SKIMMER OPEN
-DRAIN INPUT OPEN
-POOL CLEANER OPEN
-RETURN OPEN
-SELECTOR VALVE CLEAN
6. Start up the pump and clean the filter.
Run the cleaning until you see that the water is clean and clear in the window on
the selector valve.
A
TT
E
N
T
I
O
N
- IT IS
RECOMMENDED
THAT YOU USE A LOCK OR PADLOCK
S
O
THAT CHILDREN OR OTHER UNAUTHORISED PERSONS
CAN
NO
T
ACCESS THE
INTERIOR
OF THE
UNI
T
PROGRAMMING THE FILTER. See instructions for the programmer in the interior
of the control panel.
ONLY FOR MODELS WITH AN ELECTRICAL CONTROL PANEL
11 12
5. USER´S
M
A
N
U
A
L
A
TT
E
N
T
I
O
N
5.3.-
R
I
N
S
I
N
G
After CLEANING the filter and before returning the equipment to filtration, it is
advisable to run a RINSE to prevent the first quantity of water that is still cloudy
from going directly into the pool. To do this, with the pump stopped, put the
selector valve on RINSE. Start up the pump and run it for about a minute.
Always check the window of the selector valve to ensure that this is the correct
time, since it depends on the amount of filth accumulated in the filter.
ALWAYS STOP THE PUMP BEFORE CHANGING THE POSITION OF
T
H
E
SELECTOR
VA
L
VE
5.1.-
F
I
L
T
R
A
T
I
O
N
With the pump stopped, put the selector valve handle on FILTER.
Start up the pump.
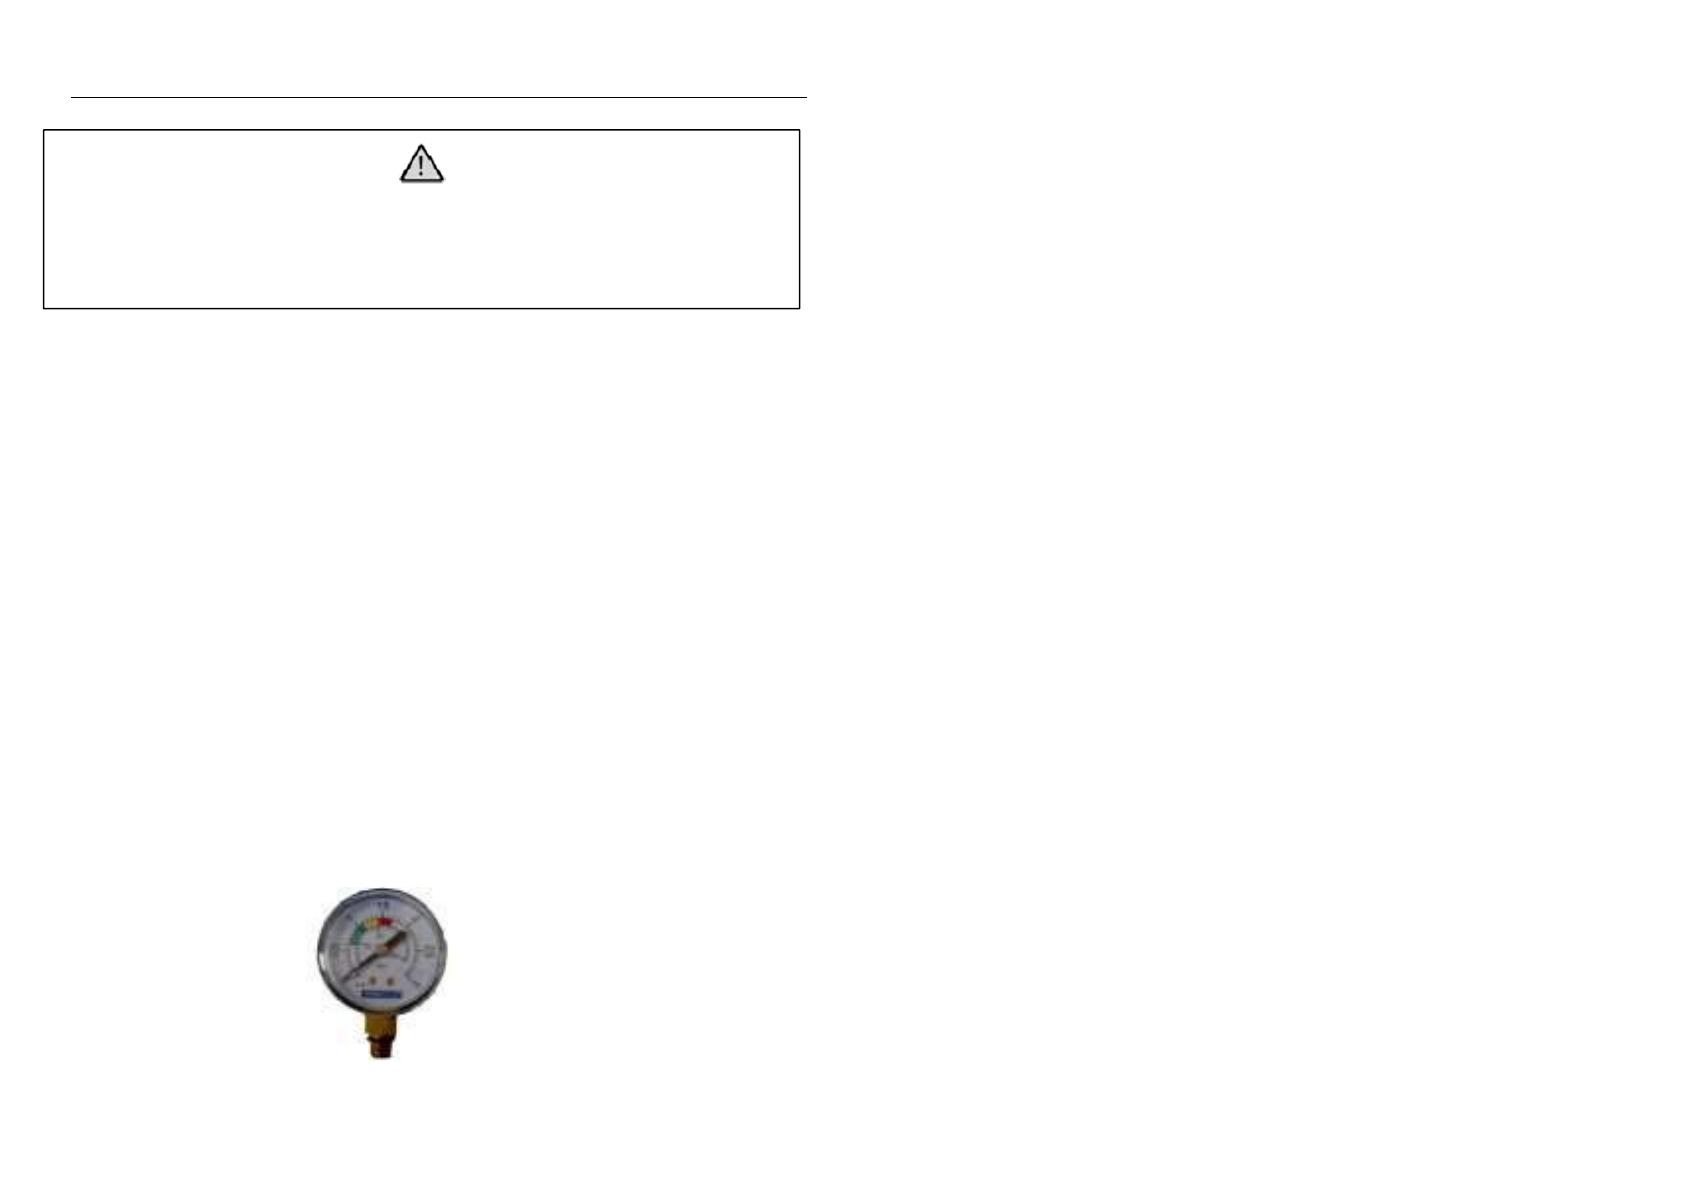
Periodically check the manometer during operation, which will indicate the
degree of saturation of the filter.
5.2.-
C
L
E
A
N
I
N
G
The solid particles in the pool that are collected by the input drain and the
skimmers remain in the sand in the filter, which constantly decreases the water
flow. Due to this, the pressure increases progressively. When the pressure
reaches 1.3 kg/cm
2
, a CLEANING will be done (this is an approximation; it
depends on the distance between the unit and the pool, its location,
etc.).
Proceed
as follows:
Put the selector valve on the CLEAN position and start the pump. Run this for 2
minutes. Always check the window of the selector valve to ensure that this is the
correct time, since it depends on the amount of filth accumulated in the filter.
5.4.-
C
I
R
C
U
L
A
T
I
O
N
When you put the selector valve in this position, the water from the pump will
circulate directly to the pool without passing through the filter.
5.5.-
D
R
A
I
N
I
N
G
If the pool does not have a drain in the bottom, it can be emptied using the filter
pump by putting the valve on DRAIN. To do this, open the valves of the input
drain and close those of the skimmers and pool cleaner.
5.6.-
L
O
C
K
E
D
This position blocks water entry into the filter
13
WA
RR
A
N
T
Y
All
of our
products
come
with
a TWO YEAR
warranty
from the date
o
f
delivery.
Our
warranty includes in-factory repair
and
replacement
or
o
n
the
after-sale service
of
defective pieces.
The parts
replaced
o
r
repaired
under
this warranty will
not
extend
the
warranty
of
t
h
e
original product,
but they
will
have
their
own
w
a
rr
a
n
t
y
.
For the
warranty
to be
valid,
the buyer must have proof of the date
o
f
sale
and
reception
of the
p
r
od
uc
t
.
For the
warranty
to be
valid,
the buyer must
strictly follow
t
h
e
manufacturer’s instructions included in
the
documentation
that
c
om
e
s
with
the
product, whenever applicable according
to the range
a
n
d
model
of the
product.
No
warranty covers normal
wear and tear due
t
o
use of the
p
r
od
uc
t
s
.
As for the parts,
components
a
n
d
/
o
r
disposable materials, it will
be
l
a
i
d
out
in
the
documentation
that comes
with
the
product,
w
h
e
r
e
app
li
c
ab
l
e
.
The
warranty
does not cover the
following:
1. The
product
has
b
ee
n
misused;
2. The
product
has been
repaired
or
handled
by
a
n
unauthorised person;
3. The
product
has been
repaired
or
ma
i
n
t
a
i
n
e
d
with non-original
parts, or 4. The
product
has been
installed
or set
u
p
i
nc
o
rr
e
c
t
l
y
.
Except where prohibited
by
legislation,
the
shipping
and
return
costs
o
f
defective materials shall
be
paid
by the buyer. The
present
w
a
rr
a
n
t
y
does not
limit
or
infringe
upon the
rights
that
correspond
to
c
o
n
s
u
m
e
r
s
as
covered
by
imperative national
r
e
g
u
l
a
t
i
o
n
s
.
M
A
N
UF
A
C
T
U
R
E
R
METALAST,S.A.U
Passeig de Sanllehy,25
08213 Polinyà, Spain
Tel. +34 93 713 18 55
Fax. +34 93 713 41 11
WE
RESERVE
THE
RIGHT
TO
CHANGE
THE
SPECIFICATIONS,
ALL OR
I
N
PART, OF OUR
PRODUCTS
OR THE
CONTENT
OF
THIS
D
O
C
U
M
E
N
T
WITHOUT PRIOR
N
O
T
I
C
E
.
  • Page 1 1
  • Page 2 2
  • Page 3 3
  • Page 4 4
  • Page 5 5
  • Page 6 6
  • Page 7 7

Astralpool RAMSES User manual

Type
User manual
This manual is also suitable for

Astralpool RAMSES is an in-ground housing unit designed to provide efficient water filtration and circulation for swimming pools. The unit comprises a filter and a circulation pump, housed in a durable, reinforced polymer body with a fiberglass cover. With its easy installation and user-friendly controls, Astralpool RAMSES offers reliable performance and crystal-clear pool water.

Ask a question and I''ll find the answer in the document

Finding information in a document is now easier with AI