-
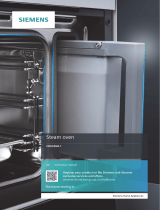
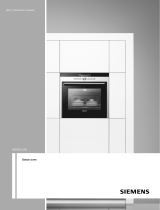
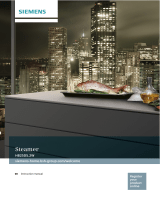
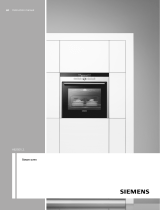
Siemens Steam Oven User manual

-
Siemens Steam Oven User manual

-
Siemens Steam Oven User manual

-
Siemens Steam Oven User manual

-
Siemens Steam Oven User manual

-
Siemens Steam Oven User manual

-
Siemens Steam Oven User manual
-
Siemens Steam Oven User manual

-
Siemens Steam Oven User manual

-
Siemens Steam Oven User manual
-
Siemens Steam Oven User manual

-
Siemens Steam Oven User manual

-
Siemens Steam Oven User manual
-
Siemens Steam Oven User manual
-
Siemens Steam Oven User manual

-
Siemens Steam Oven User manual
-
Siemens Steam Oven User manual
-
Siemens Steam Oven User manual
-
Siemens Steam Oven User manual


