-
Siemens Free-standing dishwasher 60 cm white Brief description
-
Siemens Free-standing dishwasher 60 cm white Brief description
-
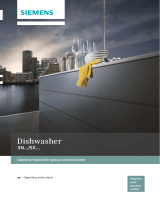
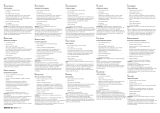
Siemens Free-standing dishwasher 60 cm white Owner's manual
-
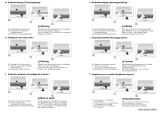
Siemens Free-standing dishwasher 60 cm white Supplemental
-
Siemens Free-standing dishwasher 60 cm white Supplemental

-
Siemens Free-standing dishwasher 60 cm white Supplemental
-
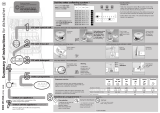
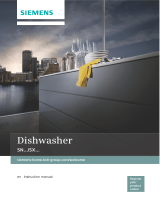
Siemens Free-standing dishwasher 60 cm white User manual
-
Siemens Free-standing dishwasher 60 cm white User manual

-
Siemens Free-standing dishwasher 60 cm white User manual
-
Siemens Free-standing dishwasher 60 cm white User manual

-
Siemens Free-standing dishwasher 60 cm white User manual
-
Siemens Free-standing dishwasher 60 cm white User manual
-
Siemens Free-standing dishwasher 60 cm white User manual