-
Lexmark C748 Administrator's Manual

-
Lexmark C748 Color Quality Manual
-
Lexmark C748 Compatibility Manual
-
Lexmark C748 Driver Manual

-
Lexmark C748 Information Manual
-
Lexmark C748 Menu Map
-
Lexmark C748 Owner's manual

-
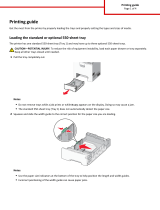
Lexmark C748 Printing Manual
-
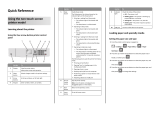
Lexmark C748 Reference guide
-
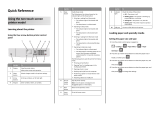
Lexmark C748 Reference guide
-
Lexmark C748 Setup Manual
-
Lexmark C748 Setup Manual

-
Lexmark C748 Tech Note

-
Lexmark C748 User manual

-
Lexmark C748 User manual
-
Lexmark C748 User manual
-
Lexmark C748 User manual
-
Lexmark C748 User manual

-
Lexmark C748 User manual
-
Lexmark C748 User manual
-
Lexmark C748 User manual


