-
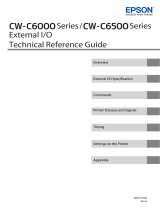
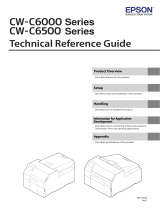
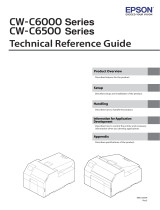
Epson ColorWorks CW-C6000A Technical Reference
-
Epson ColorWorks CW-C6000A Technical Reference
-
Epson ColorWorks CW-C6000A Technical Reference
-
Epson ColorWorks CW-C6000A Technical Reference
-
Epson ColorWorks CW-C6000A Technical Reference
-
Epson ColorWorks CW-C6000A Technical Reference

-
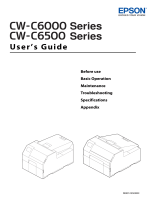
Epson ColorWorks CW-C6000A User guide
-
Epson ColorWorks CW-C6000A User guide
-
Epson ColorWorks CW-C6000A User guide

-
Epson ColorWorks CW-C6000A User manual