MANUZOID
Explore
Explore
Bookmarks
Bosch
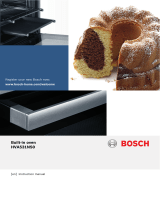
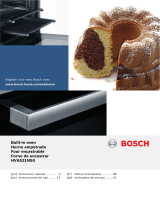
HVA531NS0/04
Bosch HVA531NS0/04 User manual
Type
User manual
Brand
Bosch
Size
4.45 MB
Category
Cookers
Pages
56
Language
English, Spanish, French, Portuguese
View document
Bosch HVA531NS0/04 User manual
Type
User manual
Brand
Bosch
Size
2.76 MB
Category
Ovens
Pages
16
Language
English
View document
Bosch HVA531NS0/04 User manual
Type
User manual
Brand
Bosch
Size
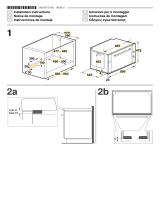
250.15 KB
Pages
8
Language
Greek, English, Spanish, French, Italian, Portuguese, Vietnamese
View document
Bosch HVA531NS0/04 User manual
Type
User manual
Brand
Bosch
Size
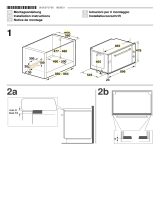
227.73 KB
Pages
8
Language
German, English, French, Italian, Dutch, Vietnamese
View document
Bosch HVA531NS0/04 User manual
Type
User manual
Brand
Bosch
Size
4.45 MB
Category
Cookers
Pages
56
Language
English, Spanish, French, Portuguese
View document
Bosch HVA531NS0/04 User manual
Type
User manual
Brand
Bosch
Size
2.76 MB
Category
Ovens
Pages
16
Language
English
View document