-
Bosch Free-standing dishwasher 45cm silverinox Operating instructions
-
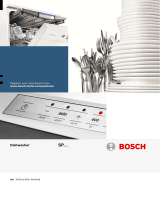
Bosch Free-standing dishwasher 45cm silverinox Owner's manual

-
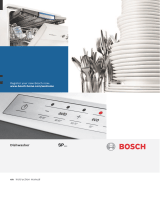
Bosch Free-standing dishwasher 45cm silverinox User manual
-
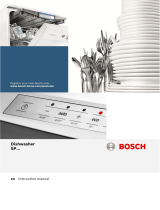
Bosch Free-standing dishwasher 45cm silverinox User manual
-
Bosch Free-standing dishwasher 45cm silverinox User manual
-
Bosch Free-standing dishwasher 45cm silverinox User manual


