-
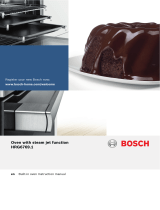
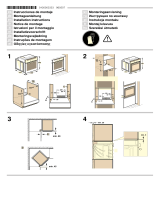
Bosch Electric Built-In Oven Owner's manual

-
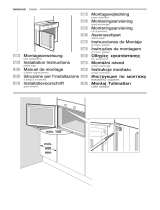
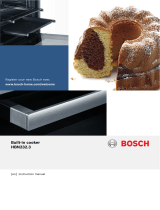
Bosch Electric Built-In Oven Owner's manual
-
Bosch Electric Built-In Oven Owner's manual
-
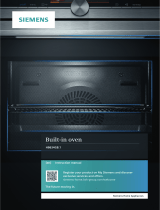
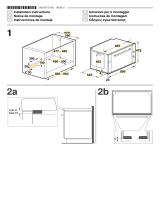
Bosch Electric Built-In Oven User guide
-
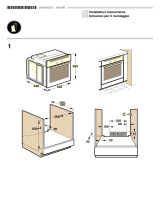
Bosch Electric Built-In Oven User guide
-
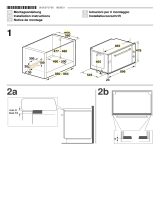
Bosch Electric Built-In Oven User manual

-
Bosch Electric Built-In Oven User manual
-
Bosch Electric Built-In Oven User manual

-
Bosch Electric Built-In Oven User manual

-
Bosch Electric Built-In Oven User manual

-
Bosch Electric Built-In Oven User manual
-
Bosch Electric Built-In Oven User manual
-
Bosch Electric Built-In Oven User manual
-
Bosch Electric Built-In Oven User manual
-
Bosch Electric Built-In Oven User manual

-
Bosch Electric Built-In Oven User manual

-
Bosch Electric Built-In Oven User manual

-
Bosch Electric Built-In Oven User manual
-
Bosch Electric Built-In Oven User manual
-
Bosch Electric Built-In Oven User manual
-
Bosch Electric Built-In Oven User manual
-
Bosch Electric Built-In Oven User manual
-
Bosch Electric Built-In Oven User manual

-
Bosch Electric Built-In Oven User manual

-
Bosch Electric Built-In Oven User manual
-
Bosch Electric Built-In Oven User manual
-
Bosch Electric Built-In Oven User manual

-
Bosch Electric Built-In Oven User manual
-
Bosch Electric Built-In Oven User manual
-
Bosch Electric Built-In Oven User manual

-
Bosch Electric Built-In Oven User manual


