Samsung AS07A1AE User manual
- Category
- Split-system air conditioners
- Type
- User manual
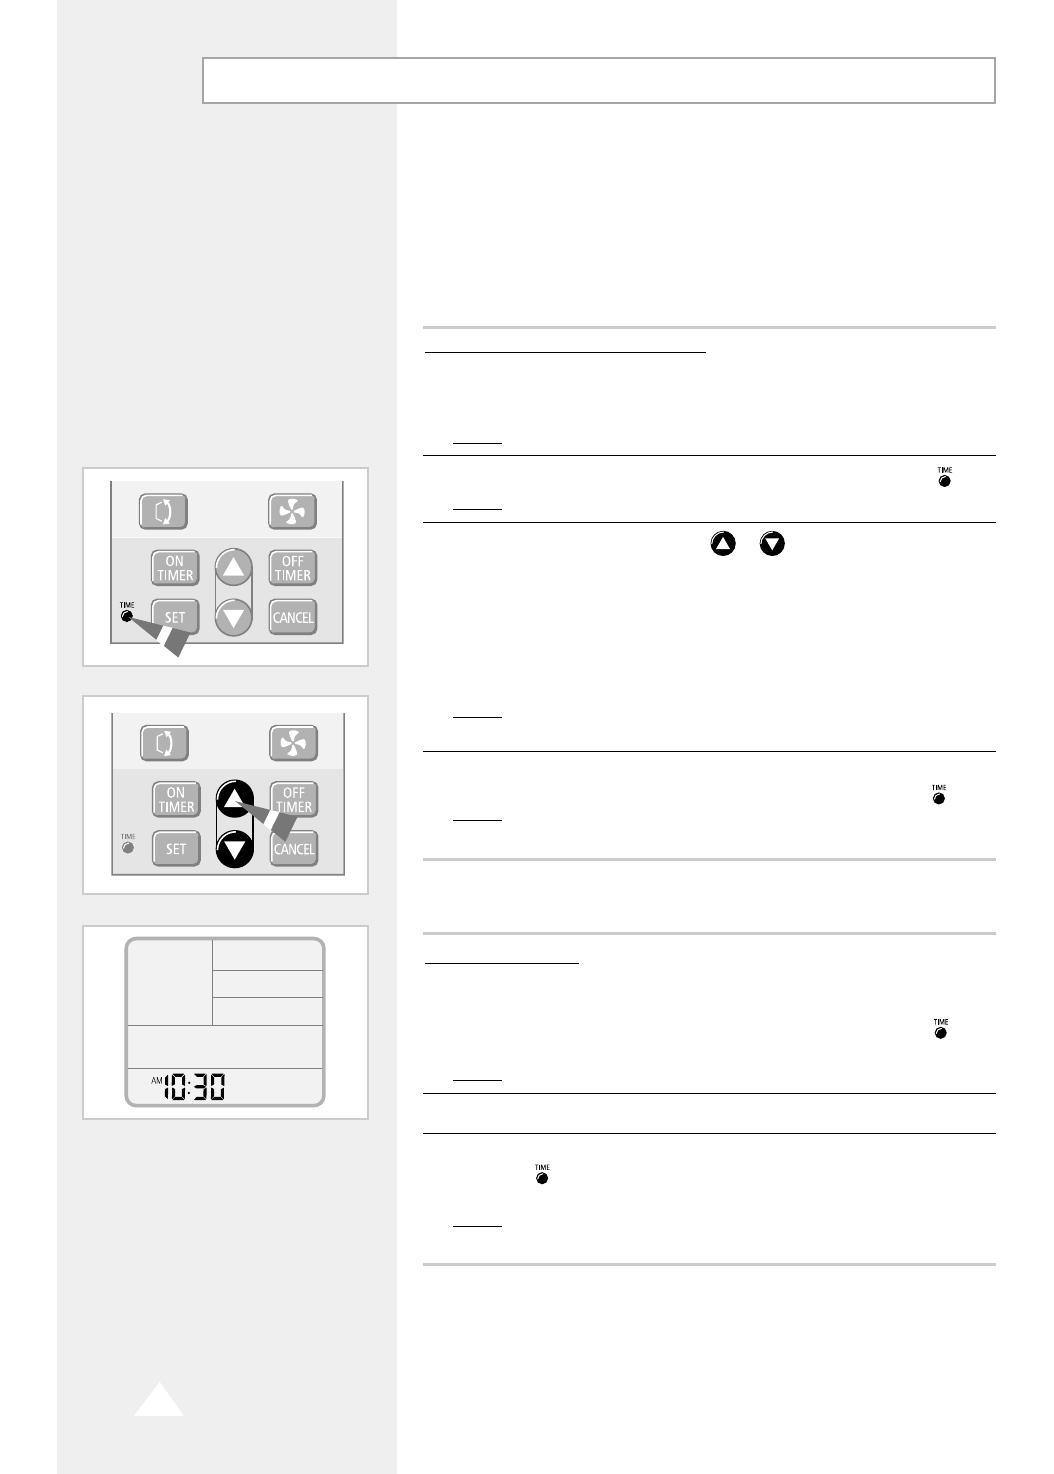
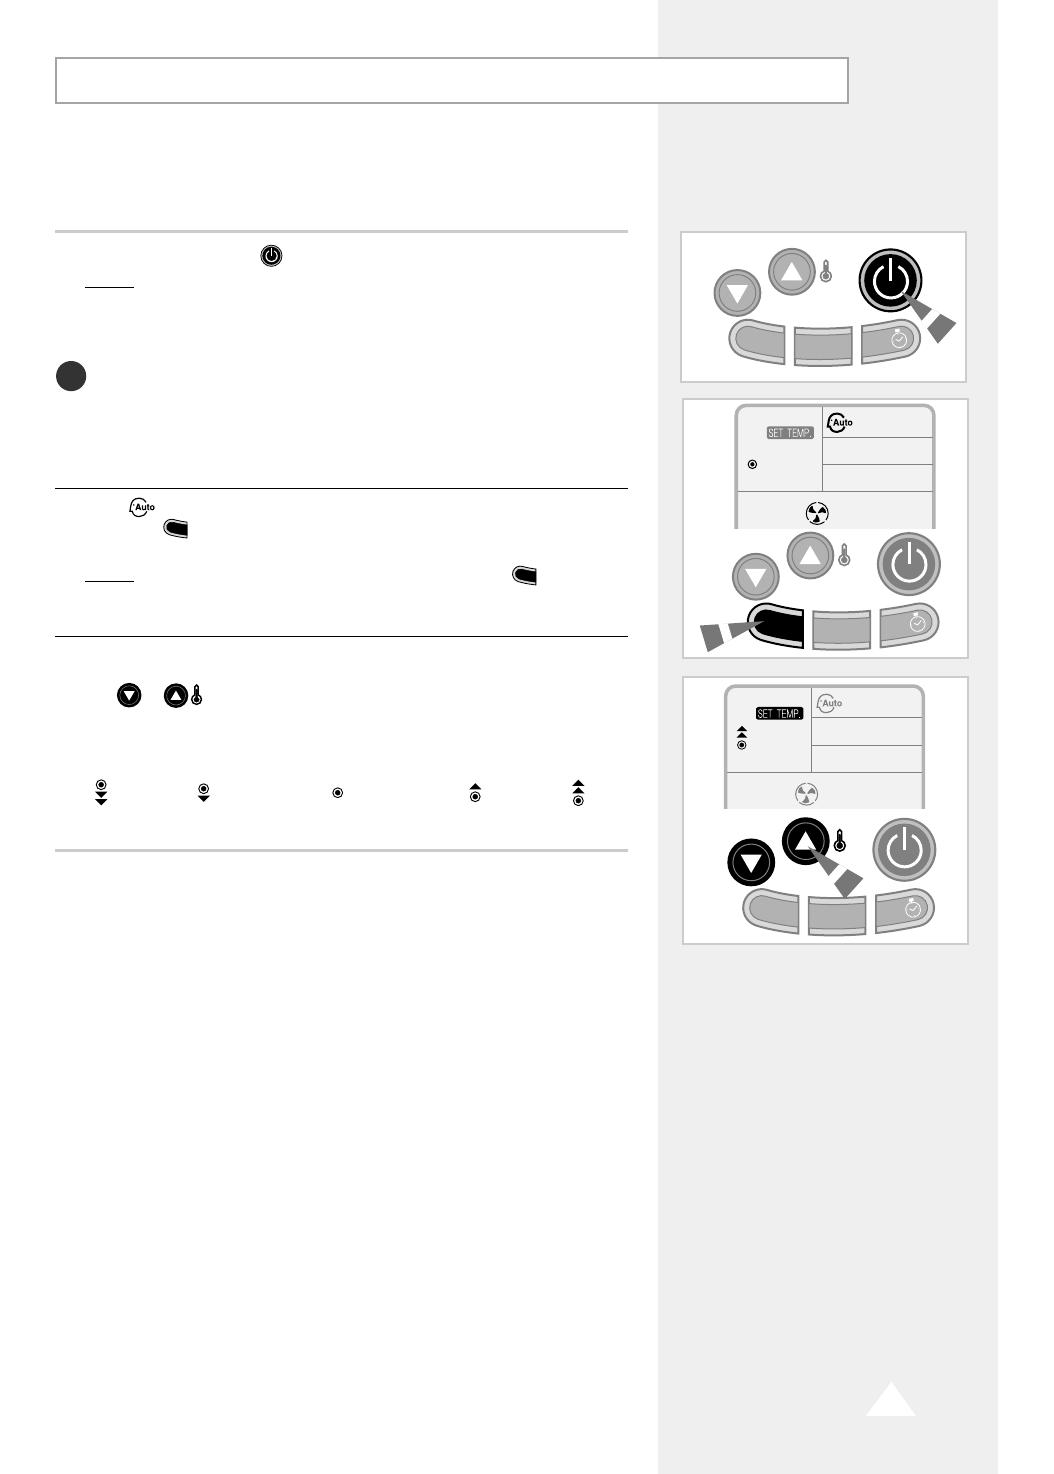
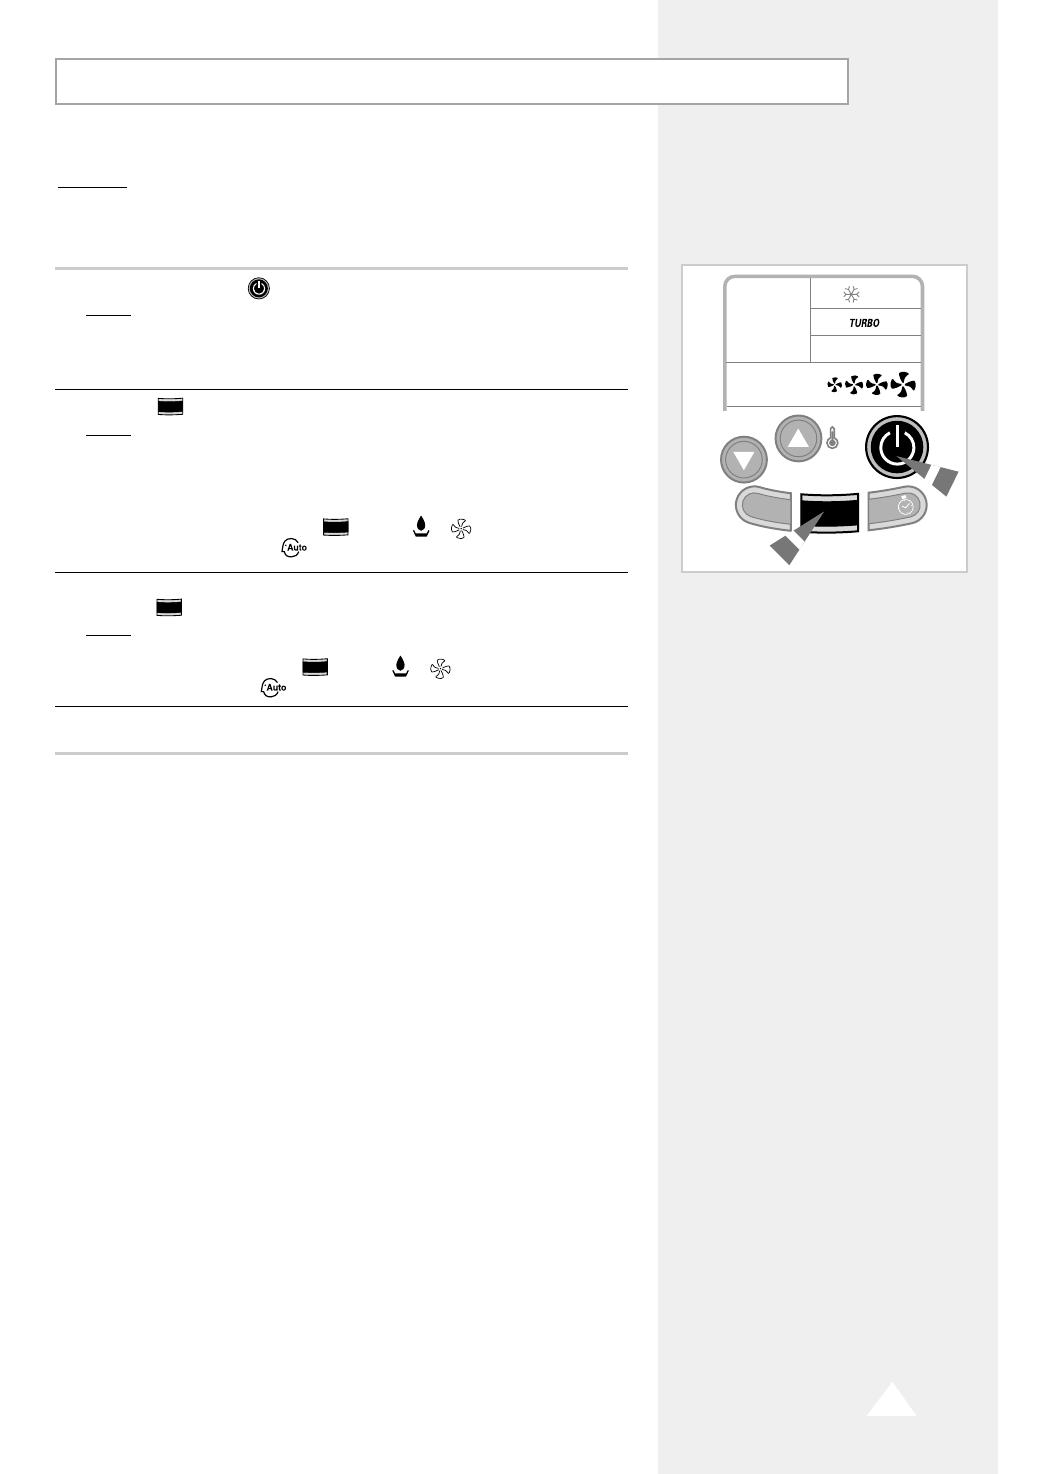
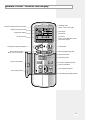
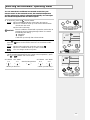
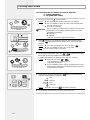
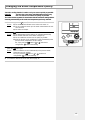
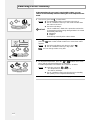
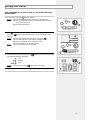
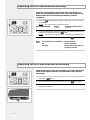
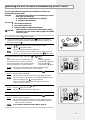
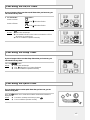
Samsung AS07A1AE is a split-type room air conditioner designed to cool and dehumidify a room. It features an automatic operating mode that sets the optimal temperature and fan speed for energy-efficient cooling. The user can adjust the temperature and fan speed as desired, or use the turbo mode for rapid cooling. Other features include a sleep mode for maintaining a comfortable temperature while sleeping, a timer for automatic on/off operation, and a remote control for convenient operation from a distance.
Samsung AS07A1AE is a split-type room air conditioner designed to cool and dehumidify a room. It features an automatic operating mode that sets the optimal temperature and fan speed for energy-efficient cooling. The user can adjust the temperature and fan speed as desired, or use the turbo mode for rapid cooling. Other features include a sleep mode for maintaining a comfortable temperature while sleeping, a timer for automatic on/off operation, and a remote control for convenient operation from a distance.


-
 1
1
-
 2
2
-
 3
3
-
 4
4
-
 5
5
-
 6
6
-
 7
7
-
 8
8
-
 9
9
-
 10
10
-
 11
11
-
 12
12
-
 13
13
-
 14
14
-
 15
15
-
 16
16
-
 17
17
-
 18
18
-
 19
19
-
 20
20
-
 21
21
-
 22
22
-
 23
23
-
 24
24


Samsung AS07A1AE User manual
- Category
- Split-system air conditioners
- Type
- User manual
Samsung AS07A1AE is a split-type room air conditioner designed to cool and dehumidify a room. It features an automatic operating mode that sets the optimal temperature and fan speed for energy-efficient cooling. The user can adjust the temperature and fan speed as desired, or use the turbo mode for rapid cooling. Other features include a sleep mode for maintaining a comfortable temperature while sleeping, a timer for automatic on/off operation, and a remote control for convenient operation from a distance.
Ask a question and I''ll find the answer in the document
Finding information in a document is now easier with AI
Related papers
-
Samsung AM 20A1(B1)E06 User manual
-
-
Samsung UM18A1E2 User manual
-
-
-
-
-
-
-