Panasonic KX-DT 343 Series Quick Reference Manual
- Category
- IP phones
- Type
- Quick Reference Manual
This manual is also suitable for
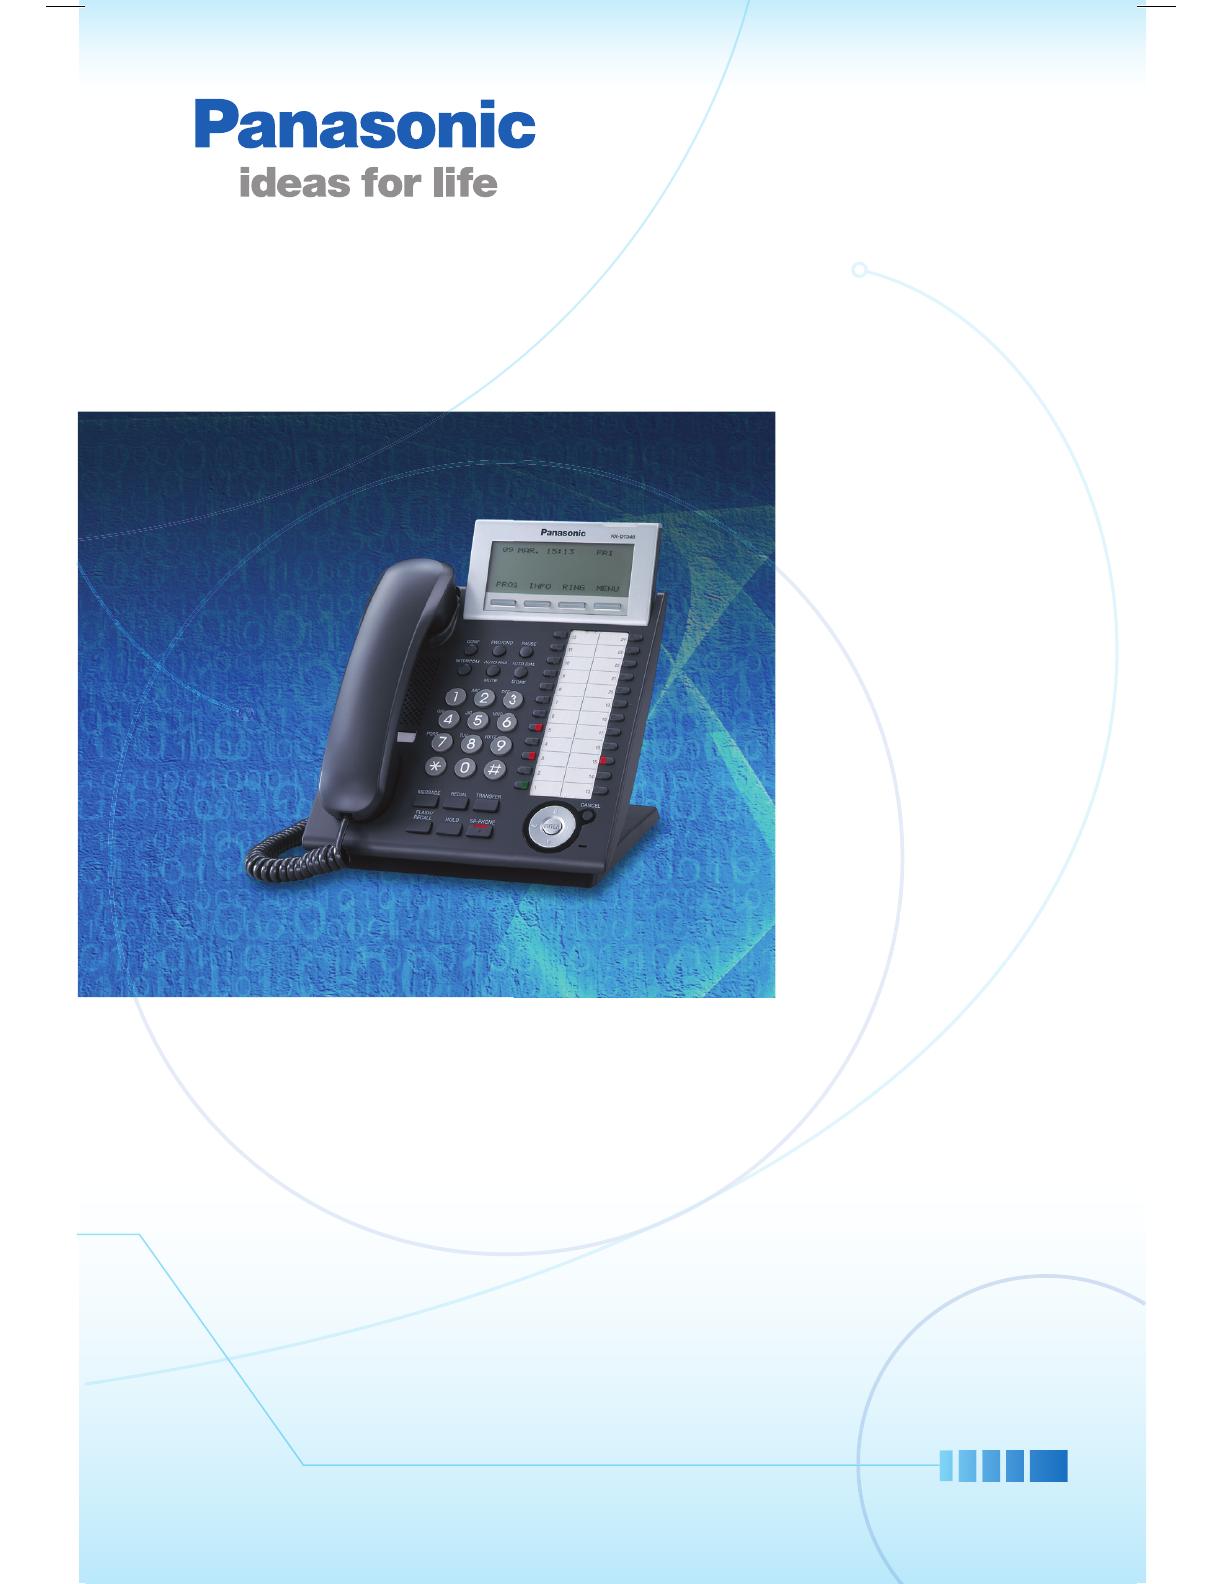
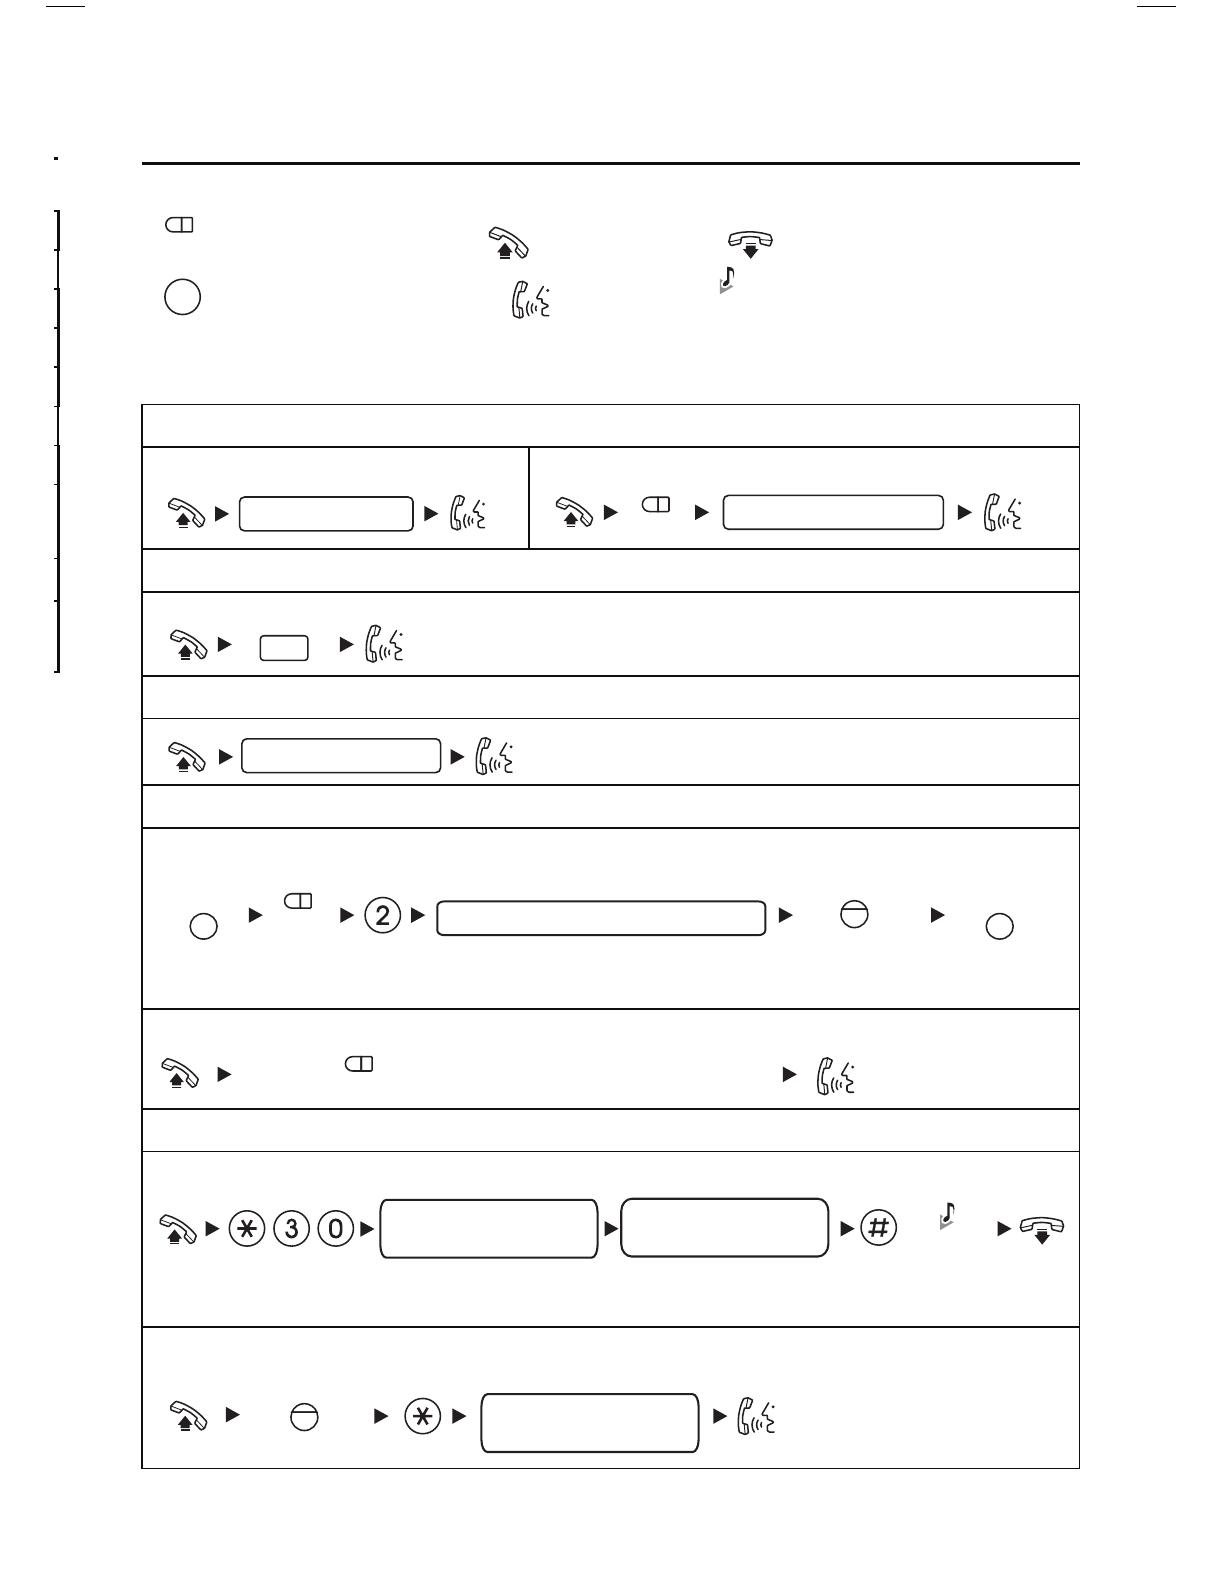
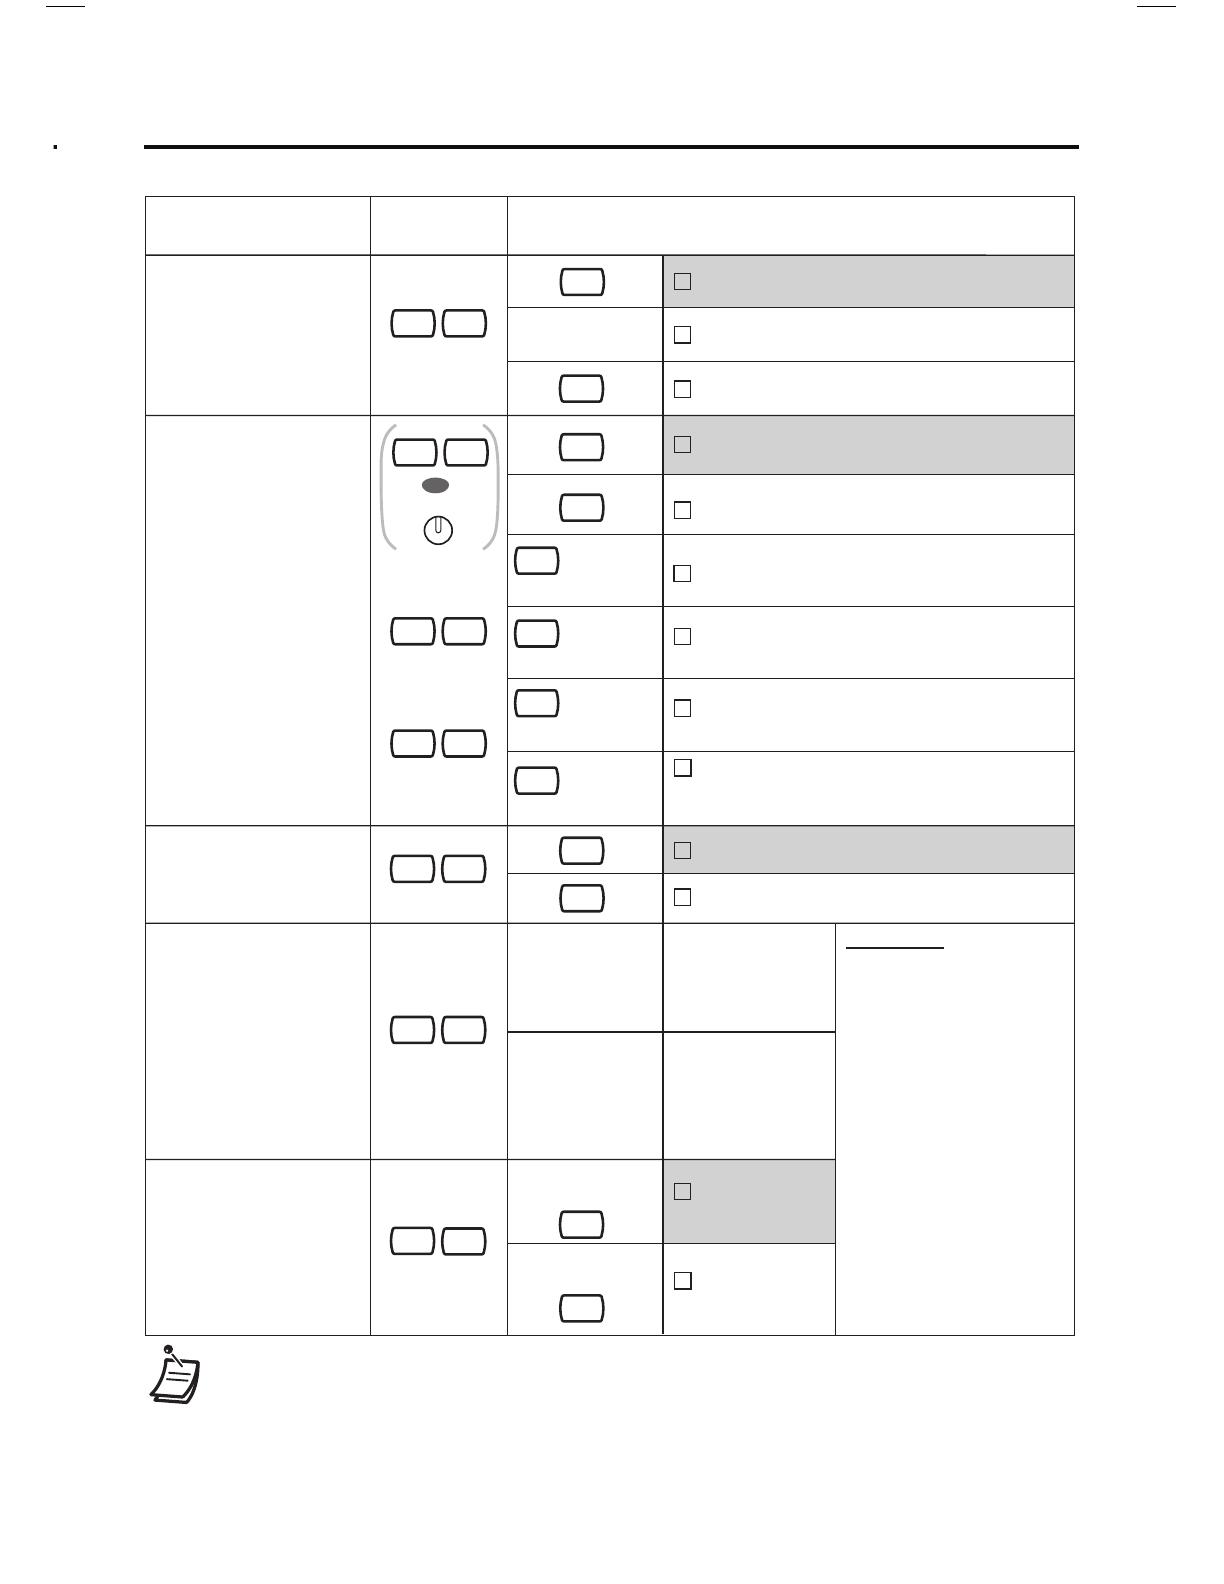
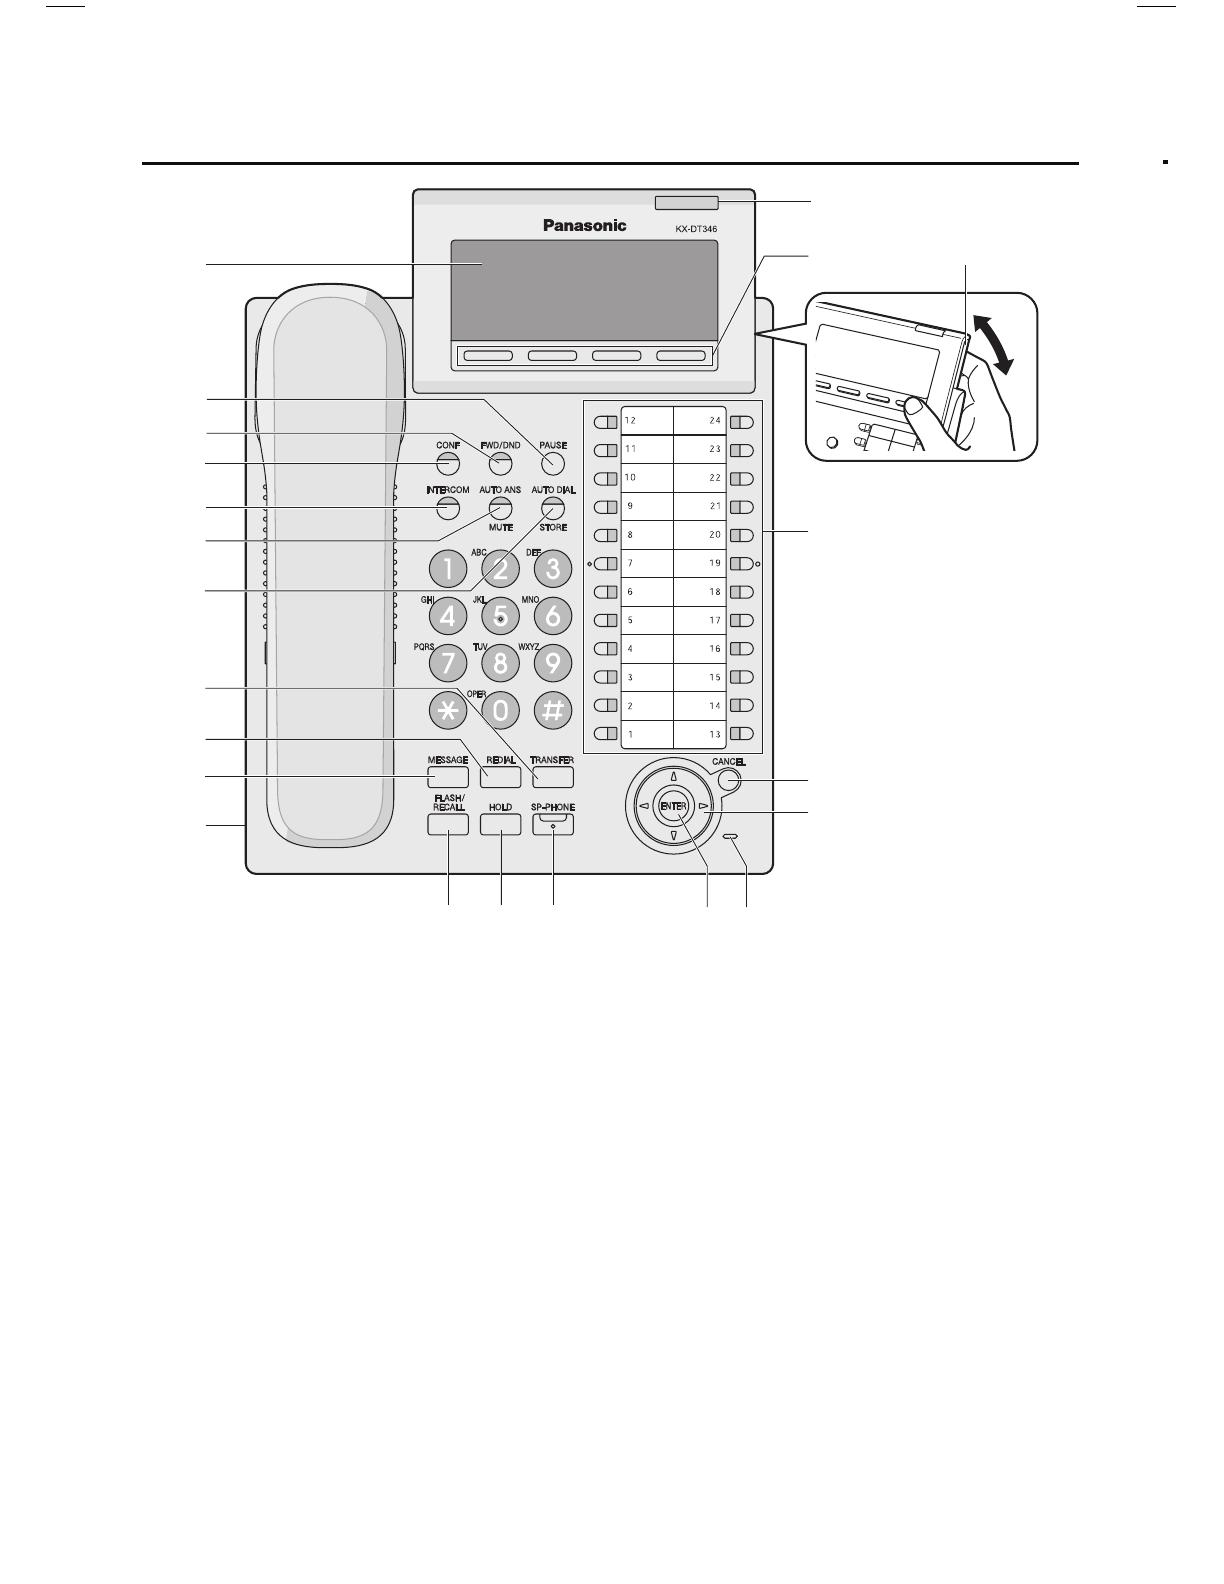
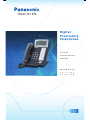
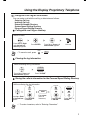
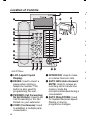
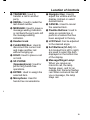
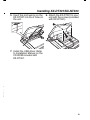
Panasonic KX-DT 343 Series is a digital proprietary telephone with flexible buttons, a large LCD display and various useful features. The large LCD display offers clear visuals, and the flexible buttons can be customized to suit your preferences. With this device, you can make and receive calls, store frequently called numbers, and even set up conference calls. The KX-DT 343 also has a built-in speakerphone, so you can talk hands-free.
Panasonic KX-DT 343 Series is a digital proprietary telephone with flexible buttons, a large LCD display and various useful features. The large LCD display offers clear visuals, and the flexible buttons can be customized to suit your preferences. With this device, you can make and receive calls, store frequently called numbers, and even set up conference calls. The KX-DT 343 also has a built-in speakerphone, so you can talk hands-free.


-
 1
1
-
 2
2
-
 3
3
-
 4
4
-
 5
5
-
 6
6
-
 7
7
-
 8
8
-
 9
9
-
 10
10
-
 11
11
-
 12
12
-
 13
13
-
 14
14
-
 15
15
-
 16
16
-
 17
17
-
 18
18
-
 19
19
-
 20
20


Panasonic KX-DT 343 Series Quick Reference Manual
- Category
- IP phones
- Type
- Quick Reference Manual
- This manual is also suitable for
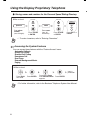
Panasonic KX-DT 343 Series is a digital proprietary telephone with flexible buttons, a large LCD display and various useful features. The large LCD display offers clear visuals, and the flexible buttons can be customized to suit your preferences. With this device, you can make and receive calls, store frequently called numbers, and even set up conference calls. The KX-DT 343 also has a built-in speakerphone, so you can talk hands-free.
Ask a question and I''ll find the answer in the document
Finding information in a document is now easier with AI
in other languages
- italiano: Panasonic KX-DT 343 Series
Related papers
-
Panasonic KXT7565NE Operating instructions
-
-
-
-
-
-
-
-
-