LG Electronics LMXS30776D Installation guide
- Category
- Fridges
- Type
- Installation guide
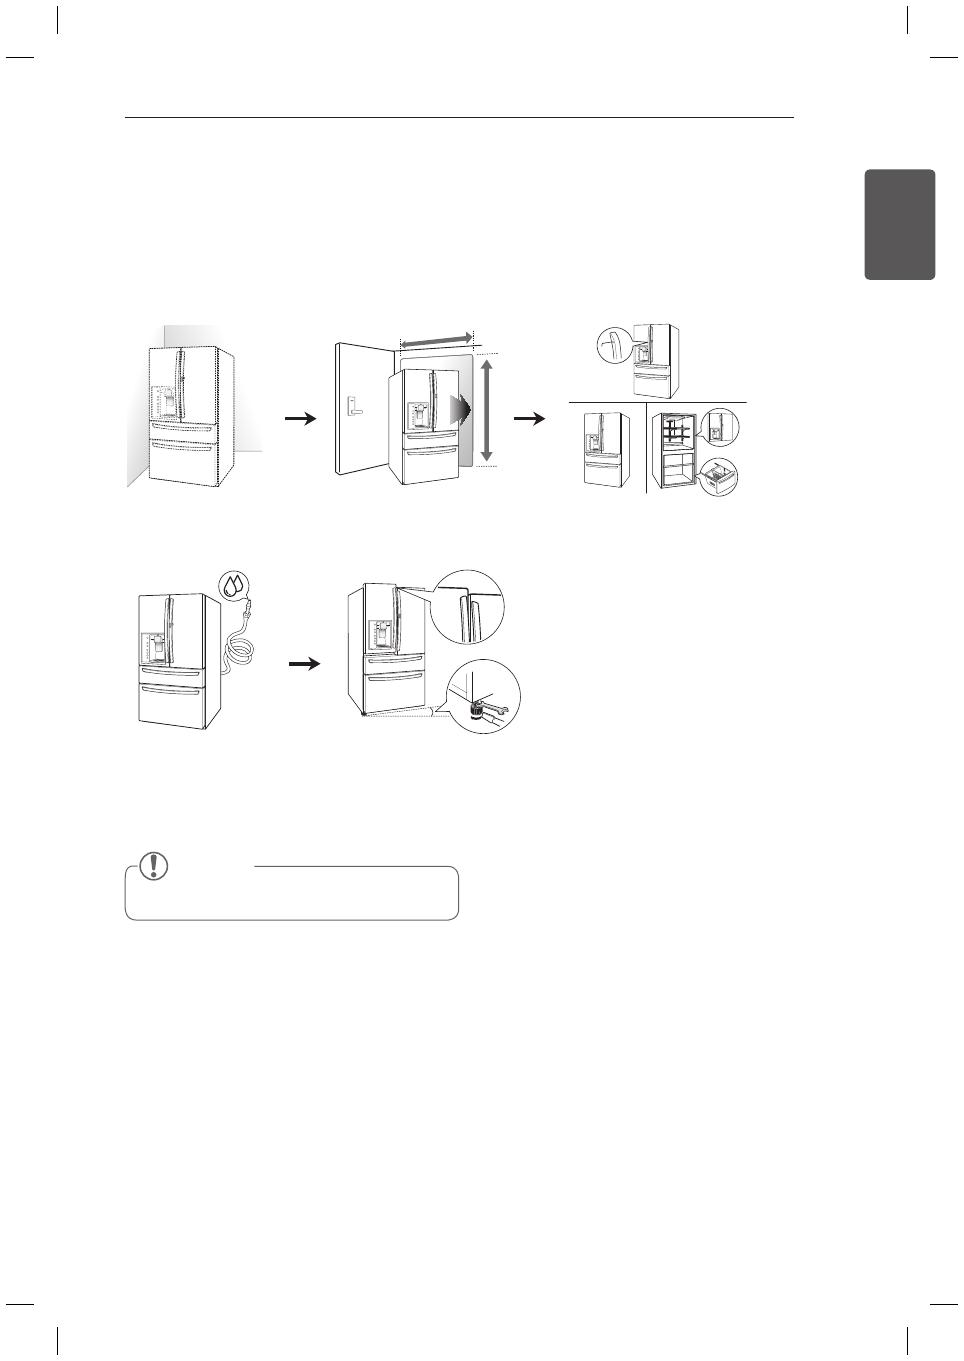
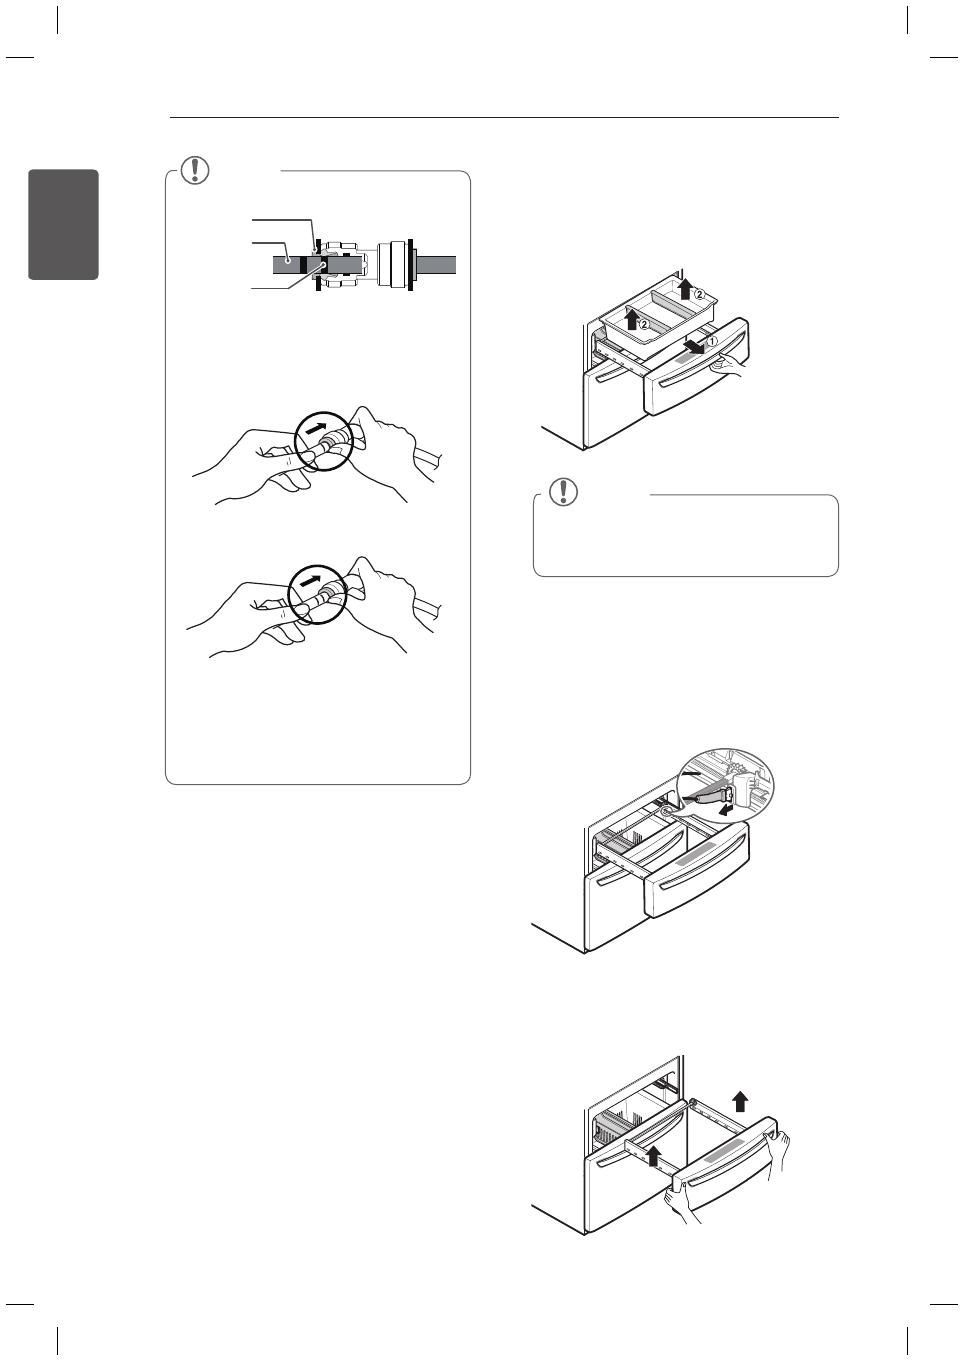
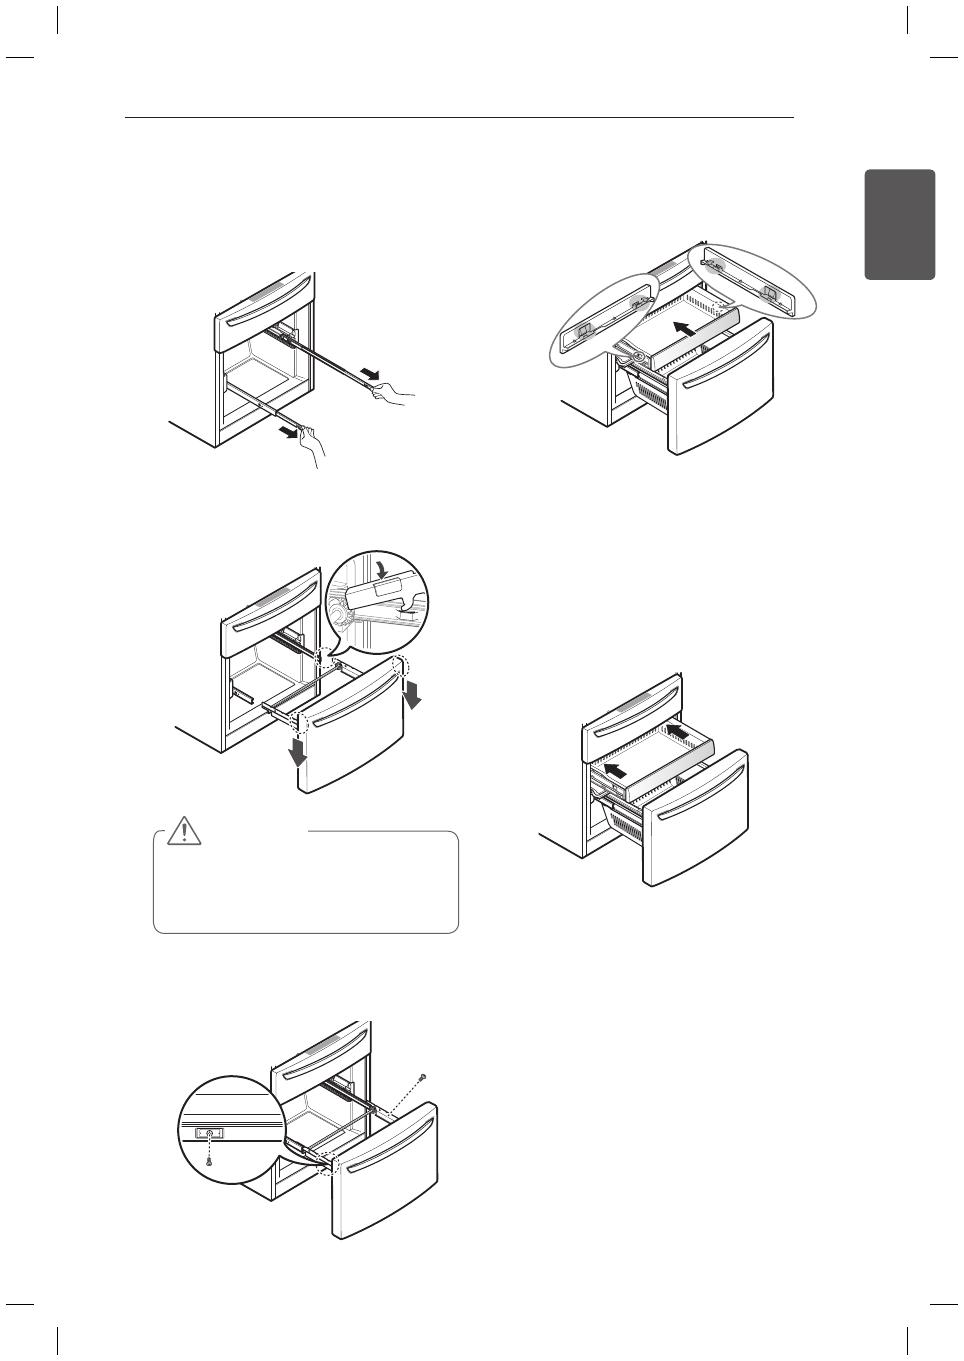
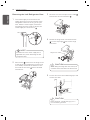
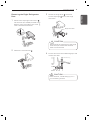
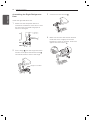
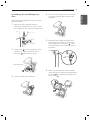
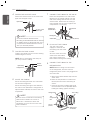
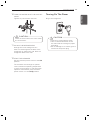
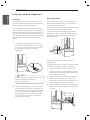
LG Electronics LMXS30776D is a feature-packed refrigerator that will meet the needs of even the most demanding users. Its 29.7 cubic feet of storage space is divided into two separate compartments: a 19.6 cubic foot refrigerator compartment and a 10.1 cubic foot freezer compartment. This gives you plenty of room to store all of your food and beverages. The refrigerator compartment features adjustable shelves, gallon door bins, and a humidity-controlled drawer, so you can customize it to fit your needs. The freezer compartment features two full-width drawers and a slide-out shelf, making it easy to organize and find what you're looking for.
LG Electronics LMXS30776D is a feature-packed refrigerator that will meet the needs of even the most demanding users. Its 29.7 cubic feet of storage space is divided into two separate compartments: a 19.6 cubic foot refrigerator compartment and a 10.1 cubic foot freezer compartment. This gives you plenty of room to store all of your food and beverages. The refrigerator compartment features adjustable shelves, gallon door bins, and a humidity-controlled drawer, so you can customize it to fit your needs. The freezer compartment features two full-width drawers and a slide-out shelf, making it easy to organize and find what you're looking for.


-
 1
1
-
 2
2
-
 3
3
-
 4
4
-
 5
5
-
 6
6
-
 7
7
-
 8
8
-
 9
9
-
 10
10
-
 11
11
-
 12
12
-
 13
13
-
 14
14
-
 15
15
-
 16
16
-
 17
17
-
 18
18


LG Electronics LMXS30776D Installation guide
- Category
- Fridges
- Type
- Installation guide
LG Electronics LMXS30776D is a feature-packed refrigerator that will meet the needs of even the most demanding users. Its 29.7 cubic feet of storage space is divided into two separate compartments: a 19.6 cubic foot refrigerator compartment and a 10.1 cubic foot freezer compartment. This gives you plenty of room to store all of your food and beverages. The refrigerator compartment features adjustable shelves, gallon door bins, and a humidity-controlled drawer, so you can customize it to fit your needs. The freezer compartment features two full-width drawers and a slide-out shelf, making it easy to organize and find what you're looking for.
Ask a question and I''ll find the answer in the document
Finding information in a document is now easier with AI
Related papers
-
LG Electronics LFXS32766S Installation guide
-
-
-
LG Electronics LFXS32726S Installation guide
-
-
-
-
LG Electronics LFXS30796S Installation guide
-
-
Other documents
-
LG SIGNATURE URNTS3106N Operating instructions
-
LG STUDIO LSFXC2476S Installation guide
-
-
LG LFX25976ST Owner's manual
-
-
LG LMXS30776 Owner's manual
-
LG LMXS30776S Owner's manual
-
-
-