Frigidaire 210924 User manual
- Category
- Mobile air conditioners
- Type
- User manual
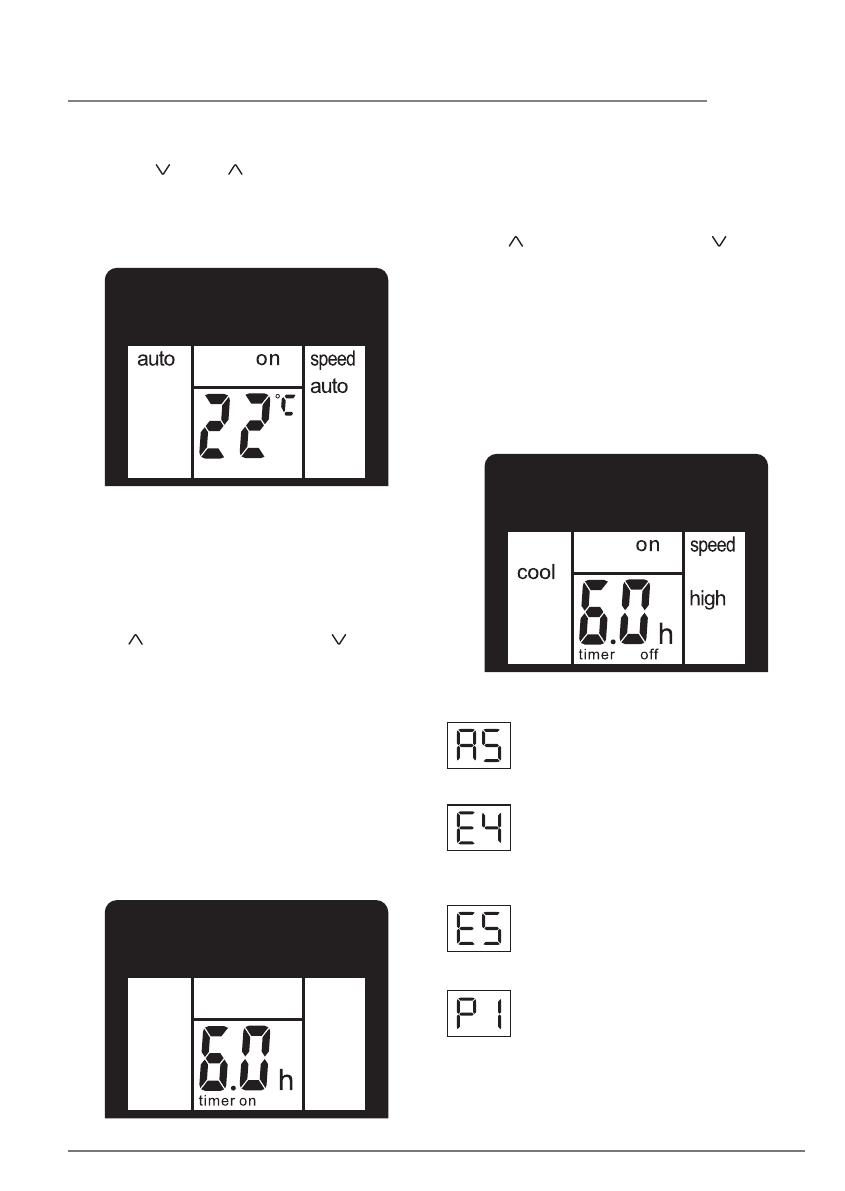
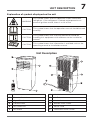
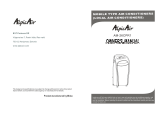
Frigidaire 210924 is a portable air conditioner that offers various features for cooling and dehumidifying your space. It comes with a remote control, allowing you to adjust settings from a distance. The unit features three cooling speeds and an auto-swing function to distribute air evenly throughout the room. It also includes a 24-hour timer to program the unit to turn on or off at specific times. Additionally, the Frigidaire 210924 has a dehumidifying function to remove excess moisture from the air.
Frigidaire 210924 is a portable air conditioner that offers various features for cooling and dehumidifying your space. It comes with a remote control, allowing you to adjust settings from a distance. The unit features three cooling speeds and an auto-swing function to distribute air evenly throughout the room. It also includes a 24-hour timer to program the unit to turn on or off at specific times. Additionally, the Frigidaire 210924 has a dehumidifying function to remove excess moisture from the air.


-
 1
1
-
 2
2
-
 3
3
-
 4
4
-
 5
5
-
 6
6
-
 7
7
-
 8
8
-
 9
9
-
 10
10
-
 11
11
-
 12
12
-
 13
13
-
 14
14
-
 15
15
-
 16
16
-
 17
17
-
 18
18
-
 19
19
-
 20
20
-
 21
21
-
 22
22
-
 23
23
-
 24
24


Frigidaire 210924 User manual
- Category
- Mobile air conditioners
- Type
- User manual
Frigidaire 210924 is a portable air conditioner that offers various features for cooling and dehumidifying your space. It comes with a remote control, allowing you to adjust settings from a distance. The unit features three cooling speeds and an auto-swing function to distribute air evenly throughout the room. It also includes a 24-hour timer to program the unit to turn on or off at specific times. Additionally, the Frigidaire 210924 has a dehumidifying function to remove excess moisture from the air.
Ask a question and I''ll find the answer in the document
Finding information in a document is now easier with AI
Related papers
-
Frigidaire FHWH082WA1 User manual
-
Frigidaire FHPC132AB1 Owner's manual
-
Frigidaire FFPH1422R1 Owner's manual
-
-
Frigidaire FFPA1222R13 Owner's manual
-
Frigidaire FRA12EPT1 Owner's manual
-
Frigidaire FRA053PU1 Owner's manual
-
Frigidaire FGHD2472PF User manual
-
Frigidaire FFPA1222T1 Owner's manual
-
Frigidaire FFPA1222R1 Owner's manual
Other documents
-
Emerson Quiet Kool EAPC12RD1 User manual
-
TCL TAC-14CPA/KC User guide
-
-
RCA RACP1404 User manual
-
-
 AlpicAir AM-26CPR1 Owner's manual
-
RCA RACP1206 Owner's manual
-
Campomatic PORTABLE AIR CONDITIONER Owner's manual
-
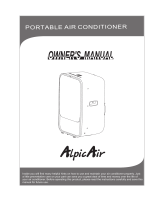 Alpic Air PORTABLE AIR CONDITIONER Owner's manual
-
NewAir AC-12100E User manual

